
Screen guide · Web app
Manage Streams
Set up the school's subjects, each class's subjects and the streams (such as Science or Commerce), and give a stream or a set of subjects to each student.
यह पेज अंग्रेज़ी में है। कुछ समझ न आए तो ।
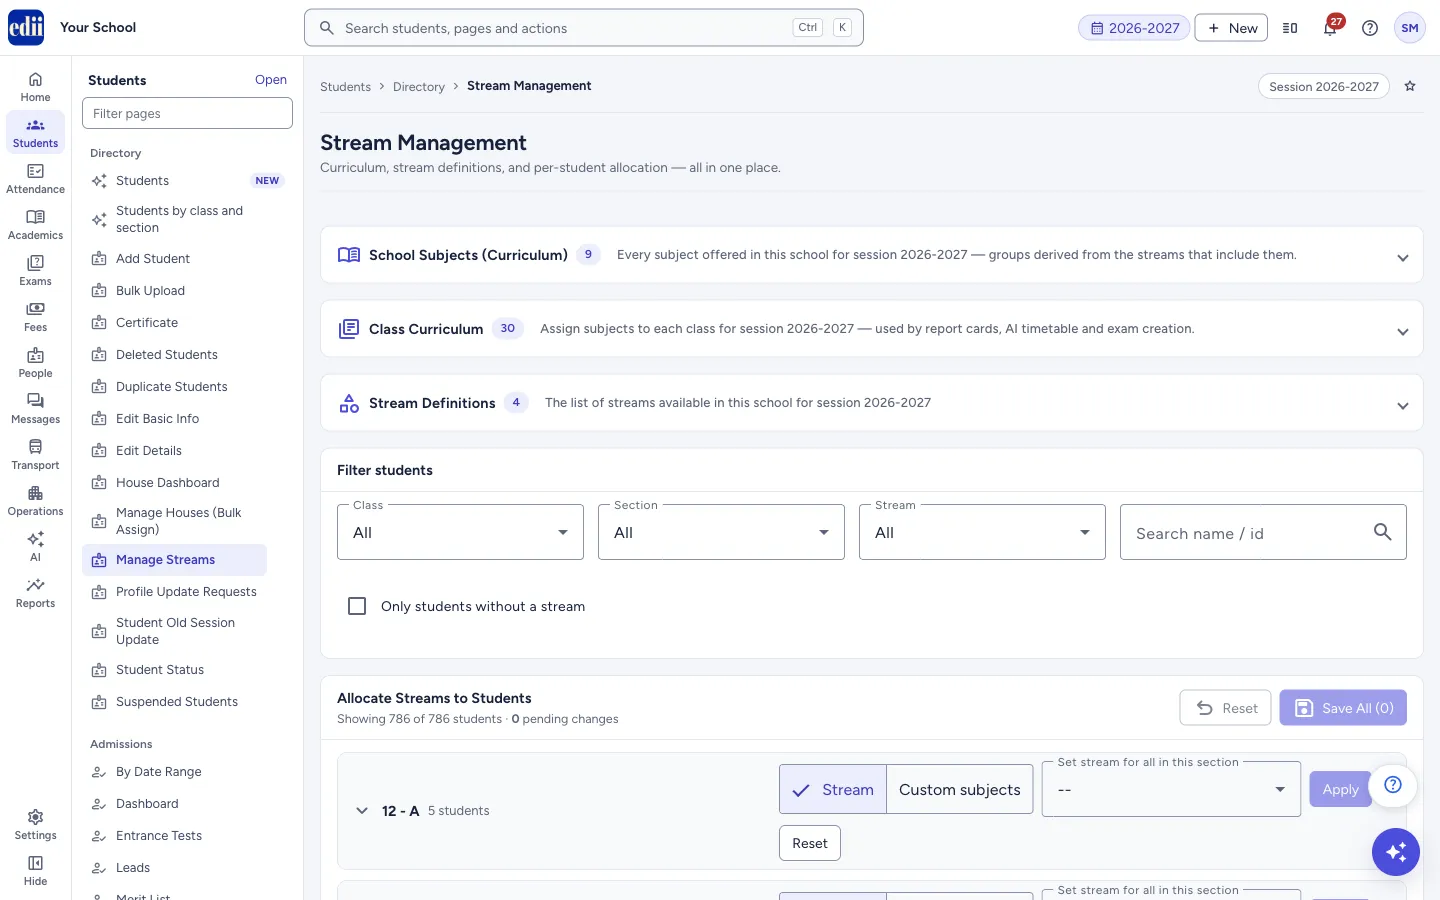
Manage Streams (the page is headed Stream Management) brings everything about subjects and streams into one page. It has four parts, one under the other: School Subjects (Curriculum), Class Curriculum, Stream Definitions and, at the bottom, Allocate Streams to Students.
The first three are folded; select a heading to open it. The subjects you set for each class are used by report cards, the AI timetable and exam creation.
Who uses it and when
Section titled “Who uses it and when”The exam in-charge or the academic coordinator uses it at the start of the session, mainly for the senior classes that have streams.
Before you start
Section titled “Before you start”- The school’s classes and sections must exist.
- Do it in this order: subjects, then streams, then give streams to students.
Where to find it
Section titled “Where to find it”- In school.edii.in: Students › Directory › Manage Streams
- Or press Ctrl K (⌘ K on a Mac) and type Manage Streams.
- Address:
school.edii.in/add/manage-streams - Who can see it: Staff whose role includes Students or Attendance or Exams access. Shown only when your school uses Student and Exam in EDII. If it is missing from your menu, ask your school admin.
 Open a bigger pictureतस्वीर बड़ी करें
Step by step
Section titled “Step by step”1. Look at the school’s subjects
Section titled “1. Look at the school’s subjects”Open School Subjects (Curriculum). It shows every subject offered in the session (written like 2026-2027), with the number of subjects, a Search subjects… box and a Group filter. Each subject shows the streams it belongs to, or Not yet in any group. To put a subject into a stream, select Add to group and choose the stream. Then select Save Stream Definitions to keep it.
2. Set the subjects of each class
Section titled “2. Set the subjects of each class”Open Class Curriculum. Each class has a card with its subjects. Select Edit Subjects, remove a subject with the cross on it, or type or pick a subject in Add subject… and select Add. Then select Save Class Subjects. You see <class> subjects saved. Cancel drops your changes.
3. Define the streams
Section titled “3. Define the streams”Open Stream Definitions. Select Add Stream, type the Stream name (for example Science) and choose its Subjects. Use Remove to take a stream away. Select Save Stream Definitions; you see Streams saved.
To start from an earlier year, choose a session in Copy streams from session and select Copy. The streams of that session are loaded into the list for you to check, and you must still select Save Stream Definitions.
4. Find the students
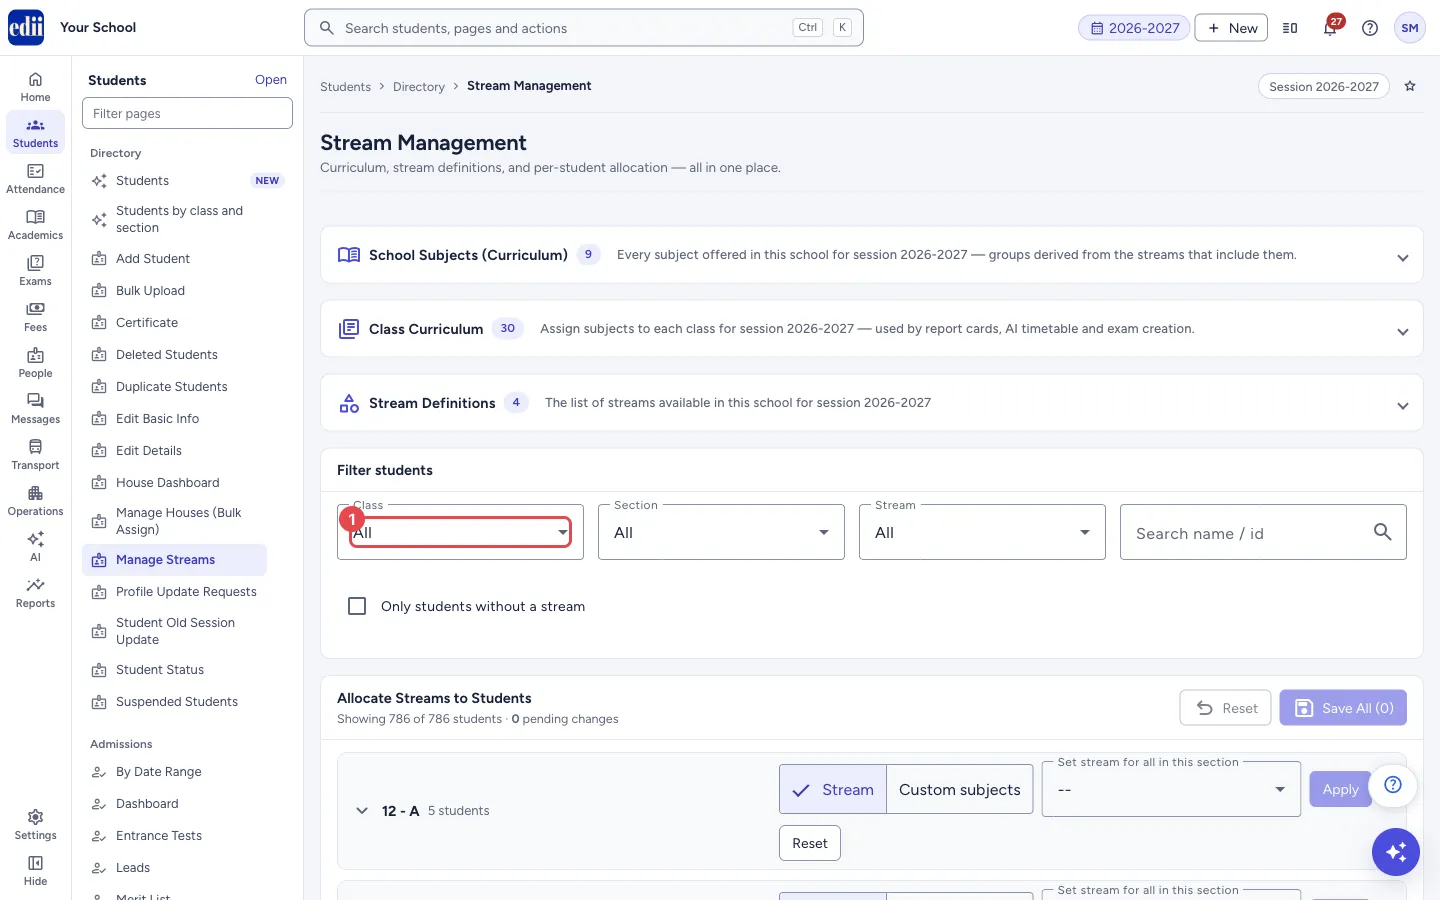
Section titled “4. Find the students”Under Filter students use Class, Section, Stream (the last choice is Custom Subjects (no stream)), Search name / id, or tick Only students without a stream. Each section is a bar with the number of students.
 Open a bigger pictureतस्वीर बड़ी करें
5. Give a stream to a whole section
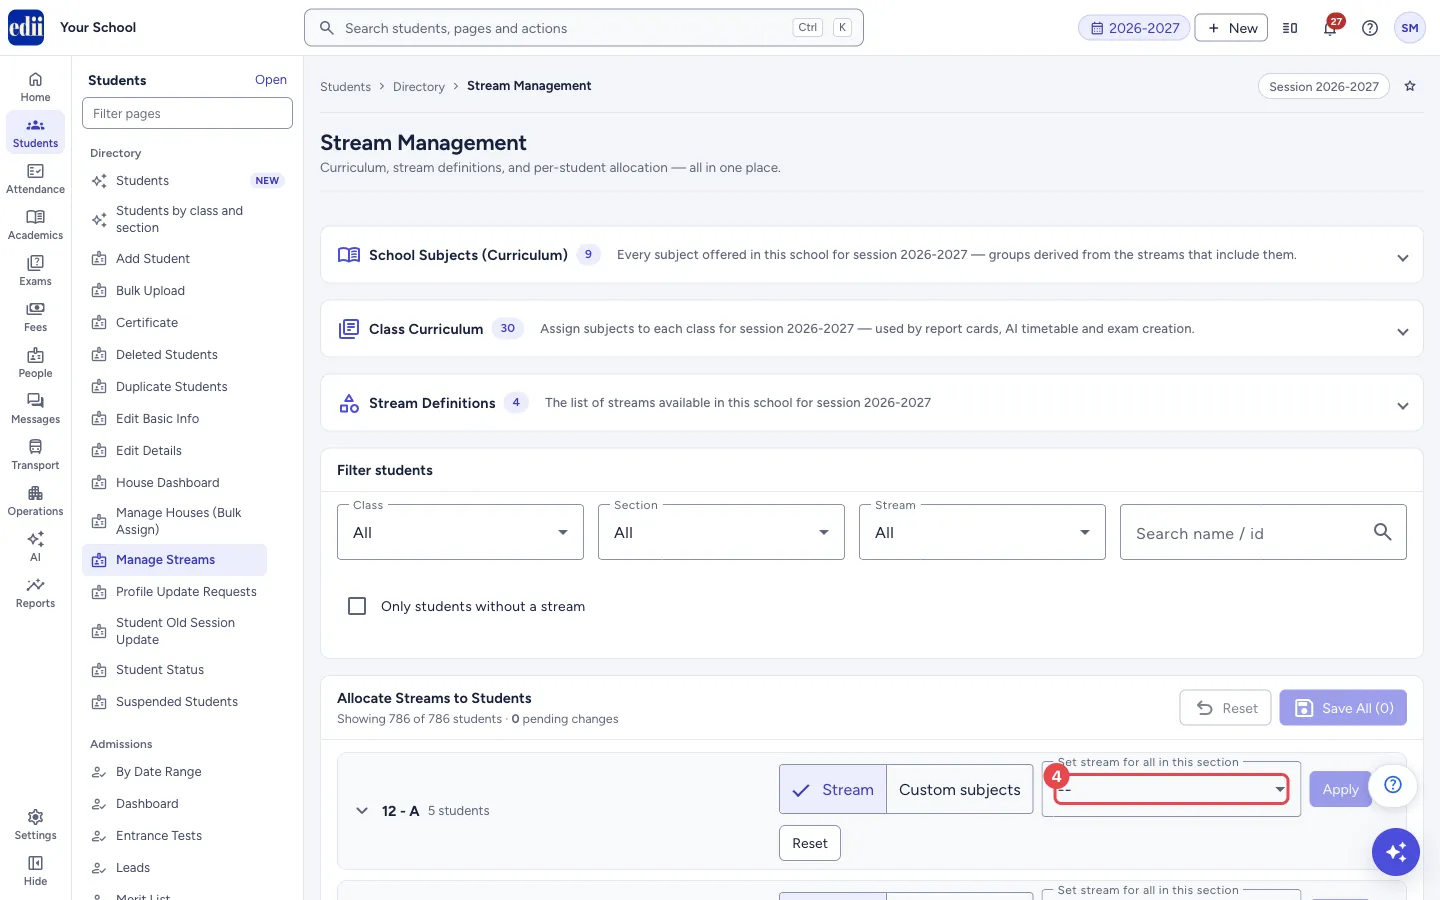
Section titled “5. Give a stream to a whole section”On the bar of a section, keep Stream selected, choose a stream in Set stream for all in this section and select Apply. To clear the stream of the whole section choose None (clear stream). The changes are marked as unsaved until you save.
 Open a bigger pictureतस्वीर बड़ी करें
6. Or give subjects directly
Section titled “6. Or give subjects directly”If a student does not follow a stream, select Custom subjects on the section bar and tick the subjects, then Apply to all. For one student select Custom Subjects in that student’s row and tick the subjects; Use Stream takes you back.
7. Save the allocation
Section titled “7. Save the allocation”Select Save All (N) at the top of Allocate Streams to Students. The button shows how far it is while saving. At the end you see Saved <n>, with the number that failed, if any.
Fields and filters
Section titled “Fields and filters”| Field | What it is | Notes |
|---|---|---|
| Search subjects…, Group | Find a subject or show the subjects of one group. | In School Subjects. |
| Add subject… | A subject for a class. Pick from the school’s subjects or type a new one. | A subject already in the class is refused: <name> is already in <class>. |
| Stream | The name of a stream. | A stream with an empty name is left out when you save. |
| Subjects | The subjects of a stream. You can tick several. | The list holds every subject the school teaches. |
| Copy streams from session | The session to copy streams from. | Must be a different session. |
| Class, Section, Stream, Search name / id | Narrow the students list. | Each starts at All. |
| Only students without a stream | Shows the students who have none. | Optional tick box. |
| Set stream for all in this section | One stream for every student of a section. | Select Apply after choosing. |
Buttons
Section titled “Buttons”| Button | What it does | What happens next |
|---|---|---|
| Add to group | Puts a subject into a stream. | Added “<subject>” to “<stream>”. Save Stream Definitions to keep this change. |
| Save Class Subjects | Saves the subjects of that class. | <class> subjects saved. |
| Add Stream / Remove | Adds a blank stream line or takes a stream line away. | The list changes. A warning You have unsaved stream changes shows. |
| Save Stream Definitions | Saves the streams and their subjects. | Streams saved. |
| Copy | Loads the streams of another session into the list. | Copied <n> streams from <session>. Click Save to apply. |
| Apply / Apply to all | Gives the chosen stream, or the ticked subjects, to every student of that section on screen. | The rows are marked unsaved. Nothing is saved yet. |
| Reset (on a section bar) | Undoes the changes of that section. | The unsaved marks go away. |
| Reset (at the top) | Undoes every unsaved change in the allocation. | Students show the saved streams again. |
| Save All (N) | Saves all the unsaved allocations, one student at a time. | Saved <n>. |
Good to know
Section titled “Good to know”- Streams and class subjects are saved separately from student allocations. Each part has its own save button.
- The Save All button counts only rows that have a stream or subjects chosen, or a stream you cleared with None.
- Choosing None for a student who had a stream clears the stream, so all the subjects can be set freely for that student.
- Copying streams replaces the list on screen with the streams of the other session; nothing changes until you save.
Messages you may see
Section titled “Messages you may see”| Message | What it means | What to do |
|---|---|---|
| No changes to save | There is nothing unsaved in the allocation. | Choose a stream first. |
| Add at least one stream first | You selected Save Stream Definitions with no named stream. | Select Add Stream and type a name. |
| Pick a session to copy from | No session was chosen. | Choose a session. |
| Pick a session different from the current one | The current session was chosen. | Choose an earlier session. |
| No streams found in <session> | That session has no streams. | Choose another session or add streams by hand. |
| No subjects defined yet. Visit Add Subject to add subjects per class. | The school has no subjects. | Add the subjects first. |
| No classes found in this school. Add a class first under Configuration. | No class exists. | Add the classes. |
| No students match the current filters. | The filters match nobody. | Select Clear filters. |
| Network Issue, Please Try Again. | The request did not reach EDII. | Check the internet and try again. |
- At the start of a session copy the streams from last year, check them, and save.
- Use Only students without a stream to find the students still to be placed.
Stuck? Try this
Section titled “Stuck? Try this”| Problem | Likely cause | What to do |
|---|---|---|
| A subject is missing in the Subjects list of a stream | The subject is not yet in the school’s subjects. | Add it in Class Curriculum, or in Add Subject. |
| My allocation was lost | The page was closed before Save All. | Allocate again and select Save All. |
Did this page help?क्या इस पेज से मदद मिली?
Thanks! Glad it helped.धन्यवाद! अच्छा लगा कि काम बन गया।
Sorry about that. Ask in your own words, or write to us.माफ़ कीजिए। अपने शब्दों में पूछें, या हमें लिखें।