
Screen guide · Web app
Edit Basic Info
बच्चे की जानकारी गलत है
Correct or complete the details of a whole class in one table, directly or through a CSV file you edit in Excel.
यह पेज अंग्रेज़ी में है। कुछ समझ न आए तो ।
Edit Basic Info (the page is headed Edit Student (Basic Info)) shows every student of a class and section as a row of boxes you can type in: name, IDs, dates, parents, phone numbers, address, category, stream, house, income, Aadhaar, PEN, blood group, height, weight and more.
A change is saved for that student as soon as you leave the box. You can also take the whole class to Excel with Download CSV, edit it, and bring it back with Upload CSV.
Auto-assign Roll Numbers gives roll numbers to the students who have none, and Edit Image and Attachments change a student’s photo or documents.
Who uses it and when
Section titled “Who uses it and when”The admission office uses it after admissions to complete details, at the start of the session to fix data, and before ID cards or reports to correct names and dates.
Before you start
Section titled “Before you start”- You must choose a class and a section.
- Changes are saved straight to the student records. Before a big CSV change, download the CSV first and keep it as a backup.
Where to find it
Section titled “Where to find it”- In school.edii.in: Students › Directory › Edit Basic Info
- Or press Ctrl K (⌘ K on a Mac) and type Edit Basic Info.
- Address:
school.edii.in/view/student-edit-basicinfo - Who can see it: Staff whose role includes Students or Attendance access. Shown only when your school uses Student in EDII. If it is missing from your menu, ask your school admin.
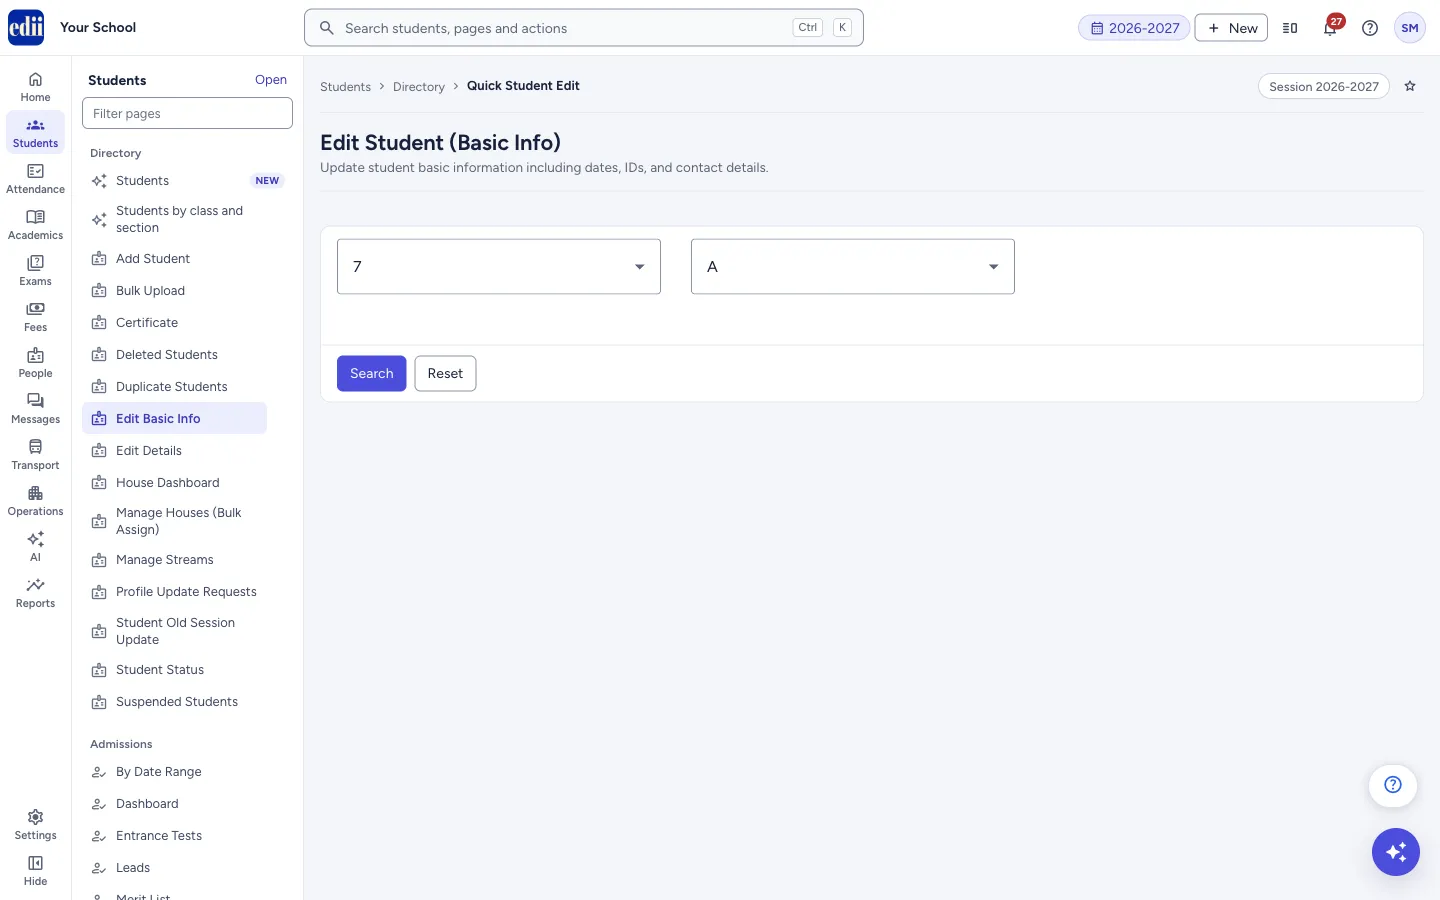 Open a bigger pictureतस्वीर बड़ी करें
Step by step
Section titled “Step by step”1. Choose the class
Section titled “1. Choose the class”Open Select Class and pick the class.
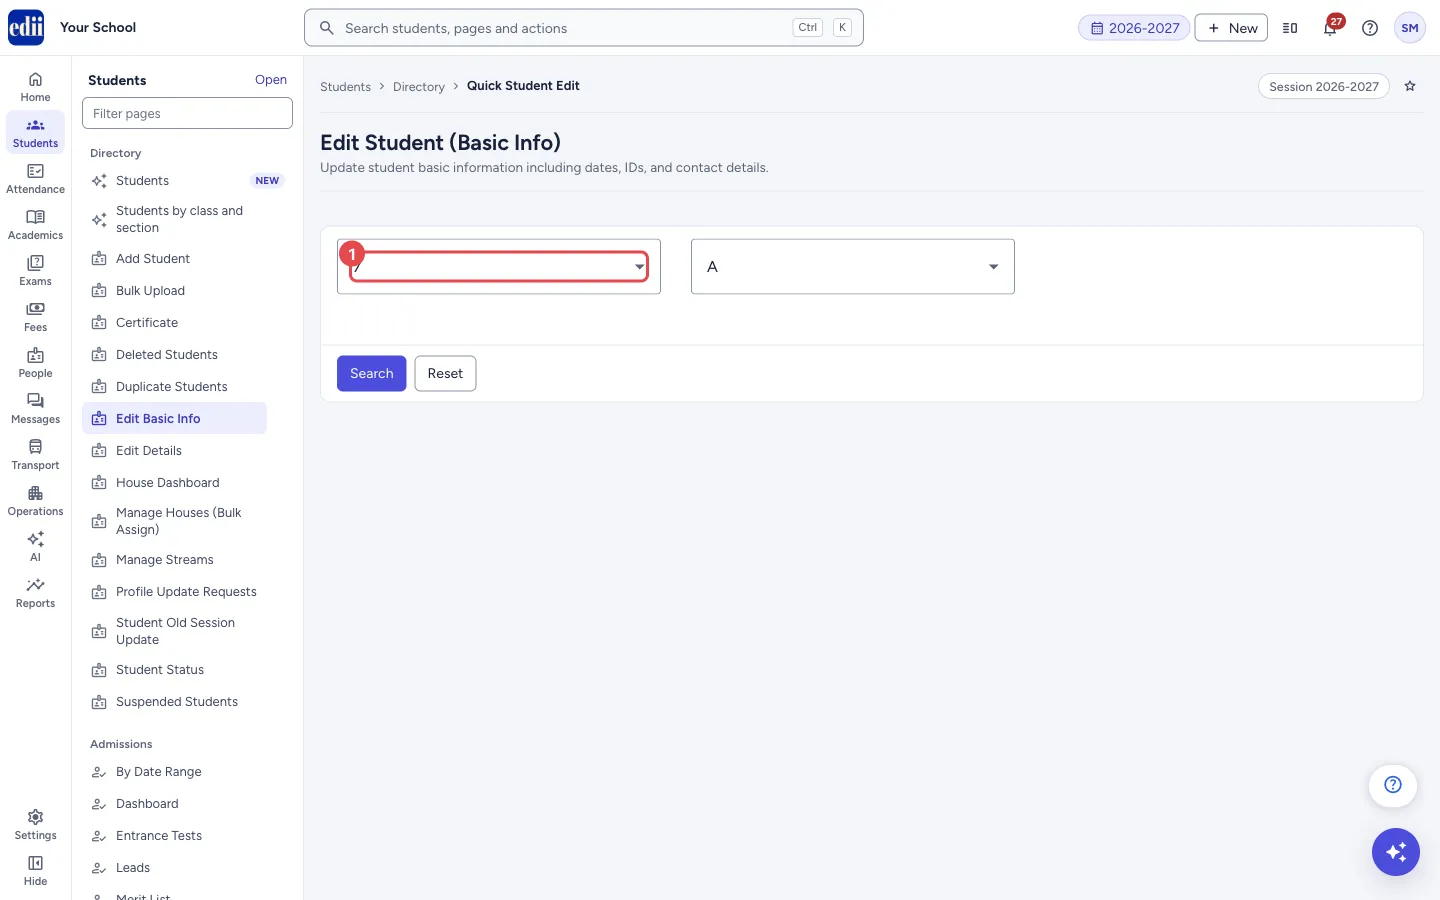 Open a bigger pictureतस्वीर बड़ी करें
2. Choose the section
Section titled “2. Choose the section”Open Select Section and pick the section.
3. Search
Section titled “3. Search”Select Search. The students appear in a table with one row for each student. The class and section boxes fold away; select Reset to open them again.
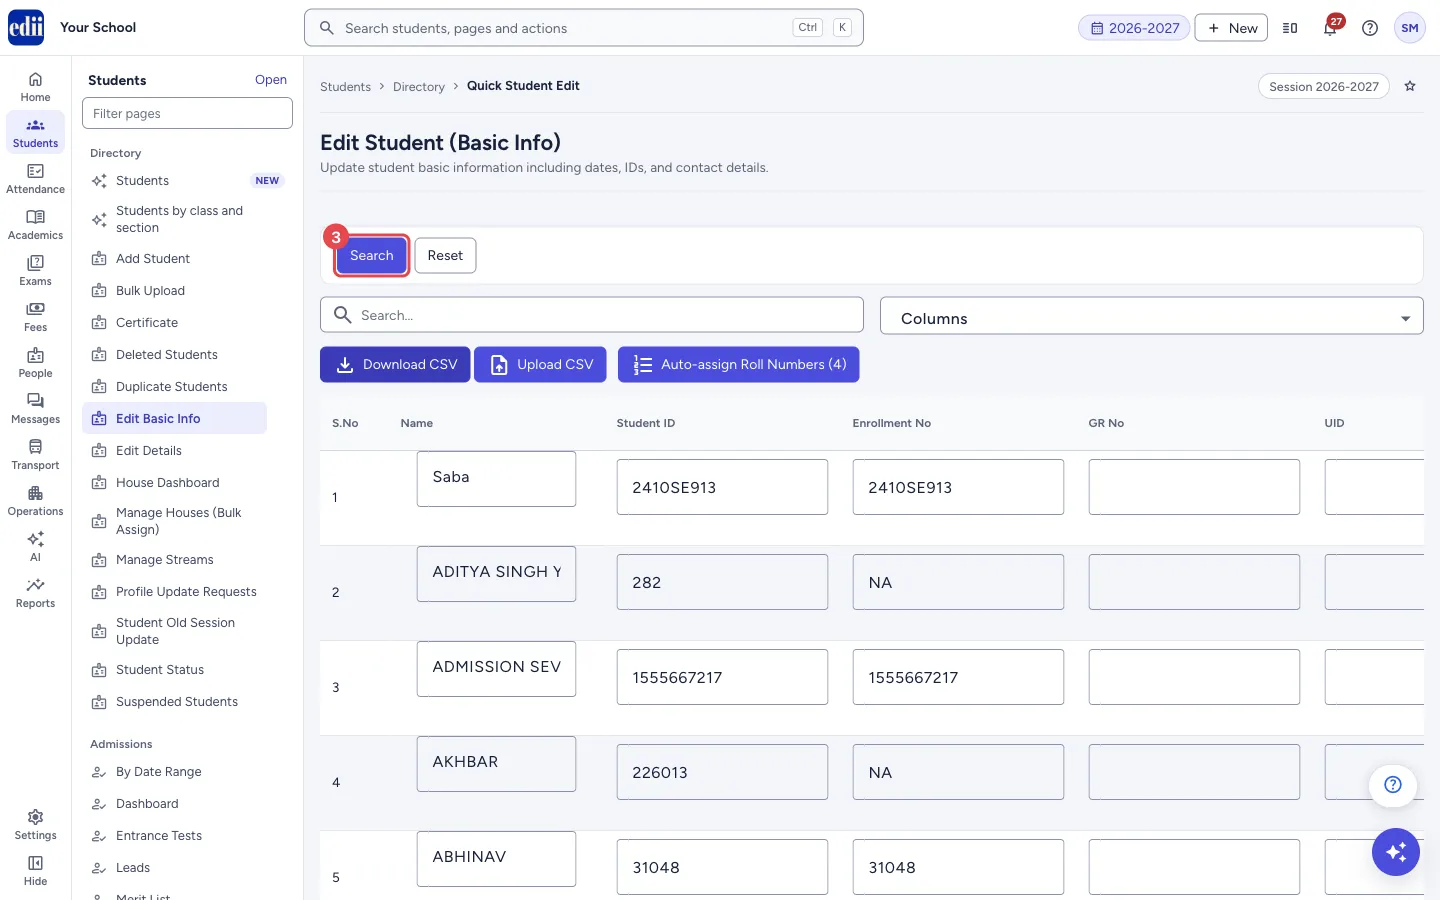 Open a bigger pictureतस्वीर बड़ी करें
4. Choose the columns
Section titled “4. Choose the columns”Open the box that says Columns and tick the columns you want. Fewer columns make the table easier to work in. Select All ticks everything.
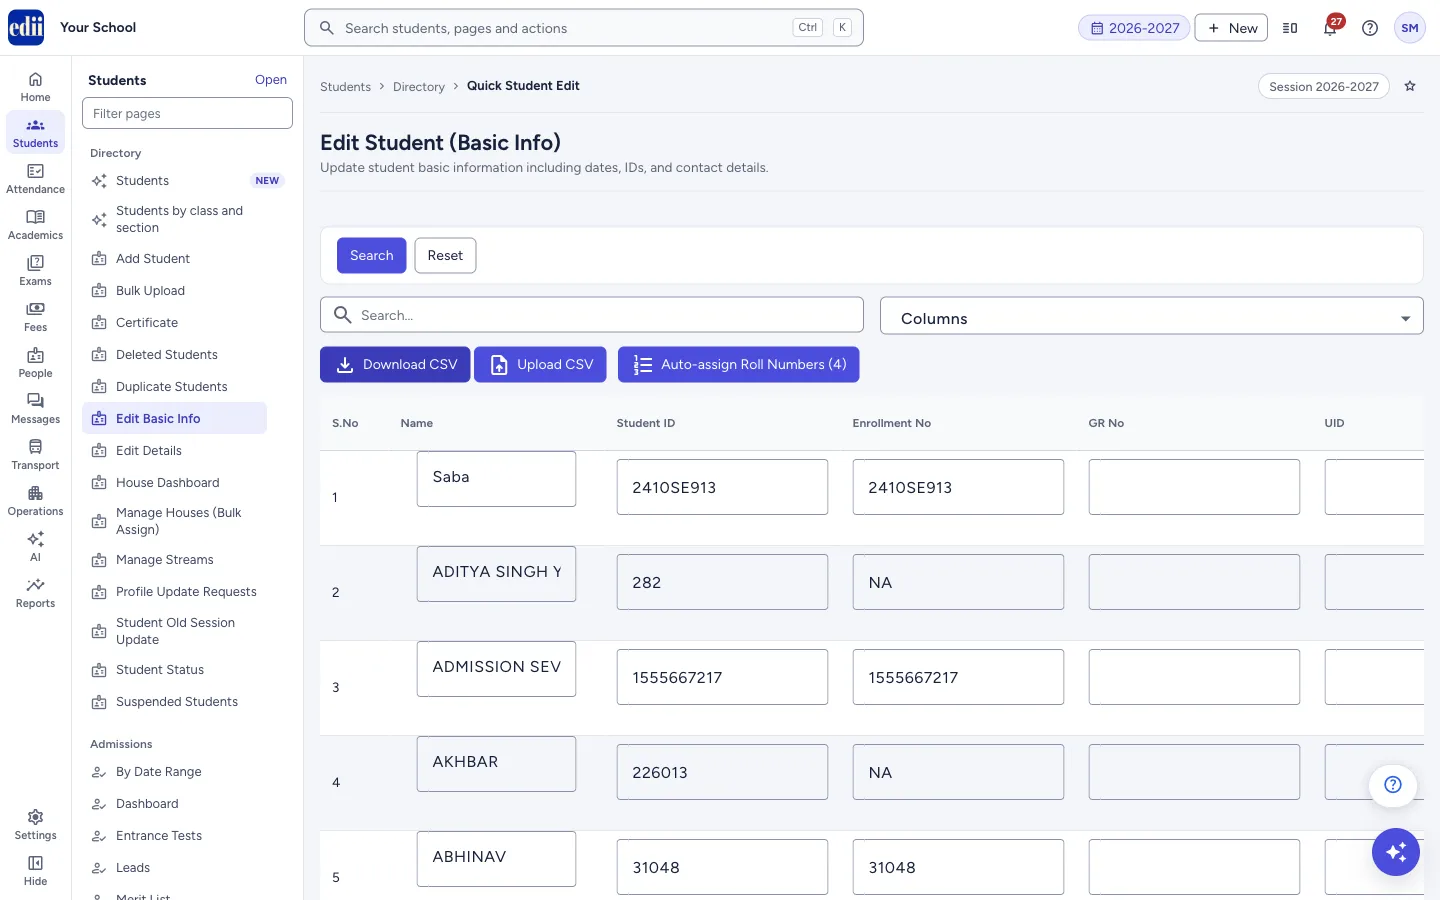 Open a bigger pictureतस्वीर बड़ी करें
5. Edit a value
Section titled “5. Edit a value”Click a box and type, or choose from the list. When you leave the box the change is saved and you see Details of <name> has been updated.
Dates are typed as DD-MM-YYYY. A date of birth in another form shows Please enter a valid date in DD-MM-YYYY format.
6. Give roll numbers
Section titled “6. Give roll numbers”If some students have no roll number, the button Auto-assign Roll Numbers (N) shows, where N is how many are missing. Select it. A box asks Assign roll numbers? and explains that the students are numbered in alphabetical order of name, with the lowest numbers not already used in the section, and that students who already have a roll number are not touched. Select Assign & Save to go ahead.
When finished you see Roll numbers assigned to <n> student(s).
7. Edit many students in Excel (optional)
Section titled “7. Edit many students in Excel (optional)”Select Download CSV to get a file of the loaded class. Open it in Excel and change the values, but leave the ediiid column alone: it links every row to its student.
Select Upload CSV and choose the edited file. The values are put into the table so you can check them, and a button Save Imported Changes (N) appears. Nothing is saved until you select it. Afterwards you see how many were saved and how many failed.
Fields and filters
Section titled “Fields and filters”| Field | What it is | Notes |
|---|---|---|
| Select Class, Select Section | The students to edit. | Required. |
| Search… | Finds a row in the table by what you type. | Shown after you search. |
| Columns | Chooses the columns shown. | S.No, Name, ID, Enrollment No, Gr No, UID, Date Of Birth, Date of Admission, Father Name, Mother Name, Phone No, Address, Last School, Gender, Category, Student Type, Special Category, Stream, Religion, House, TcIssued, Income, Aadhaar, Pen No, Blood Group, Height, Weight, Rollno, Image, Attachments, SMID, FMID, Scholar Number, Fathers Mobile. |
| Gender | A list. | None, Male, Female, Other. |
| Category, Student Type, Stream, Religion, House, Special Category | Lists made from your school’s own set-up. Special Category lets you choose more than one. | A value already saved that is not in the list stays selectable, so it is not lost. |
| Pen No | Permanent Education Number. | Must be more than 10 digits and must not belong to another student. |
Buttons
Section titled “Buttons”| Button | What it does | What happens next |
|---|---|---|
| Search | Loads the students of the chosen class and section. | The editable table opens. |
| Reset | Opens the class and section boxes again. | You can choose another class. |
| Download CSV | Saves the loaded class as a CSV file. | A file named StudentBasicInfo_<class>_<section> is saved. |
| Upload CSV | Reads an edited CSV file into the table. | <n> row(s) loaded into the table. Review, then click “Save Imported Changes” to save. |
| Save Imported Changes (N) | Saves every row you loaded from the CSV. | All <n> imported student(s) saved. or <n> saved, <m> failed. Re-upload to retry the failed rows. |
| Auto-assign Roll Numbers (N) | Gives roll numbers to the N students who have none, after you confirm. | Roll numbers assigned to <n> student(s). |
| Edit Image | Opens a window to change the student’s photo. | Image uploaded successfully. |
| Attachments | Opens the student’s attachments. | A window with the student’s attachments opens. |
Columns
Section titled “Columns”| Column | Meaning |
|---|---|
| S.No | Serial number. |
| Name, Student ID, Enrollment No, GR No, UID, Rollno | The student’s name and numbers. Every box can be edited. |
| Date of Birth, Date of Admission | Dates in DD-MM-YYYY. |
| Father Name, Mother Name, Phone No, Phone No(2), Address, Father’s Mobile No | Parents and contact details. |
| Last School, Gender, Category, Student Type, Special Category, Stream, Religion, House, TcIssued | Other student details. |
| Income, Aadhaar, Pen No, Blood Group, Height, Weight, SMID, FMID, Scholar Number | Identity and health details. |
| Image, Attachments | Buttons to change the photo or open documents. |
After you save
Section titled “After you save”- Each change is saved for that student at once, and the message Details of <name> has been updated confirms it.
- Changes made through a CSV are saved only after you select Save Imported Changes.
Good to know
Section titled “Good to know”- Roll numbers are never given automatically when the page opens. Only the Auto-assign Roll Numbers button does it, after you confirm.
- A CSV must keep the ediiid column unchanged. If a row’s ediiid is blank, repeated, or not a student of the chosen class and section, the whole upload is stopped and nothing is imported.
- Columns in the CSV that the page does not know are ignored.
Messages you may see
Section titled “Messages you may see”| Message | What it means | What to do |
|---|---|---|
| Details of <name> has been updated | The change was saved. | Nothing to do. |
| PEN Number must be more than 10 digits | The PEN number is too short. | Type the full PEN number. |
| Please enter a valid date in DD-MM-YYYY format. | The date of birth is not in day-month-year form. | Type it like 05-07-2018. |
| Search a class/section first, then download the file to edit. | You selected Download CSV before searching. | Search a class and section first. |
| The file must keep the “ediiid” column (it links each row to a student). Re-download and try again. | The ediiid column was deleted from the CSV. | Download the file again and edit only the other columns. |
| The file has no data rows. Download the file, edit values, then re-upload. | The CSV has only the heading row. | Use a file that has the students. |
| Could not read the file. Please upload a valid CSV. | The file is not a readable CSV. | Save it again as CSV and upload. |
| Every loaded student already has a roll number. | There is nothing to assign. | Nothing to do. |
| Network Issue, Please Try Again. | The request did not reach EDII. | Check the internet and try again. |
- To fix the same thing for many students, such as a house or a category, the CSV is faster than typing in each row.
- Use Columns to keep only the columns you are fixing.
Stuck? Try this
Section titled “Stuck? Try this”| Problem | Likely cause | What to do |
|---|---|---|
| My change did not stick | A message such as a PEN number or date error appeared and the change was refused. | Read the message, correct the box and leave it again. |
| The CSV upload was refused | The ediiid column was changed or removed. | Download the file again and change only the other columns. |
Did this page help?क्या इस पेज से मदद मिली?
Thanks! Glad it helped.धन्यवाद! अच्छा लगा कि काम बन गया।
Sorry about that. Ask in your own words, or write to us.माफ़ कीजिए। अपने शब्दों में पूछें, या हमें लिखें।