
Screen guide · Web app
Add Alumni Student
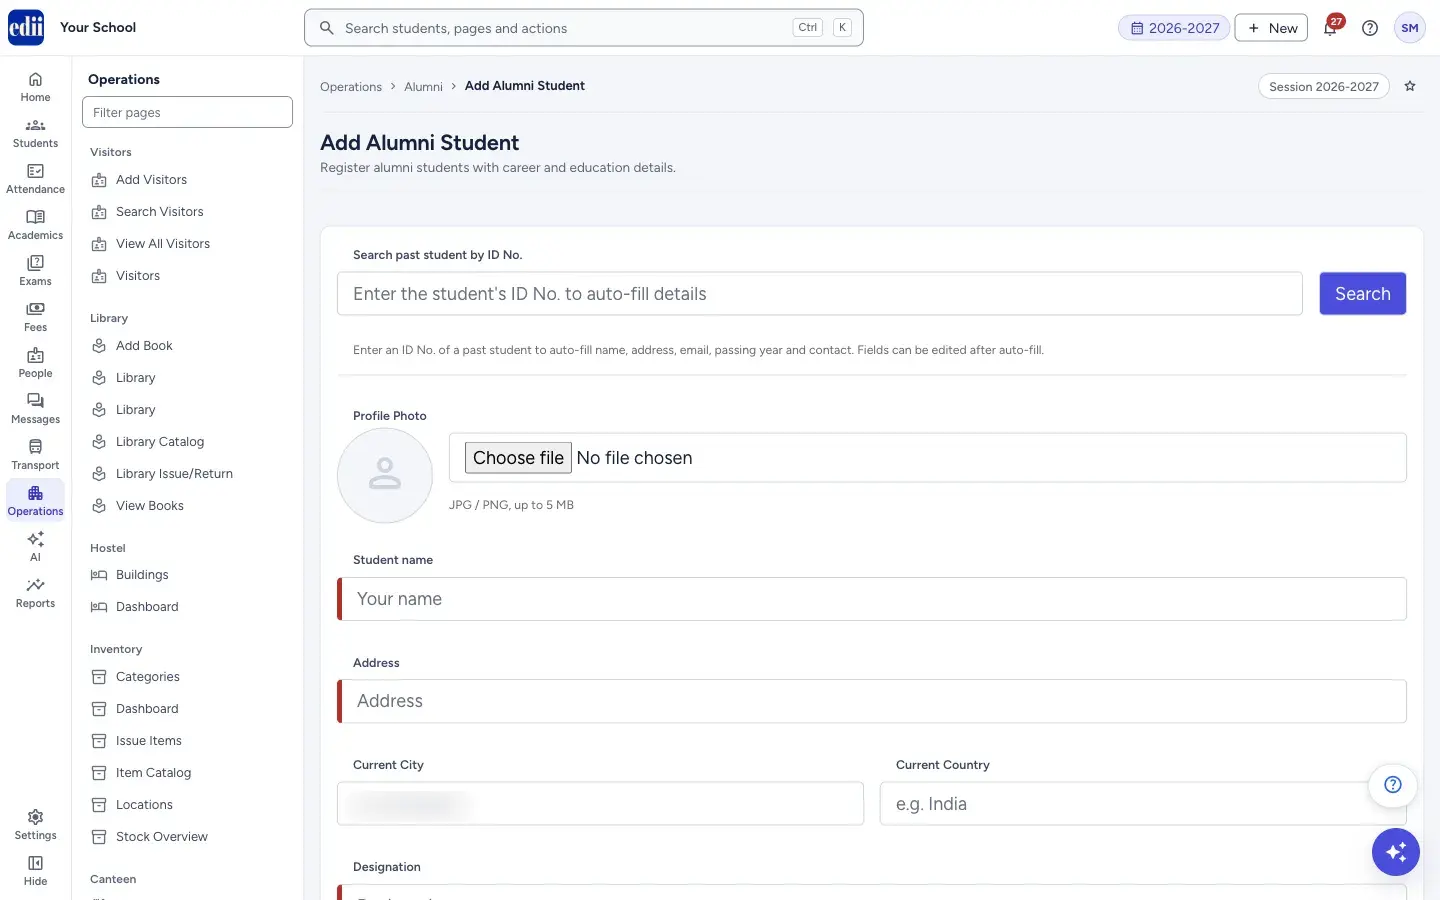
A form to record one former student with career, education and contact details, with an optional look-up by ID No.
यह पेज अंग्रेज़ी में है। कुछ समझ न आए तो ।
Add Alumni Student is where you add a former student to the school’s alumni list. You can fill in where the person lives and works today, higher education, a photo, and whether they are happy to mentor students or speak at school events.
If the person studied in your school, type the old ID No. in Search past student by ID No. and select Search. EDII fills the name, address, email, passing year and Contact 1 for you. You can change anything after that.
When you select Register, the alumnus is saved and you are taken to the View Alumni Student list. The same form is used to edit an alumnus. When you choose Edit on a row in View Alumni Student, the form opens with that person’s details, is called Edit Alumni Profile, and has an Update button instead of Register. After Update, EDII shows Alumni profile updated! and returns to the list.
Who uses it and when
Section titled “Who uses it and when”The alumni coordinator or office staff, whenever a former student is added to the alumni directory.
Before you start
Section titled “Before you start”- Ask the alumnus before you add them to the alumni showcase. The box Consent to be featured (on website / alumni showcase) is meant to record this.
- Keep the old student ID No. ready if the person studied in your school.
Where to find it
Section titled “Where to find it”- In school.edii.in: Operations › Alumni › Add Alumni Student
- Or press Ctrl K (⌘ K on a Mac) and type Add Alumni Student.
- Address:
school.edii.in/add/add-alumni - Who can see it: The same staff who see the other Alumni pages. If it is missing from your menu, ask your school admin.
 Open a bigger pictureतस्वीर बड़ी करें
Step by step
Section titled “Step by step”1. Look up the past student (optional)
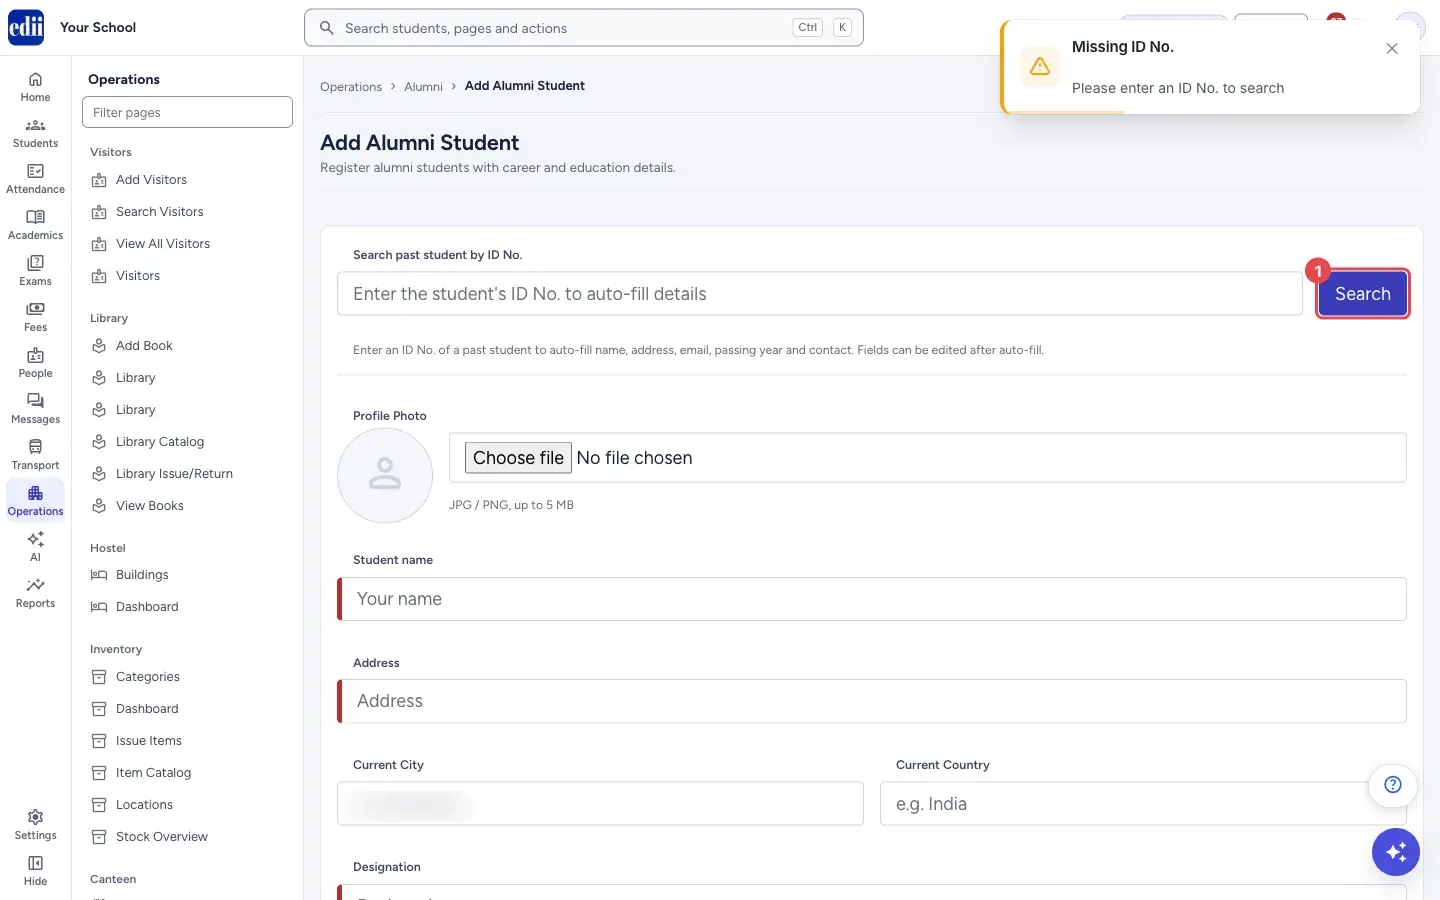
Section titled “1. Look up the past student (optional)”Type the student’s ID No. in Search past student by ID No. and select Search (or press Enter). EDII fills Student name, Address, Email address, Passing Year From School and Contact 1, and shows Student details loaded.
If you select Search with the box empty, EDII shows Please enter an ID No. to search.
 Open a bigger pictureतस्वीर बड़ी करें
2. Add a photo (optional)
Section titled “2. Add a photo (optional)”Under Profile Photo, select Choose file and pick a JPG or PNG up to 5 MB. When the upload is done, EDII shows Photo uploaded and the picture appears in the round frame. Select Remove Photo to take it off again.
3. Fill the person’s details
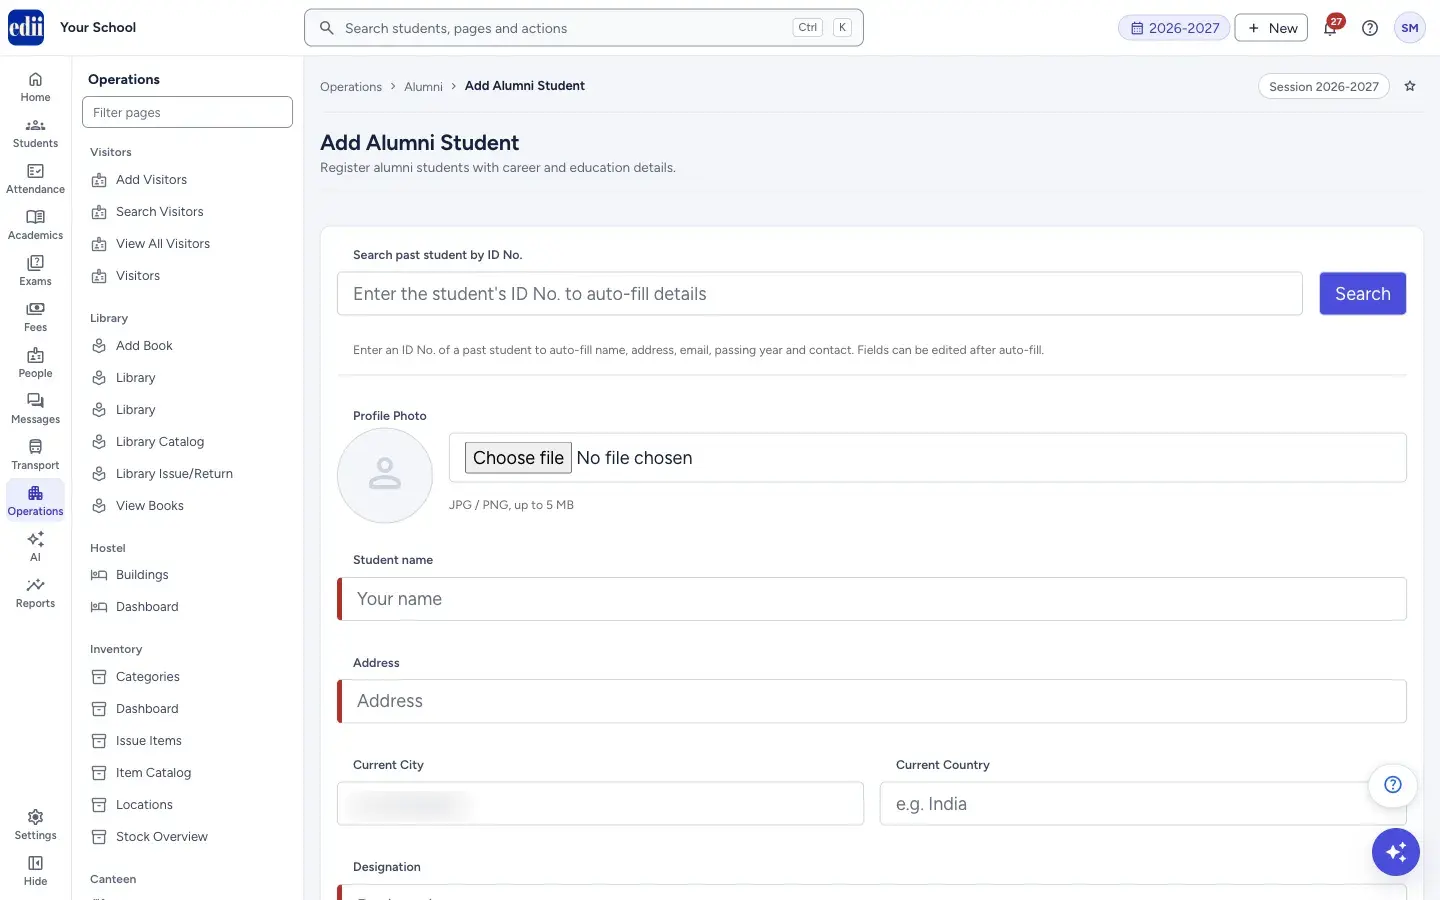
Section titled “3. Fill the person’s details”Fill Student name, Address, Designation, Department, Passing Year From School and Contact 1. These six are required.
Optionally fill Current City, Current Country, Email address, Contact 2, Current Company, LinkedIn Profile and Achievements.
 Open a bigger pictureतस्वीर बड़ी करें
4. Add higher education (optional)
Section titled “4. Add higher education (optional)”Select + Add Education to add a row with University / Institute, Degree and Year. Add as many rows as you need. Select Remove on a row to delete it. Rows left completely empty are not saved.
5. Set the engagement choices
Section titled “5. Set the engagement choices”Under Alumni Engagement, tick Willing to Mentor current students, Willing to Speak at school events and Consent to be featured (on website / alumni showcase) as the alumnus has agreed. Use Any Other Comments for anything else.
6. Register
Section titled “6. Register”Select Register. If a required box is empty, it shows a red message under it. When the alumnus is saved, EDII shows Alumni added: with the name and opens the View Alumni Student list.
Fields and filters
Section titled “Fields and filters”| Field | What it is | Notes |
|---|---|---|
| Search past student by ID No. | The ID No. of a student who studied in your school. Fills the form. | Optional. Not shown when you are editing. |
| Profile Photo | A photo of the alumnus. | Optional. Image files only, up to 5 MB. |
| Student name | Full name of the alumnus. | Required. Message: Student Name is required. |
| Address | Home address. | Required. Message: Address is required. |
| Current City, Current Country | Where the alumnus lives now. | Optional. |
| Designation | Job title. | Required. Message: Designation is required. |
| Department | Department or field of work. | Required. Message: Department is required. |
| Passing Year From School | The year the person left the school. | Required. Message: Passing Year is required. After a search it is filled with the session of the student record. |
| Email address | Email of the alumnus. | Optional. |
| Contact 1 | Main phone number. | Required, exactly 10 digits. Message: Valid 10-digit contact number is required. |
| Contact 2 | A second phone number or contact detail. | Optional. |
| Higher Education | Each row has University / Institute, Degree and Year. | Optional. Use + Add Education to add a row. |
| Current Company | Where the alumnus works now. | Optional. |
| LinkedIn Profile | The link to the LinkedIn page. | Optional. |
| Achievements | Awards, publications, recognitions and similar. | Optional. |
| Willing to Mentor current students | Tick if the alumnus will mentor current students. | Optional. |
| Willing to Speak at school events | Tick if the alumnus will speak at school events. | Optional. |
| Consent to be featured (on website / alumni showcase) | Tick if the alumnus agrees to be shown on the website or alumni showcase. | Optional. |
| Any Other Comments | A free note. | Optional. |
Buttons
Section titled “Buttons”| Button | What it does | What happens next |
|---|---|---|
| Search | Looks up the past student by ID No. and fills the form. | The toast Student details loaded, or an error if the student is not found. |
| Remove Photo | Takes the chosen photo off the form. | The round frame shows the empty picture again. |
| + Add Education | Adds one row for a degree. | A row with University / Institute, Degree, Year and Remove appears. |
| Register | Saves the alumnus. | The View Alumni Student list opens. The button shows Saving… while it works and is switched off while a photo is uploading. |
After you save
Section titled “After you save”- The alumnus is in the View Alumni Student list and in the Alumni profile view.
Good to know
Section titled “Good to know”- In the text boxes you can type letters, numbers, spaces and these signs only: - @ & . , / _ # :
- The photo must be an image file and not bigger than 5 MB.
- The photo is uploaded as soon as you pick it, before you select Register.
Messages you may see
Section titled “Messages you may see”| Message | What it means | What to do |
|---|---|---|
| Please enter an ID No. to search | You selected Search with the ID box empty. | Type the ID No. first. |
| Student details loaded | The student was found and the form was filled. | Check the details and complete the rest. |
| Student not found | No student matched the ID No. | Check the ID No. or type the details yourself. |
| Please choose an image file | The file you picked is not an image. | Pick a JPG or PNG. |
| Image is too large. Please use an image under 5 MB. | The photo is bigger than 5 MB. | Use a smaller picture. |
| Photo uploaded | The photo was saved. | Nothing to do. |
| Photo upload failed. Please try again. | The photo could not be sent. | Check the internet and pick the photo again. |
| Network Issue, Please Try Again. | The alumnus could not be saved. | Check the internet and select Register again. |
- Use the search for students from your own school. It saves typing and gives the right passing year.
- Fill Current City and Current Country even for alumni who live abroad. They make the list easy to filter later.
Stuck? Try this
Section titled “Stuck? Try this”| Problem | Likely cause | What to do |
|---|---|---|
| Register does nothing | A required box is empty or Contact 1 is not 10 digits. | Look for the red message under the boxes and correct it. |
| Register is greyed out | A photo is still uploading, or the alumnus is being saved. | Wait a moment. |
Did this page help?क्या इस पेज से मदद मिली?
Thanks! Glad it helped.धन्यवाद! अच्छा लगा कि काम बन गया।
Sorry about that. Ask in your own words, or write to us.माफ़ कीजिए। अपने शब्दों में पूछें, या हमें लिखें।