
Screen guide · Web app
Emergency Contacts
Keep the people the school can call in an emergency for each student, with phone numbers, priority and who may pick the student up.
यह पेज अंग्रेज़ी में है। कुछ समझ न आए तो ।
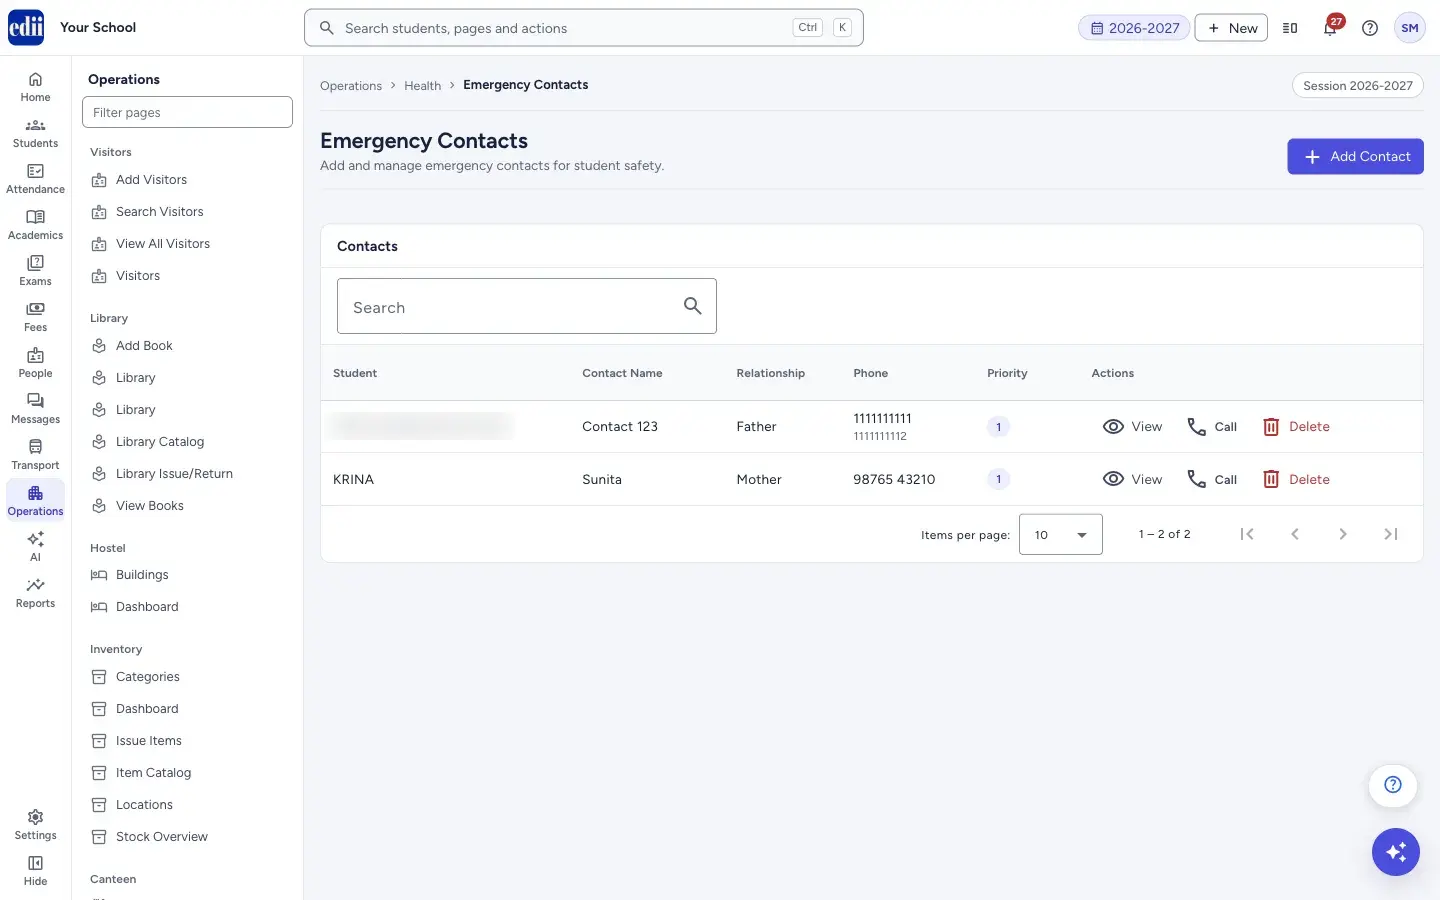
Emergency Contacts lists the contacts saved for students: Student, Contact Name, Relationship, Phone and Priority. A student can have several contacts. The priority tells staff whom to call first: 1 is the first, 2 the next and so on.
Use Add Contact to save a new contact. View shows everything saved for a contact. Call starts a phone call with the primary number, on a device that can place calls. Delete removes a contact.
Who uses it and when
Section titled “Who uses it and when”The office or health staff add the contacts at admission and when a parent gives a new number. The clinic or class teacher looks the person up when a student is unwell.
Before you start
Section titled “Before you start”- These pages appear in the Operations menu only when your school uses the Health Records module.
- The student must already be in the school’s student list.
Where to find it
Section titled “Where to find it”- In school.edii.in: Operations › Health › Emergency Contacts
- Or press Ctrl K (⌘ K on a Mac) and type Emergency Contacts.
- Address:
school.edii.in/health-records/emergency-contacts - Who can see it: Shown only when your school uses Health Records in EDII. The page is tied to that module, not to a separate role, so it is in the Operations menu of staff who sign in to a school that has Health Records switched on. Phone numbers and addresses are private details: keep staff sign-ins limited to the people who should see them. If it is missing from your menu, ask your school admin.
 Open a bigger pictureतस्वीर बड़ी करें
Step by step
Section titled “Step by step”1. Look at the contacts
Section titled “1. Look at the contacts”The table lists the contacts. Type in Search to find one. Select Student, Contact Name or Priority in the heading to sort. Use Items per page to show 10, 25, 50 or 100 rows. A second phone number, when there is one, is shown under the first.
 Open a bigger pictureतस्वीर बड़ी करें
2. Add a contact
Section titled “2. Add a contact”Select Add Contact. Under Student Information, type at least two letters of the name, EDII ID or roll number in Search Student and select the student (up to 8 are shown). Clear lets you pick another.
3. Fill the contact information
Section titled “3. Fill the contact information”Type the Contact Name, choose the Relationship (Father, Mother, Guardian, Grandparent, Sibling, Uncle, Aunt, Neighbor, Family Friend or Other) and the Priority (1 - Primary, 2 - Secondary, 3 - Tertiary, 4 or 5). Enter the Primary Phone. Secondary Phone, Email and Home Address are optional.
4. Add work details and permissions
Section titled “4. Add work details and permissions”Optional: Work Phone and Work Address. Under Permissions, Authorized for Student Pickup is ticked by default; untick it if this person may not take the student home. Tick Medical Decision Authority if the person can decide on medical care. Active Contact is ticked by default. Write any Special Instructions.
5. Save
Section titled “5. Save”Select Save Contact. The message Emergency contact added successfully appears and the contact is in the list. Save Contact stays switched off until a student is chosen. Cancel leaves without saving.
6. View or delete a contact
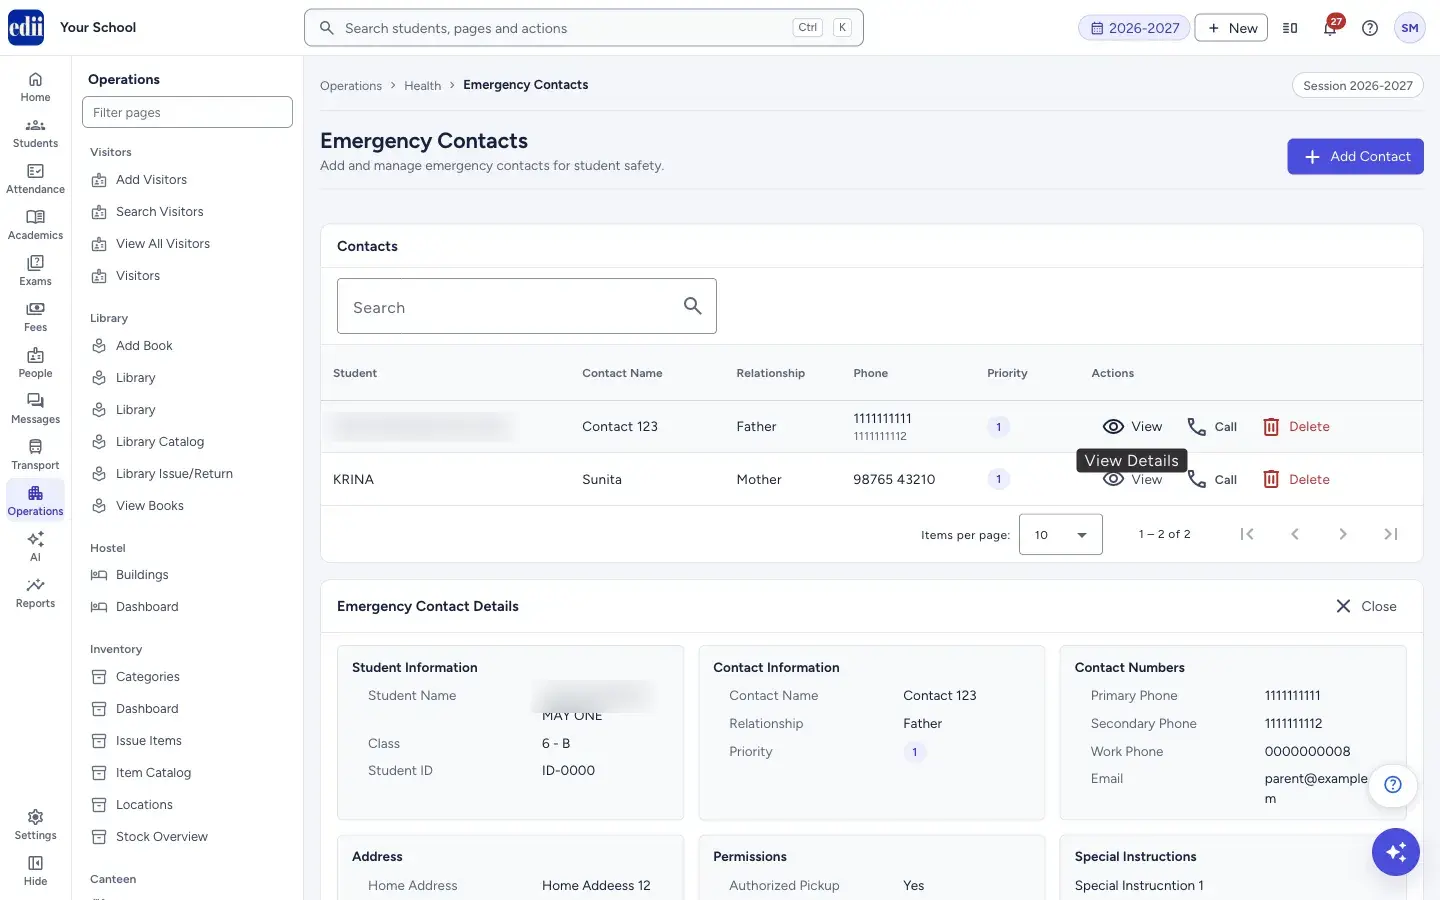
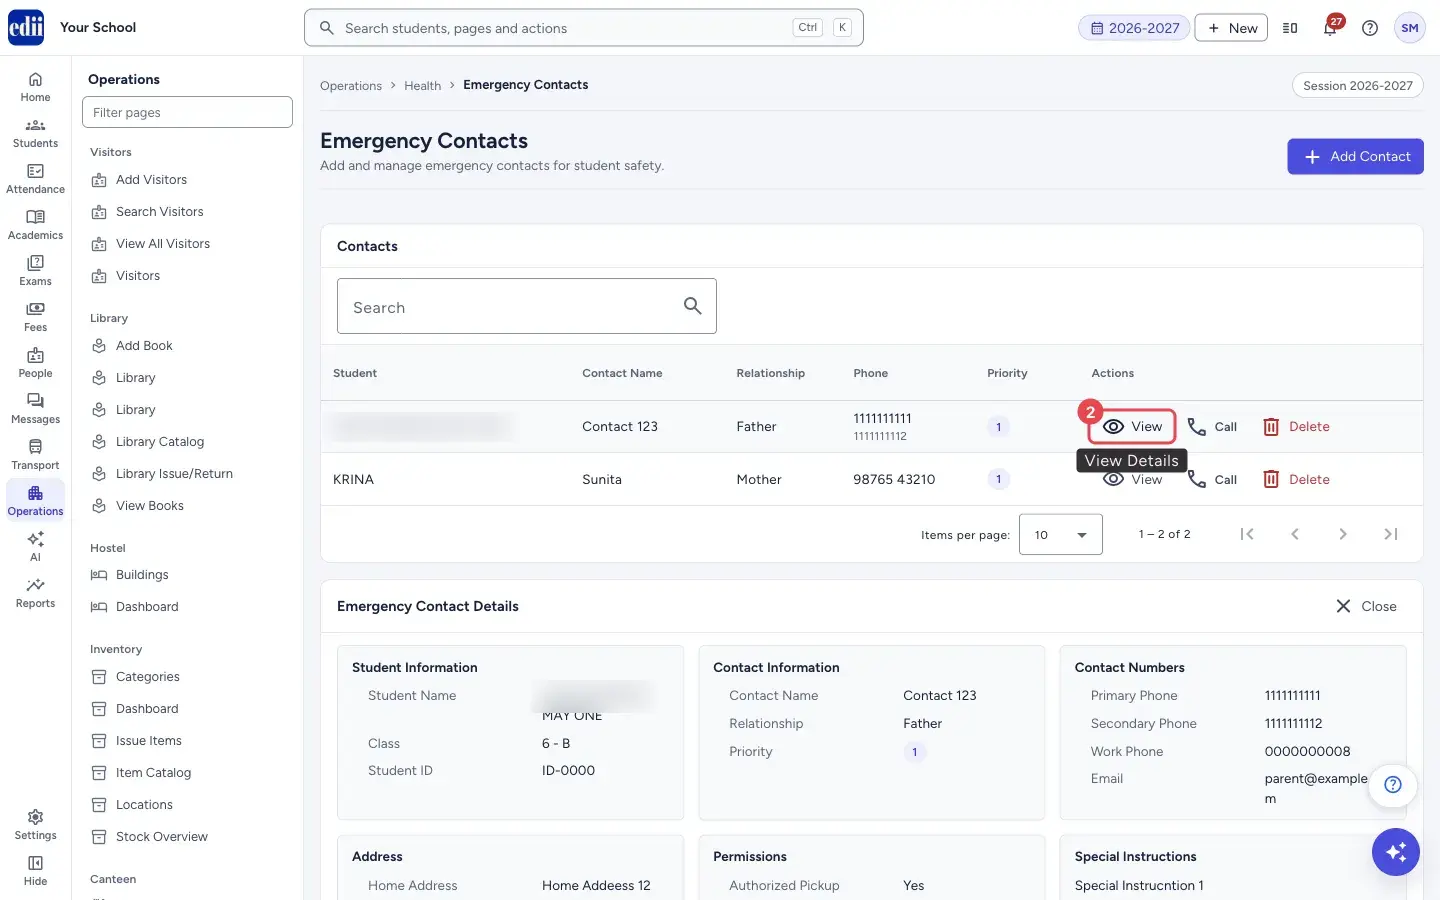
Section titled “6. View or delete a contact”Select View on a row. The box Emergency Contact Details opens below the list with the student, contact, numbers, address, permissions and special instructions. You can select Call in it too, or Close.
Select Delete on the row. A box Delete emergency contact? asks Are you sure you want to delete the emergency contact with the name. Select Delete to confirm.
 Open a bigger pictureतस्वीर बड़ी करें
Fields and filters
Section titled “Fields and filters”| Field | What it is | Notes |
|---|---|---|
| Search Student | Finds the student. | Required. Type at least 2 characters. |
| Contact Name | The full name of the person to call. | Required. Error: Contact name is required. |
| Relationship | How the person is related to the student. | Required. Error: Relationship is required. |
| Priority | The order in which to call. | 1 to 5. Starts at 1 - Primary. |
| Primary Phone | The first number to call. | Required. Error: Primary phone is required. |
| Secondary Phone, Email, Home Address | Other ways to reach the person. | Optional. |
| Work Phone, Work Address | Where the person works. | Optional. |
| Authorized for Student Pickup | Whether this person may take the student home. | Ticked by default. |
| Medical Decision Authority | Whether this person can decide on medical care. | Not ticked by default. |
| Active Contact | Whether the contact is in use. | Ticked by default. |
| Special Instructions | Anything staff should know when calling. | Optional. |
Buttons
Section titled “Buttons”| Button | What it does | What happens next |
|---|---|---|
| Add Contact | Opens the form for a new contact. | The Add Emergency Contact form opens. |
| Save Contact | Saves the contact. | The list opens again with the new contact. |
| View | Shows everything saved for the contact. | The Emergency Contact Details box opens. |
| Call | Dials the primary phone number. | Your device offers to start the call. It works only on a device that can place phone calls. |
| Delete | Removes the contact after you confirm. | The message Emergency contact deleted successfully appears. |
Columns
Section titled “Columns”| Column | Meaning |
|---|---|
| Student | The student the contact belongs to. |
| Contact Name, Relationship | Who the person is. |
| Phone | The primary number, with the secondary number under it. |
| Priority | 1 to 5. Call the lowest number first. |
Good to know
Section titled “Good to know”- A saved contact cannot be edited. To change a number, add a new contact and delete the old one.
- If there are no contacts the page says No emergency contacts found.
Messages you may see
Section titled “Messages you may see”| Message | What it means | What to do |
|---|---|---|
| Please select a student and fill all required fields | The student, contact name, relationship or primary phone is missing. | Choose the student and fill the required fields. |
| Emergency contact added successfully | The contact is saved. | None needed. |
| Emergency contact deleted successfully | The contact is removed. | None needed. |
| Error adding contact | The contact could not be saved. | Check your internet connection and try again. |
| Error deleting contact | The contact could not be deleted. | Check your internet connection and try again. |
Did this page help?क्या इस पेज से मदद मिली?
Thanks! Glad it helped.धन्यवाद! अच्छा लगा कि काम बन गया।
Sorry about that. Ask in your own words, or write to us.माफ़ कीजिए। अपने शब्दों में पूछें, या हमें लिखें।