
Screen guide · Web app
Hall Ticket
Print a sheet of name slips for a whole class, to cut up and place on exam desks and answer booklets.
यह पेज अंग्रेज़ी में है। कुछ समझ न आए तो ।
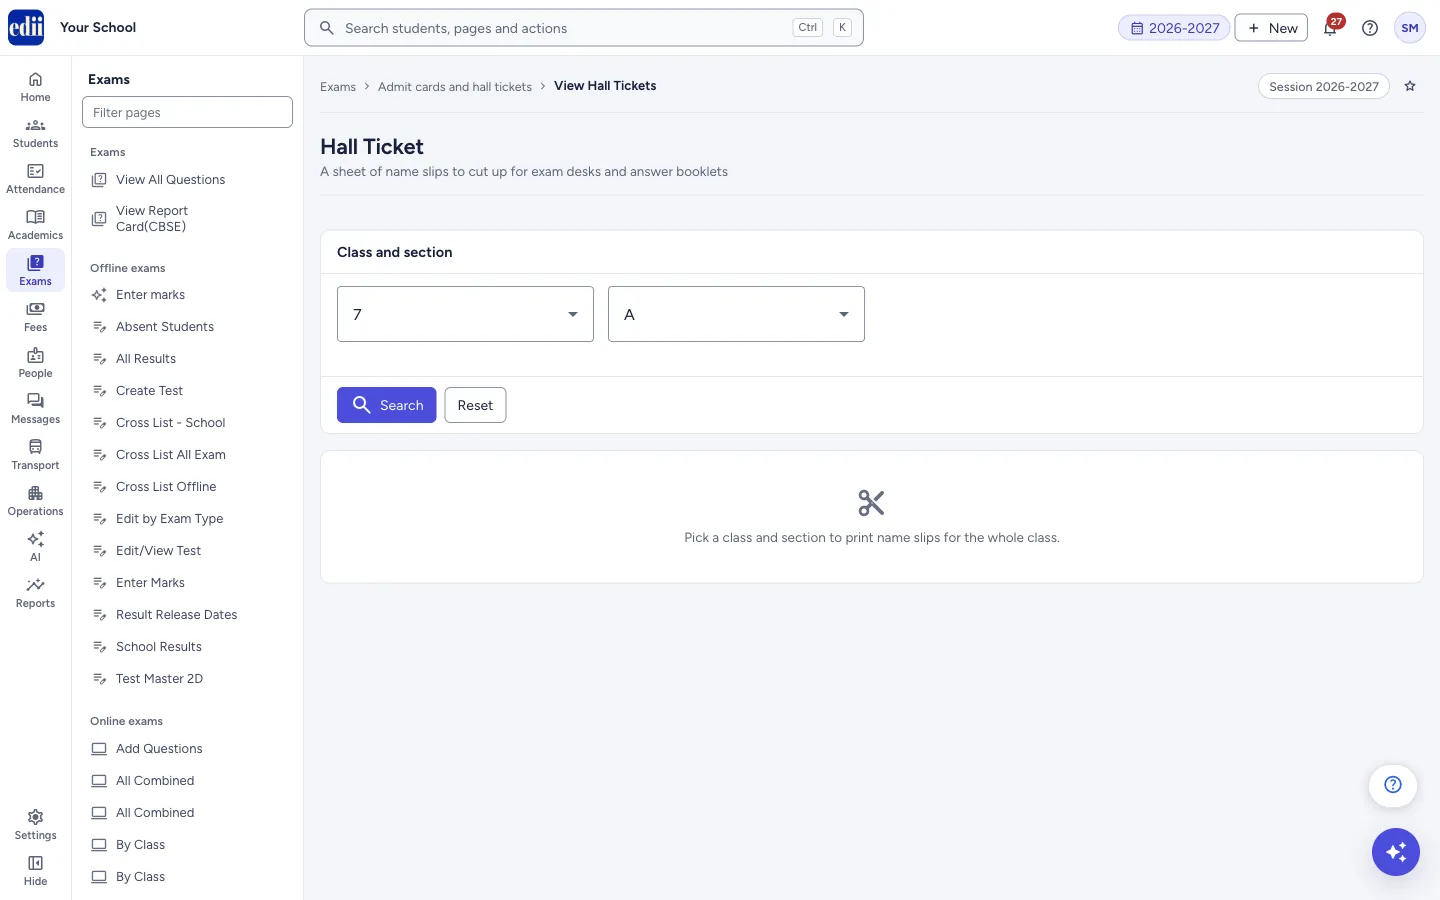
The screen is headed Hall Ticket and describes itself as A sheet of name slips to cut up for exam desks and answer booklets. It does not print the full admit card with the exam schedule; for that, use Admit Card Details.
You choose a class and section, and every student of the class appears as a slip showing the roll number and name. Choose how many slips go on a page, in what order, and what each slip shows. The preview on the screen is the sheet you will get: it is printed at true size on A4, and you cut along the dashed lines.
Who uses it and when
Section titled “Who uses it and when”The exam in-charge, before the exams, to label desks and answer booklets.
Where to find it
Section titled “Where to find it”- In school.edii.in: Exams › Admit cards and hall tickets › Hall Ticket
- Or press Ctrl K (⌘ K on a Mac) and type Hall Ticket.
- Address:
school.edii.in/view/hall-ticket - Who can see it: Staff whose role includes Exams access. Shown only when your school uses Exam in EDII. If it is missing from your menu, ask your school admin.
 Open a bigger pictureतस्वीर बड़ी करें
Step by step
Section titled “Step by step”1. Choose the class
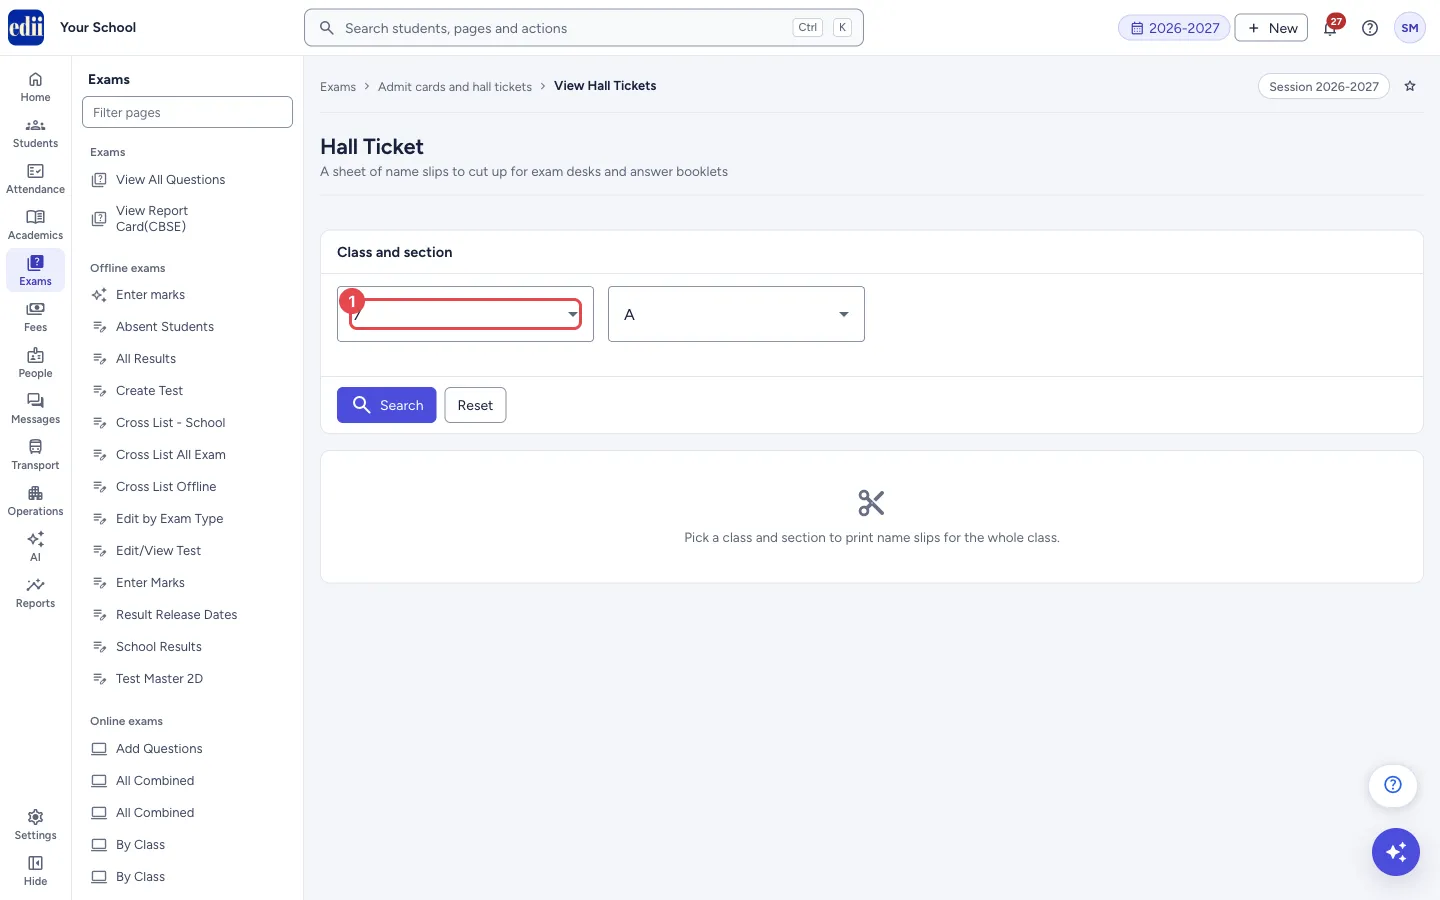
Section titled “1. Choose the class”In Select Class, choose the class.
 Open a bigger pictureतस्वीर बड़ी करें
2. Choose the section and search
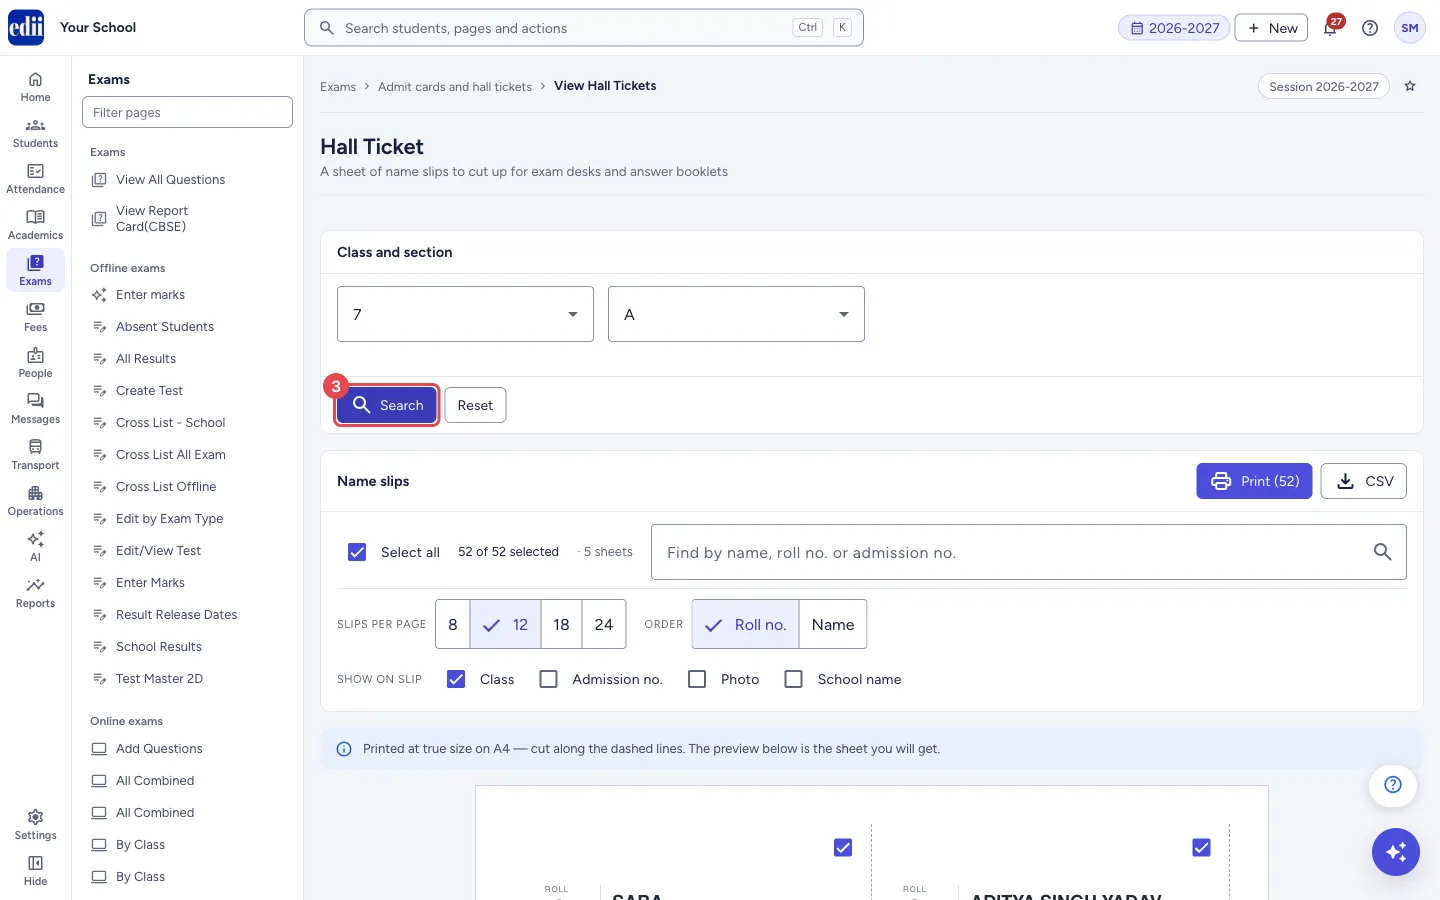
Section titled “2. Choose the section and search”In Select Section, choose the section and select Search. The slips of all students appear under Name slips, all ticked. If the class and section have no students you see No students found for this class and section. If the list cannot be loaded you see Could not load the class list. Nothing has been lost — try again. with a Retry button.
 Open a bigger pictureतस्वीर बड़ी करें
3. Choose the students
Section titled “3. Choose the students”Every slip has a tick box. Untick the students you do not want, or untick Select all and tick only some. The line beside it says how many are selected (for example 52 of 52 selected) and how many sheets they need. Type in Find by name, roll no. or admission no. to show only matching slips on the screen.
4. Set the sheet
Section titled “4. Set the sheet”Slips per page: 8, 12, 18 or 24. Fewer slips per page means bigger slips; 24 means the fewest sheets to cut.
Order: Roll no. (the order desks are laid out in) or Name.
Show on slip: tick Class, Admission no., Photo and School name. School name can be ticked only when the school’s name is known to the screen. Every slip always shows the roll number and name.
EDII remembers your choices of slips per page, order and what to show in this browser.
5. Print or download
Section titled “5. Print or download”Select Print (N), where N is the number of selected slips, to print them. Print on A4 at actual size (100%) so that the slips keep their size. Select CSV to download the selected students as a CSV file.
Both buttons are switched off while no slip is selected.
Fields and filters
Section titled “Fields and filters”| Field | What it is | Notes |
|---|---|---|
| Select Class, Select Section | The class and section whose students get slips. | Both required. Message if one is missing: Please select a class and a section. |
| Select all | Ticks or unticks every slip that is shown. | |
| Find by name, roll no. or admission no. | Shows only the matching slips on the screen. | Does not change which slips are ticked. |
| Slips per page | 8, 12, 18 or 24 slips on each A4 sheet. | 12 is described on screen as the usual choice. |
| Order | Roll no. or Name. | |
| Show on slip | Extra details on each slip: Class (shown as class and section), Admission no., Photo, School name. | Admission no. is shown only for students who have one. |
Buttons
Section titled “Buttons”| Button | What it does | What happens next |
|---|---|---|
| Search | Loads the students of the class and section. | The name slips and the sheet preview appear. |
| Reset | Clears the choice and the slips. | The screen returns to Pick a class and section to print name slips for the whole class. |
| Print (N) | Prints the selected slips. | The print window opens. |
| CSV | Downloads the selected students as a CSV file with the columns Roll No., Name, Class, Section and Admission No. | A file is downloaded. |
Good to know
Section titled “Good to know”- Only ticked slips are printed or downloaded. Unticked slips appear faded in the preview.
- A student with no roll number shows a dash on the slip.
Messages you may see
Section titled “Messages you may see”| Message | What it means | What to do |
|---|---|---|
| Please select a class and a section | You selected Search without choosing both. | Choose the class and the section. |
| No students found for this class and section | The class and section have no students. | Check the class and section. |
| Select at least one slip to print | No slip is ticked. | Tick at least one student. |
| Select at least one student to download | No slip is ticked. | Tick at least one student. |
| Bad/Slow Internet Connection, Please check your internet connection | The students could not be fetched. | Check the internet and select Search again. |
- Print one trial page on plain paper first to check the size.
- Tick Photo if desks are checked against the student’s face.
Stuck? Try this
Section titled “Stuck? Try this”| Problem | Likely cause | What to do |
|---|---|---|
| The slips do not line up with the dashed lines | The print window scaled the page. | Print at 100% (actual size) on A4. |
Did this page help?क्या इस पेज से मदद मिली?
Thanks! Glad it helped.धन्यवाद! अच्छा लगा कि काम बन गया।
Sorry about that. Ask in your own words, or write to us.माफ़ कीजिए। अपने शब्दों में पूछें, या हमें लिखें।