
Screen guide · Web app
Cross List All Exam
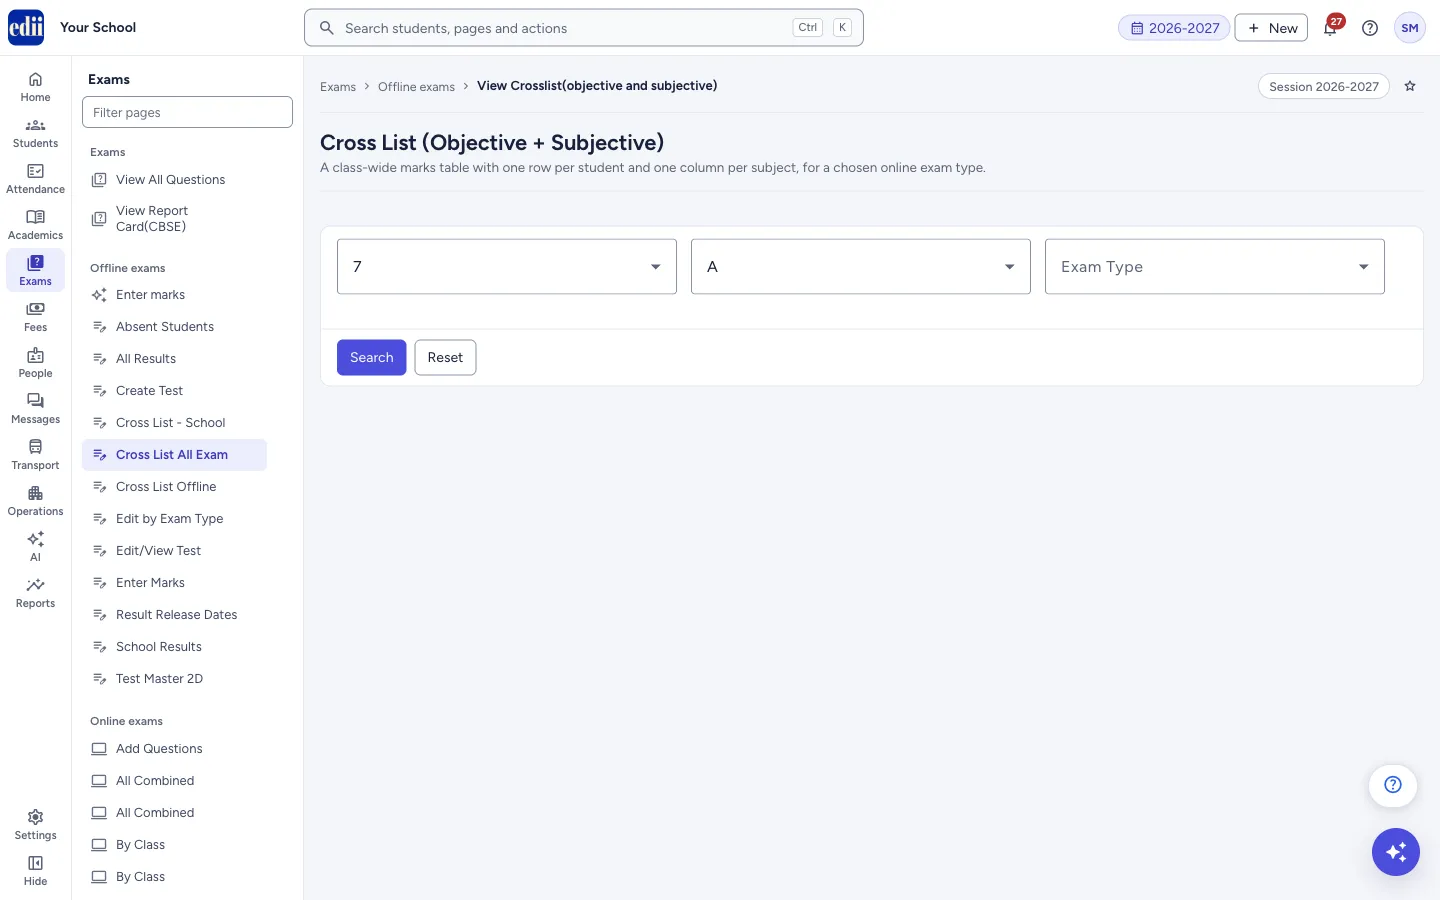
A marks table for one class and section and one exam type, with a row for each student and a column for each subject, combining objective and subjective online tests.
यह पेज अंग्रेज़ी में है। कुछ समझ न आए तो ।
The screen is headed Cross List (Objective + Subjective) and is described as A class-wide marks table with one row per student and one column per subject, for a chosen online exam type. You choose the Class, Section and Exam Type and select Search.
It reads the results of online tests (both the objective and the subjective kind). It is not the cross list of offline paper exams; for that use Cross List Offline.
Who uses it and when
Section titled “Who uses it and when”Teachers and the exam in-charge, to compare students across subjects after the online tests of an exam type.
Before you start
Section titled “Before you start”- Online tests must have been taken for the class, section and exam type.
Where to find it
Section titled “Where to find it”- In school.edii.in: Exams › Offline exams › Cross List All Exam
- Or press Ctrl K (⌘ K on a Mac) and type Cross List All Exam.
- Address:
school.edii.in/view/crossList-allExam - Who can see it: Staff whose role includes Exams access. Shown only when your school uses Exam in EDII. If it is missing from your menu, ask your school admin.
 Open a bigger pictureतस्वीर बड़ी करें
Step by step
Section titled “Step by step”1. Choose the class
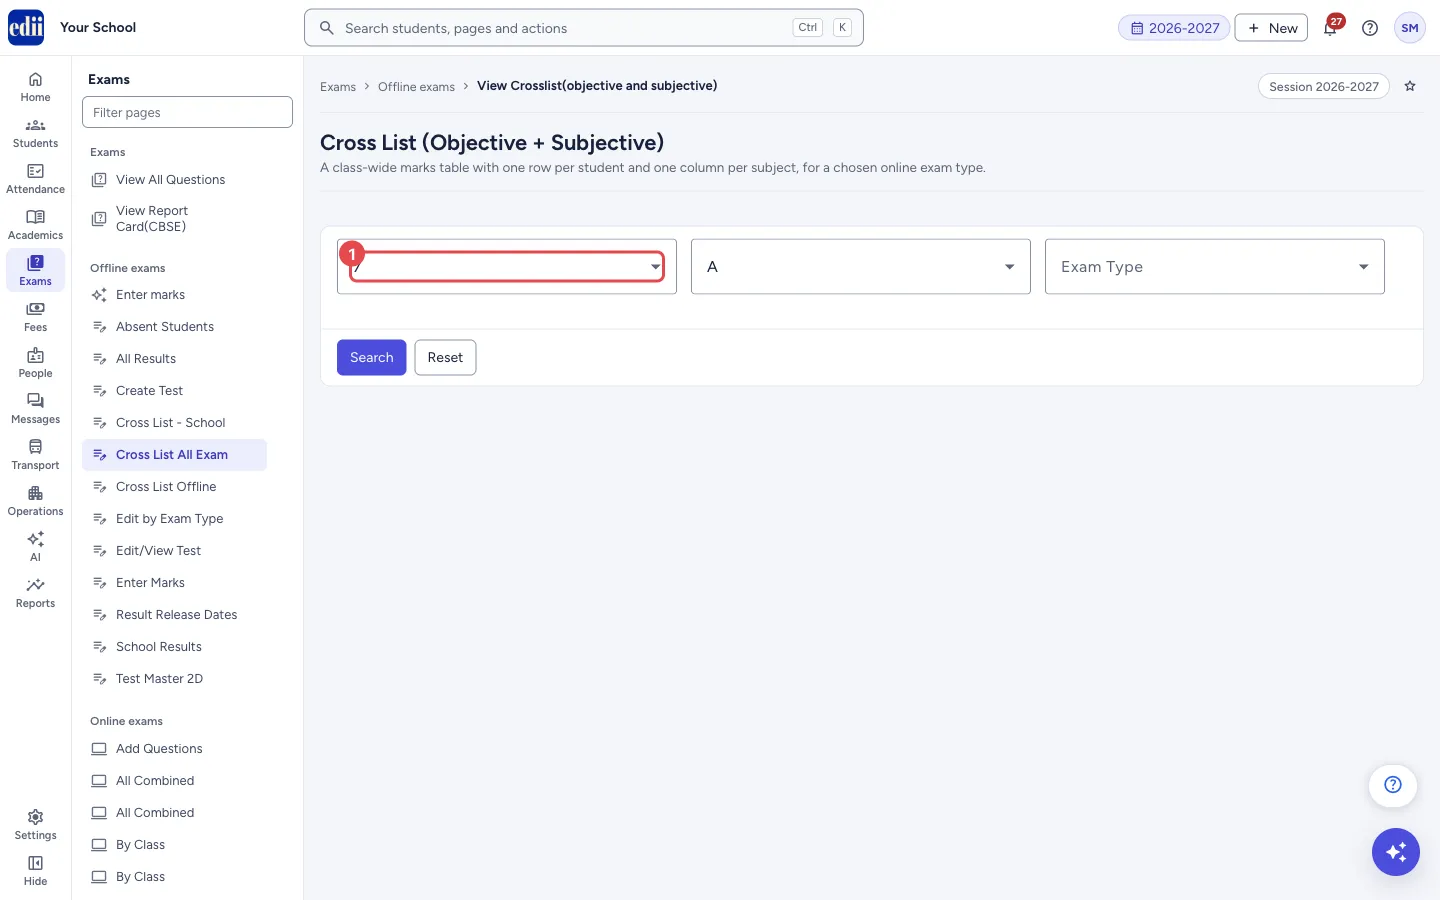
Section titled “1. Choose the class”In Select Class, choose the class.
 Open a bigger pictureतस्वीर बड़ी करें
2. Choose the section
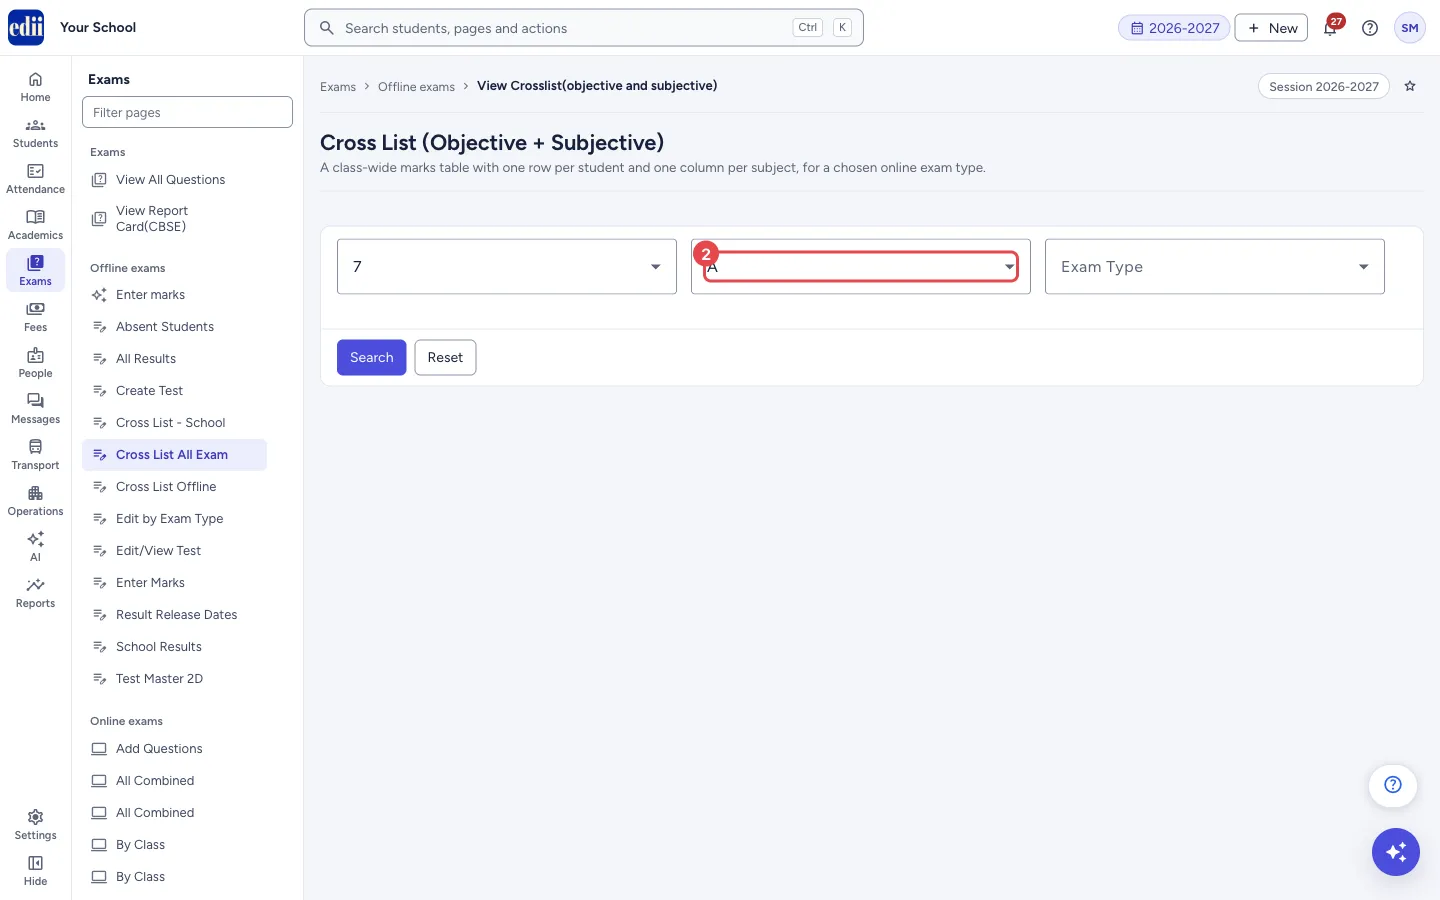
Section titled “2. Choose the section”In Select Section, choose the section.
 Open a bigger pictureतस्वीर बड़ी करें
3. Choose the exam type
Section titled “3. Choose the exam type”In Exam Type, choose the exam type. All three boxes are required.
4. Search
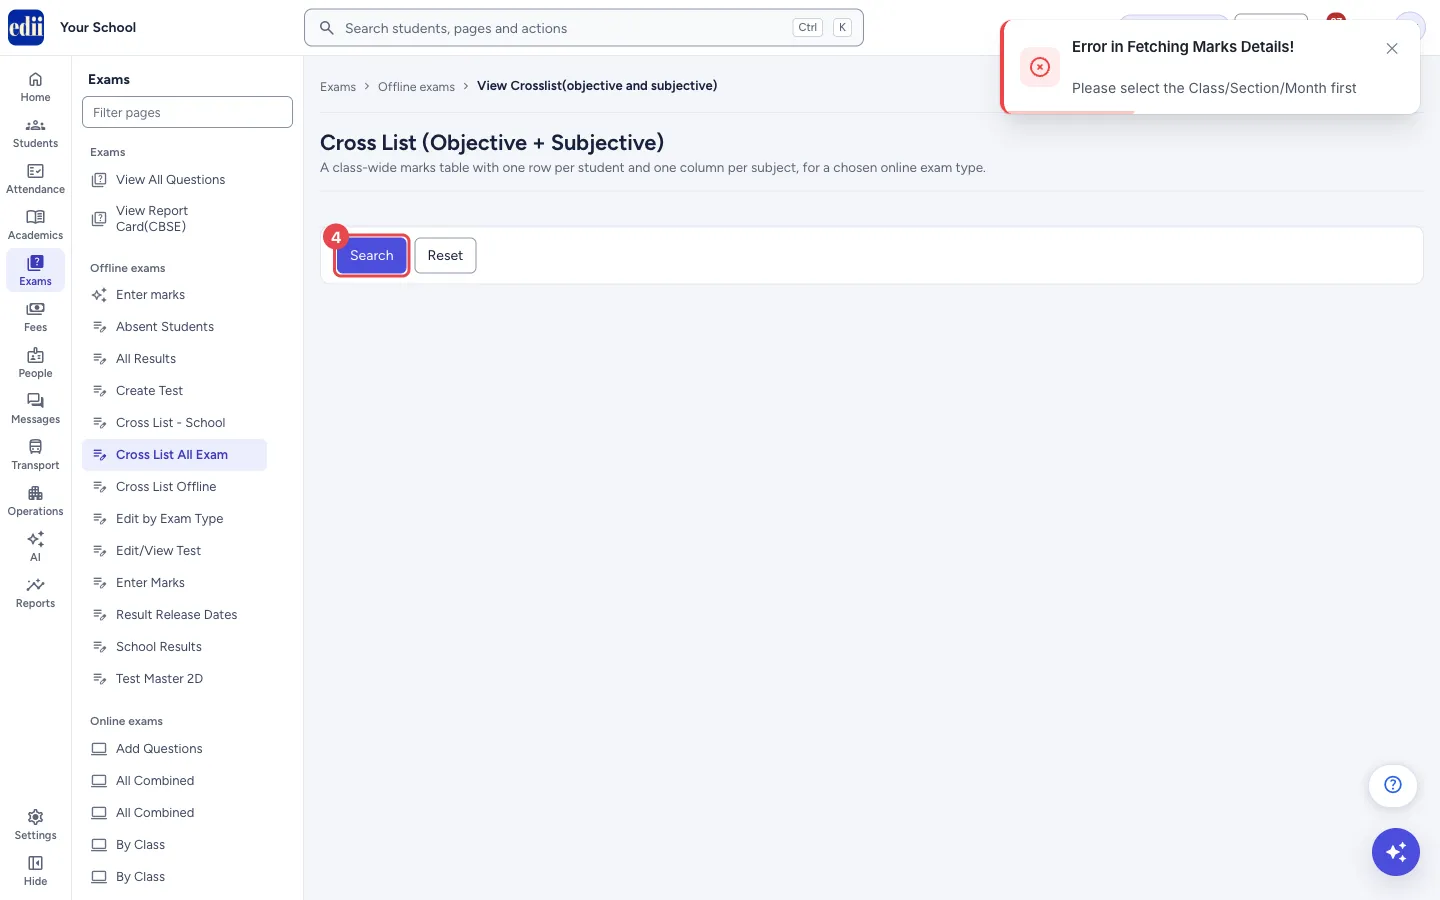
Section titled “4. Search”Select Search. The boxes close and the table appears under the heading EXAM REPORT FOR and the session. If something was left out, a red message shows at the top right and nothing is listed. Select Reset to open the boxes again.
 Open a bigger pictureतस्वीर बड़ी करें
5. Print or download
Section titled “5. Print or download”Use the print button at the top right to print the table, or to download it as a CSV file named Exam Result. The printout carries the school logo, the school name and Report Generated On.
Fields and filters
Section titled “Fields and filters”| Field | What it is | Notes |
|---|---|---|
| Select Class | The class. | Required. |
| Select Section | The section. | Required. |
| Exam Type | The exam type whose online tests you want. | Required. |
Buttons
Section titled “Buttons”| Button | What it does | What happens next |
|---|---|---|
| Search | Builds the table for the class, section and exam type. | The table appears. |
| Reset | Opens the boxes again. | Nothing is changed in the data. |
| Print (printer icon) | Prints the table or downloads it as CSV. | The print window opens or a file is downloaded. |
Columns
Section titled “Columns”| Column | Meaning |
|---|---|
| One row for each student, one column for each subject | The columns come from the report itself, so they depend on the class and the online tests that were taken. |
Good to know
Section titled “Good to know”- The screen only shows data. Nothing is saved or sent.
Messages you may see
Section titled “Messages you may see”| Message | What it means | What to do |
|---|---|---|
| Please select the Class/Section/Month first | A box was left empty. The message mentions a month although there is no month box on this screen; here it means the exam type. | Choose the class, the section and the exam type, then select Search. |
| Bad/Slow Internet Connection, Please check your internet connection | The table could not be fetched. | Check the internet and select Search again. |
Did this page help?क्या इस पेज से मदद मिली?
Thanks! Glad it helped.धन्यवाद! अच्छा लगा कि काम बन गया।
Sorry about that. Ask in your own words, or write to us.माफ़ कीजिए। अपने शब्दों में पूछें, या हमें लिखें।