
Screen guide · Web app
Attendance
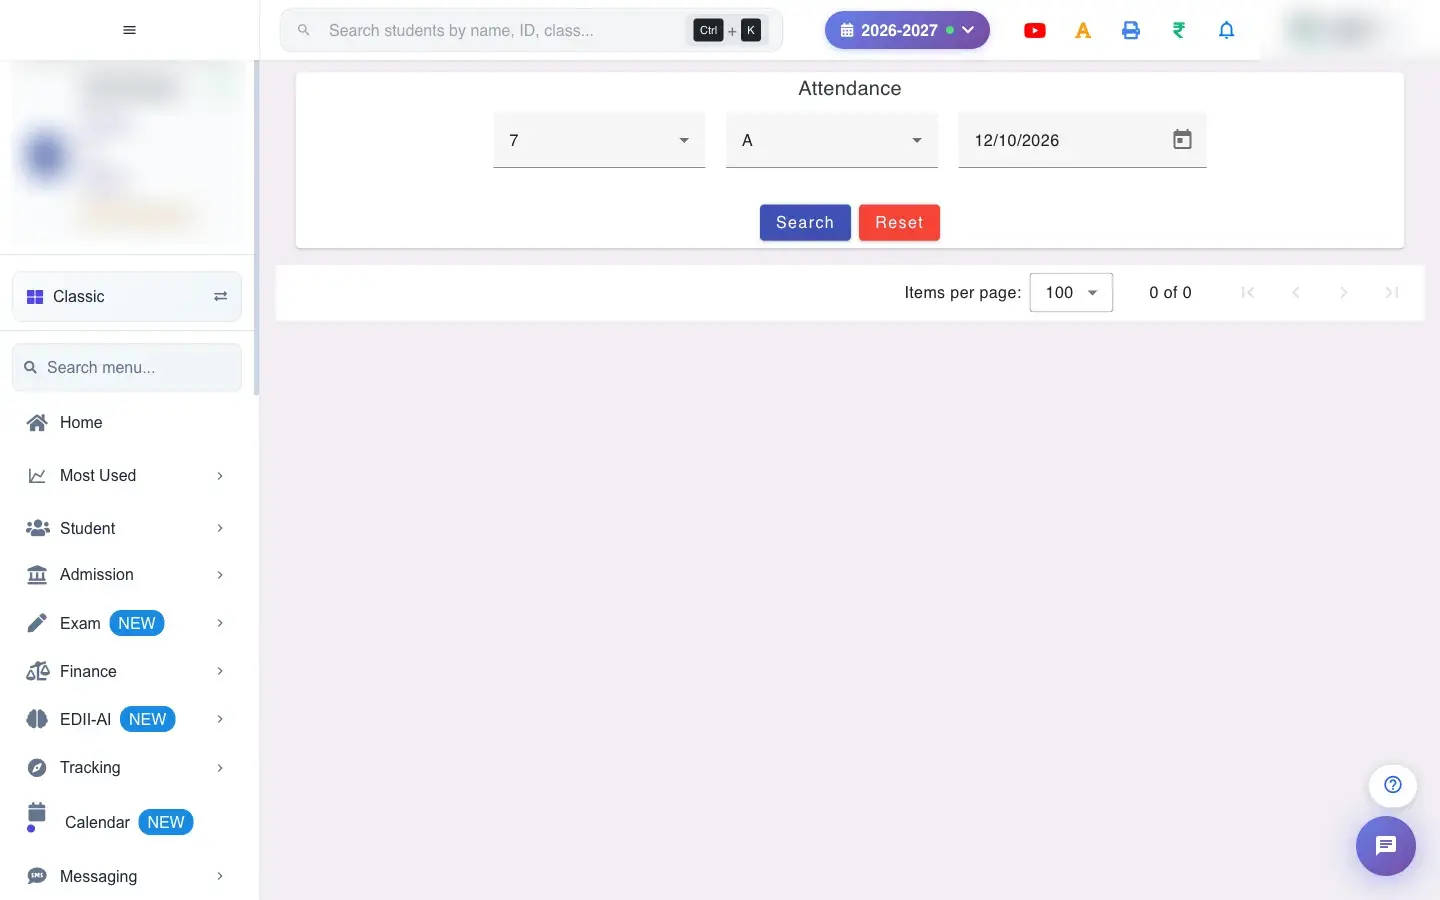
The classic attendance register: pick a class, section and date, switch off the students who are absent, and update. The parents of absent students receive the school's attendance SMS.
यह पेज अंग्रेज़ी में है। कुछ समझ न आए तो ।
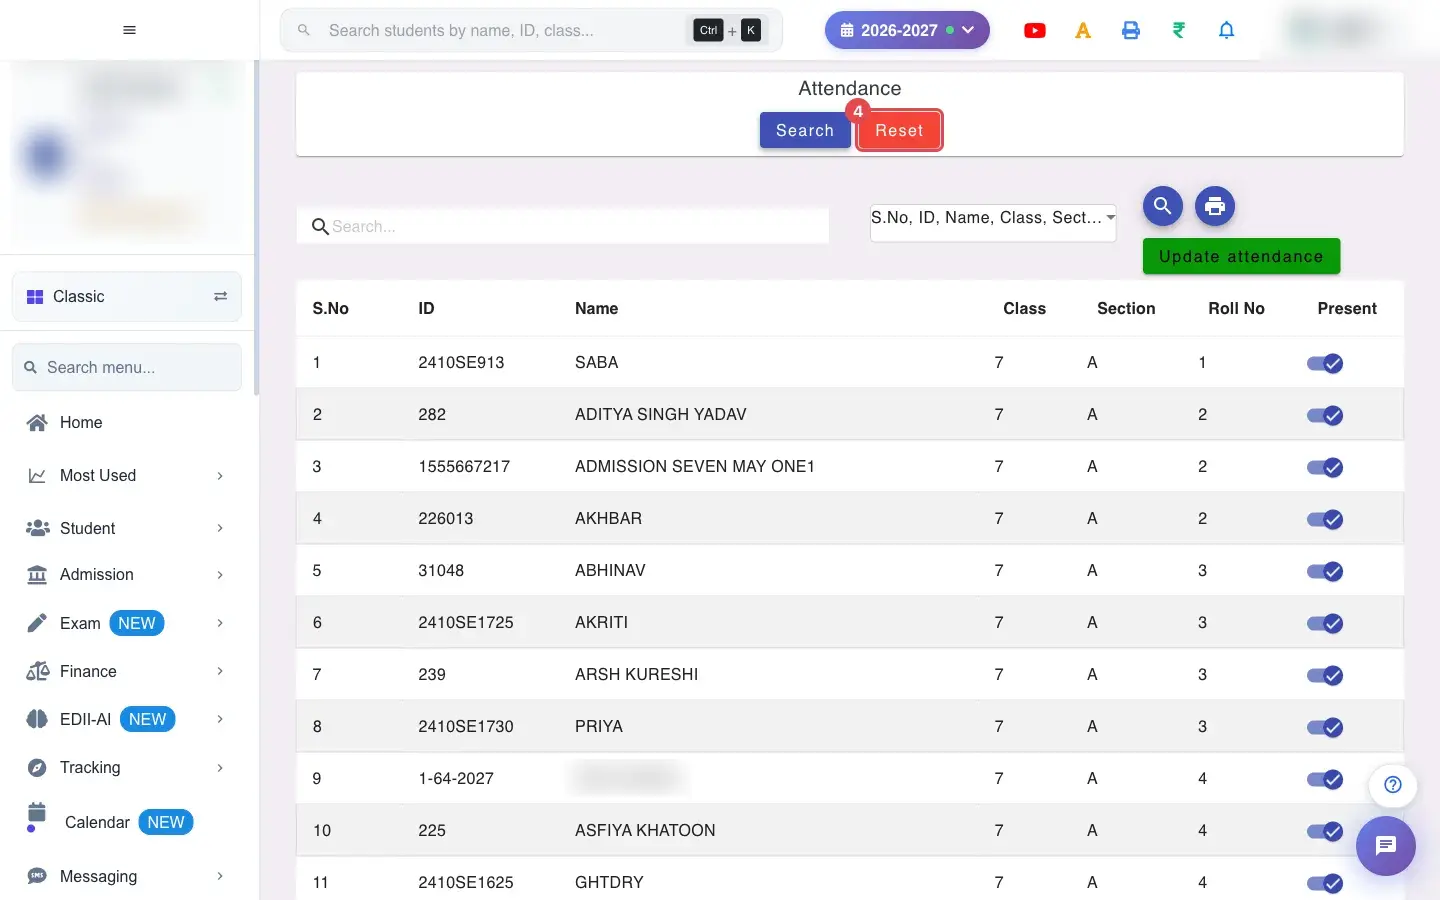
Attendance (Student › Add) is the older, table-style register. It lists every student of a class and section with a Present switch. You leave the switch on for students who are present and turn it off for those who are absent, then press Update attendance.
After a successful update the screen says Attendance Updated and SMS Sent, because saving also sends the attendance message to the parents of the absent students. The newer Mark Attendance screen does the same job with more detail (leave, half-day, reasons); schools can use either.
Who uses it and when
Section titled “Who uses it and when”Class teachers and the office use it at the start of the day. Schools that prefer a plain list use it every day.
Before you start
Section titled “Before you start”- You must choose a class, a section and a date. The date starts on today.
- Make sure each student’s parent mobile number is correct, because the attendance SMS goes to that number.
Where to find it
Section titled “Where to find it”- Menu: Student › Add
- Address:
/view/attendance - If it is missing from your menu, your role does not include it. Ask your school admin.
 Open a bigger pictureतस्वीर बड़ी करें
Step by step
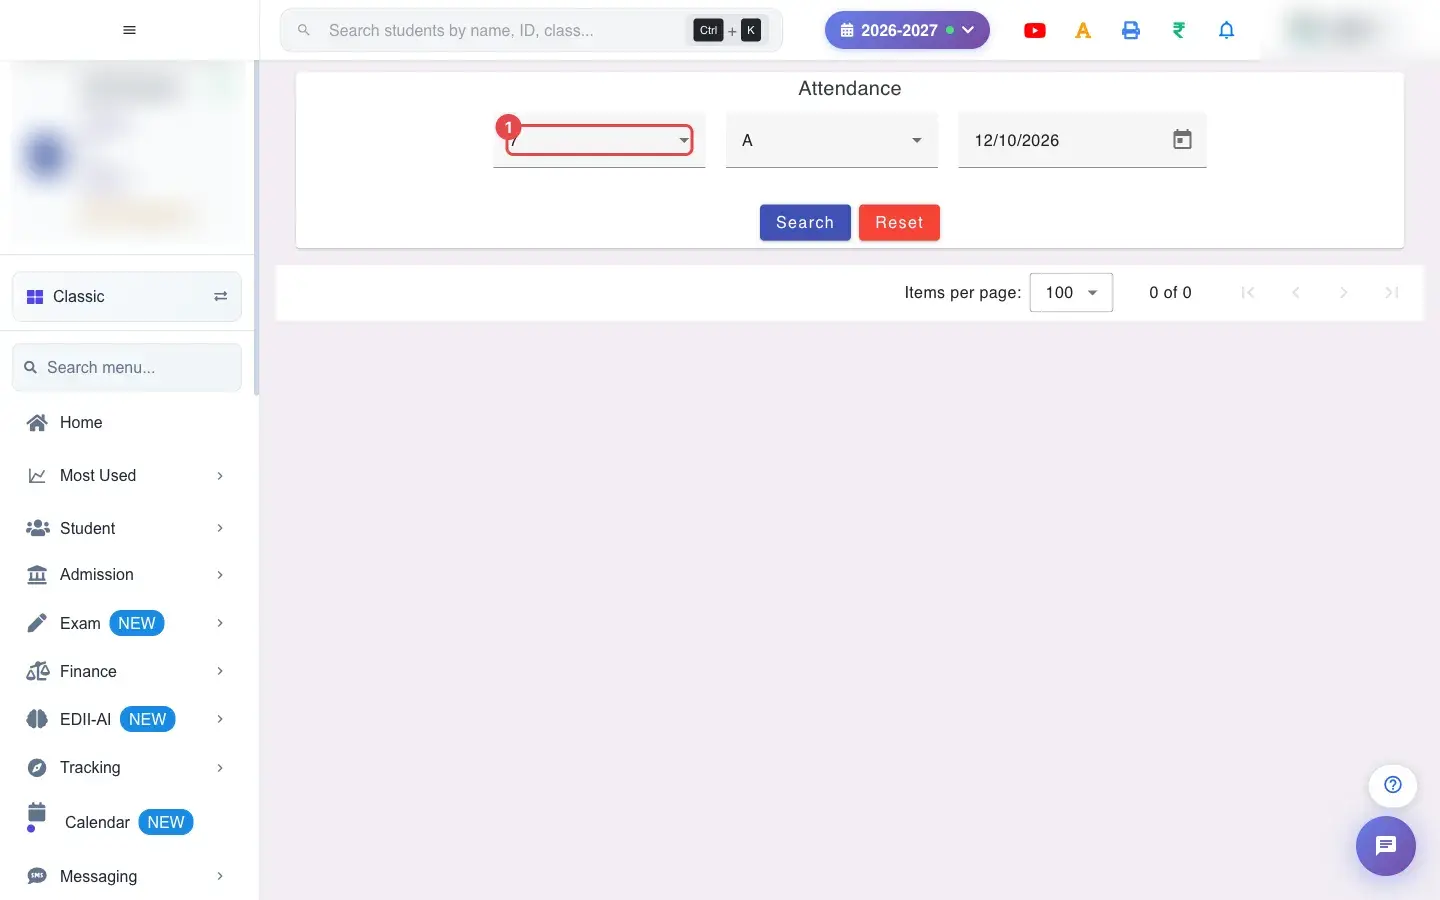
Section titled “Step by step”1. Choose Select Class (for example 7)
Section titled “1. Choose Select Class (for example 7)”Choose the Class.
 Open a bigger pictureतस्वीर बड़ी करें
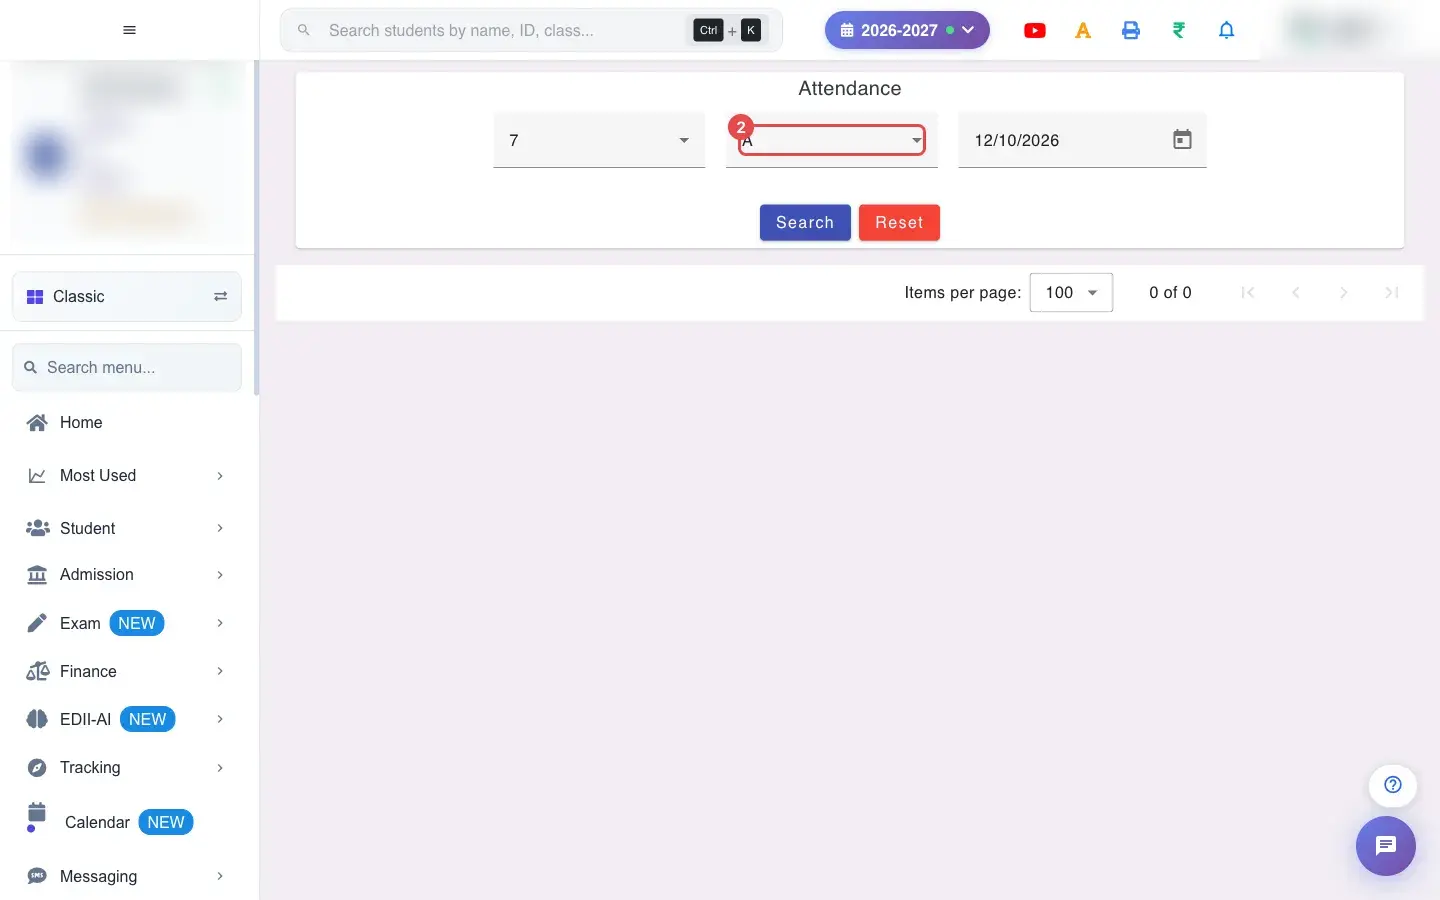
2. Choose Select Section (for example A)
Section titled “2. Choose Select Section (for example A)”Choose the Section.
 Open a bigger pictureतस्वीर बड़ी करें
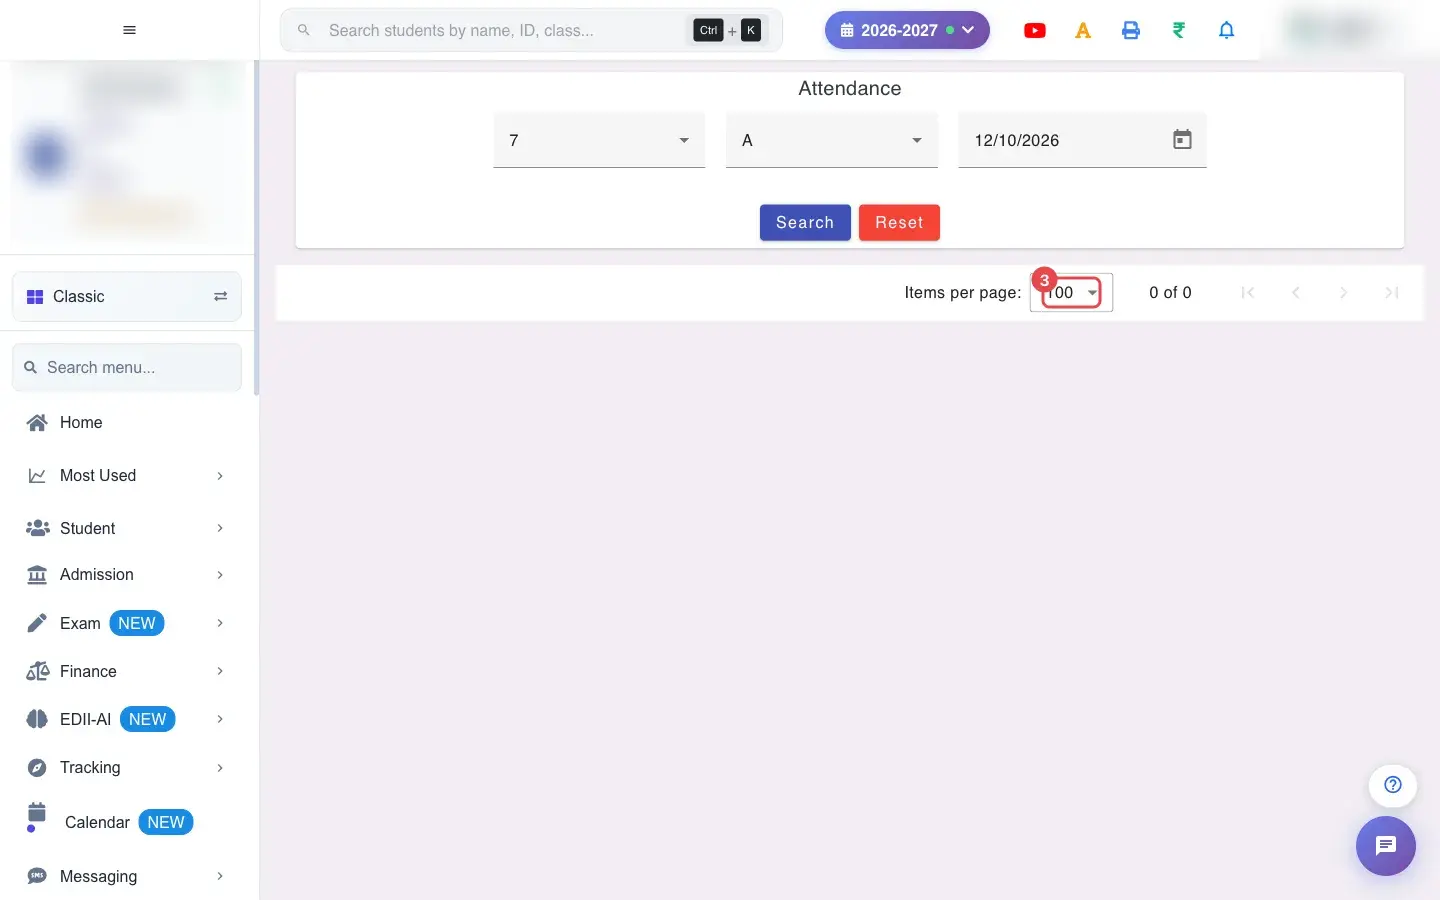
3. Choose 100 (for example 100)
Section titled “3. Choose 100 (for example 100)”Choose how many students to show per page (here 100). Use a large number so the whole class fits on one page.
 Open a bigger pictureतस्वीर बड़ी करें
4. Select Search
Section titled “4. Select Search”Select Search. The class list appears with one row per student.
 Open a bigger pictureतस्वीर बड़ी करें
5. Check the date
Section titled “5. Check the date”The Date box next to the filters is today by default. Click it to open the calendar and pick another day if you are marking a missed day. The date is required.
6. Mark who is absent
Section titled “6. Mark who is absent”Every student starts as present. Click the Present switch of a student to turn it off and mark them absent. Switch it on again to undo. Select All at the top switches every student on or off at once.
7. Choose the columns you need
Section titled “7. Choose the columns you need”Select Fields to Display lets you tick the columns to show: S.No, ID, Name, Class, Section, Roll No and Present. Use Search… to find a student by typing.
8. Update attendance
Section titled “8. Update attendance”Select Update attendance. The list of students marked absent is saved for the class, section and date. The message Attendance Updated and SMS Sent confirms it, and the class and section are cleared so you can start the next class.
9. Print or download
Section titled “9. Print or download”Print (several sizes in portrait or landscape: A5, A3, Letter, Legal and the school’s default) prints the list. CSV File downloads it.
With data
Section titled “With data”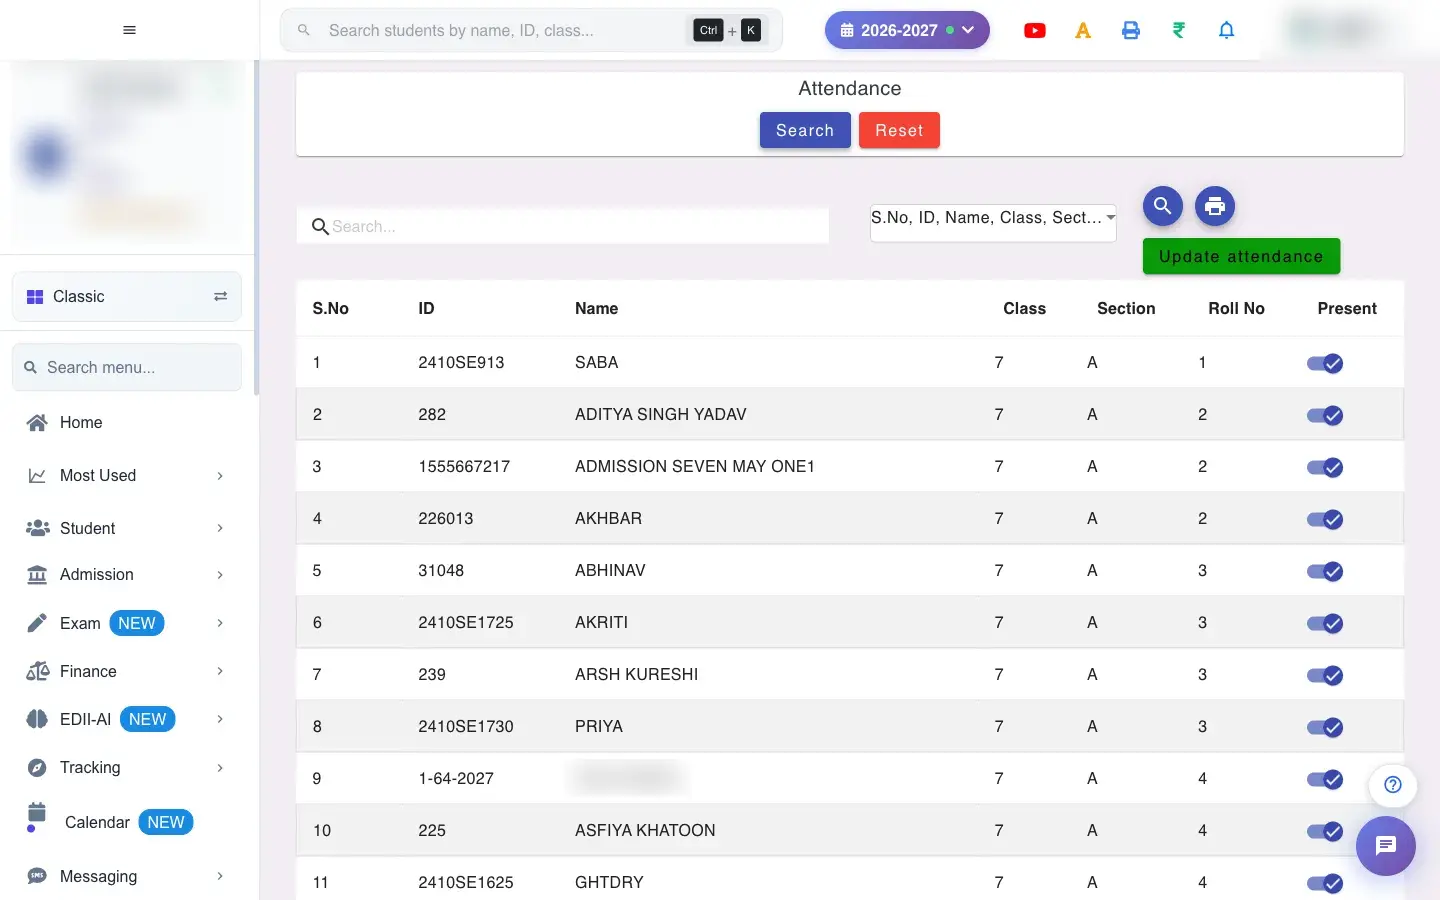 Open a bigger pictureतस्वीर बड़ी करें
Fields and filters
Section titled “Fields and filters”| Field | What it is | Notes |
|---|---|---|
| Select Class / Select Section | The class and section to mark. | Both required. |
| Date | The day being marked. | Required. Starts on today. |
| Select Fields to Display | Columns to show. | S.No, ID, Name, Class, Section, Roll No, Present. |
| Items per page | Rows per page (50 up to 5000). | Pick a size larger than the class. |
| Search… | Filter the list by typing. | Only changes what you see. |
Buttons
Section titled “Buttons”| Button | What it does | What happens next |
|---|---|---|
| Search | Loads the students. | Shows Bad/Slow Internet Connection, Please check your internet connection if it cannot. |
| Reset | Clears the screen. | Nothing is saved. |
| Update attendance | Saves the absent list and sends the SMS to the parents of absent students. | Clears the class and section. |
| Select All | Switches all students on or off. | Use it before changing individuals. |
| Print / CSV File | Prints or downloads the list. | Opens the print window or saves a CSV. |
Columns
Section titled “Columns”| Column | Meaning |
|---|---|
| S.No | Row number. |
| ID | The student’s EDII ID. |
| Name | Student name. |
| Class / Section | Where the student is enrolled. |
| Roll No | Roll number. |
| Present | A switch: on = present, off = absent. |
After you save
Section titled “After you save”- The absent list for that class, section and date is stored.
- The parents of absent students receive the school’s attendance SMS (the success message says so).
- The class and section are cleared; the screen is ready for the next class.
Good to know
Section titled “Good to know”- Only absent students are sent to the system: anyone whose switch is on counts as present.
- This screen has no leave or half-day option; use Mark Attendance for those.
- Saving again for the same class and date replaces the earlier absent list.
Messages you may see
Section titled “Messages you may see”| Message | What it means | What to do |
|---|---|---|
| Attendance Updated and SMS Sent | The attendance was saved and the absence message sent. | Nothing to do. |
| Bad/Slow Internet Connection, Please check your internet connection | The request did not reach EDII. | Check the internet and try again. |
- Press Select All first so everyone is present, then switch off only the absent students.
- Double-check the date before you press Update attendance.
Stuck? Try this
Section titled “Stuck? Try this”| Problem | Likely cause | What to do |
|---|---|---|
| A student switched off by mistake was already saved | The wrong switch was left off at update time. | Load the class again, switch the student on and update again; the latest list replaces the earlier one. |
| Parents did not get the message | No registered mobile number, or the school’s SMS balance is empty. | Check the parent’s number on the student record and the SMS balance. |
Did this page help?क्या इस पेज से मदद मिली?
Thanks! Glad it helped.धन्यवाद! अच्छा लगा कि काम बन गया।
Sorry about that. Ask in your own words, or write to us.माफ़ कीजिए। अपने शब्दों में पूछें, या हमें लिखें।