
How-to · Web app
Edit a student's details
स्टूडेंट की जानकारी ठीक करें
Change a student's details, photo or class.
यह पेज अंग्रेज़ी में है। कुछ समझ न आए तो ।
Edit Student changes everything on one student’s record. It opens from the student lists or the Student Profile with the student chosen. The form has the same stepped layout as admission: Student Information, Personal Information and further sections, with a Next button between them and Submit at the end.
Before you start
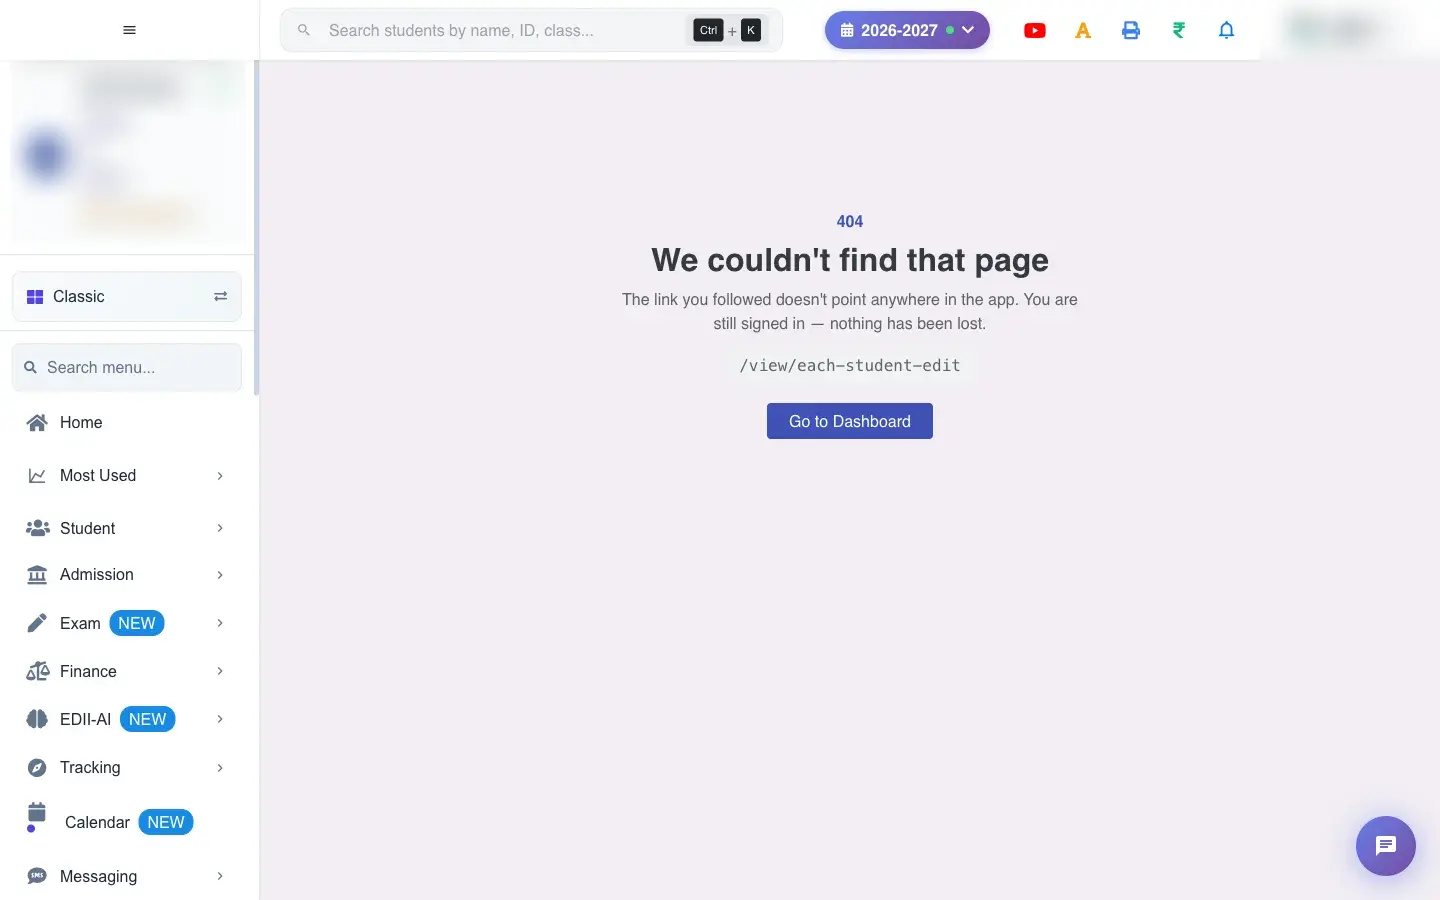
Section titled “Before you start”- Open it from a student list; without a chosen student EDII shows the page-not-found screen. Have the corrected document ready.
1. Student Information
Section titled “1. Student Information”Admission Form No, Student Name, Class, Section, Roll Number, Student Id, Enrollment Number, Gender, GR Number, UID and PRN. Name, class and section are required.
 Open a bigger pictureतस्वीर बड़ी करें
2. Personal Information
Section titled “2. Personal Information”Aadhaar, Date Of Birth (DD-MM-YYYY), Nationality, State Id, Religion, Blood Group, Allergy, Category, Student Type, PEN, Family ID, Height, Weight, Community and House. The date must be a valid date between 1900 and 2100 and the student must be at least 3 years old (Date of Birth cannot be less than 3 years. or Invalid Date of Birth).
3. Family, contact and academic sections
Section titled “3. Family, contact and academic sections”The next sections hold the parents’ names and education, phone numbers (a phone number is required), address, guardian, previous school details and End Date Of School, which is required.
4. Change the photo
Section titled “4. Change the photo”Use the camera card: Turn On Camera, Click to capture, Use This Photo. Photo Captured Successfully shows the result; Retake Photo tries again. If the camera is blocked you see Camera Error and Try Again. You can also upload a file up to 10 MB (Max File Size is 10 MB, If you need to upload a Big file contact us). A new photo reads Student Photo Has been updated; choosing Submit without an image shows Please Select an Image before Clicking on Submit.
5. Remove an attachment
Section titled “5. Remove an attachment”Select Remove beside an attachment and confirm to delete it (Attachment removed).
6. Add a category
Section titled “6. Add a category”If the right category is missing, enter a name and save it (Category added successfully).
7. Submit
Section titled “7. Submit”Select Submit. The student is updated and the message begins Student: …. If a required field is empty it highlights it first.
Full details of this screen Edit a student’s details
What happens next
Section titled “What happens next”- The updated details appear in the student list, the profile, reports, ID cards and the apps.
- A changed class or section moves the student; use Section Change on the profile for fee, attendance and marks handling.
Good to know
Section titled “Good to know”- Name, class, section, date of birth, phone number and end date of school are required.
- The student must be at least 3 years old.
- Photos are limited to 10 MB.
Stuck? Try this
Section titled “Stuck? Try this”| You see | Why | What to do |
|---|---|---|
| The camera does not start | The browser blocked camera access. | Allow the camera for this site, then Try Again. |
Did this page help?क्या इस पेज से मदद मिली?
Thanks! Glad it helped.धन्यवाद! अच्छा लगा कि काम बन गया।
Sorry about that. Ask in your own words, or write to us.माफ़ कीजिए। अपने शब्दों में पूछें, या हमें लिखें।