
How-to · Web app
Collect a fee at the counter
फ़ीस जमा करें
Search a student, choose the months and receive the payment.
यह पेज अंग्रेज़ी में है। कुछ समझ न आए तो ।
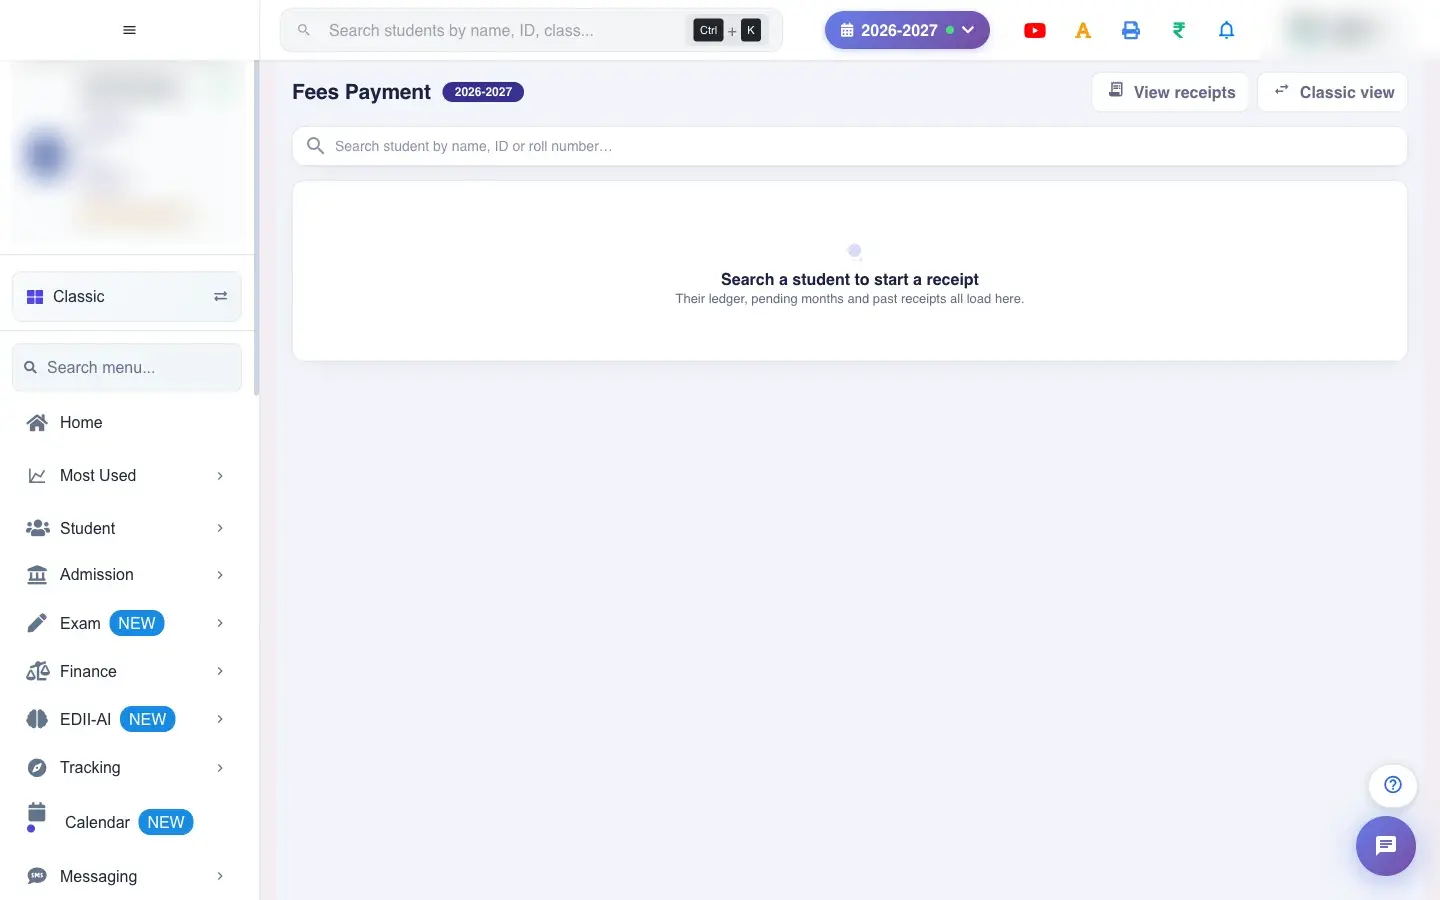
Fees Payment is the new cashier screen. It starts with a search box: Search a student to start a receipt. Choose a student and everything about their fees loads on one page: the student card (class, ID/SR, father, transport), session totals (Session fees, Collected, Balance, Discount), a row of months to tap, the receipt being built and the Collect payment panel.
Before you start
Section titled “Before you start”- The student must be active. Fees are paid in order, oldest month first, unless the school’s Finance preference allows otherwise.
1. Search the student
Section titled “1. Search the student”Type a name, ID or roll number in Search student by name, ID or roll number… and choose the student. Student not found, please search again means no match.
 Open a bigger pictureतस्वीर बड़ी करें
2. Read the student card and totals
Section titled “2. Read the student card and totals”The card shows Class, ID/SR, Father and Transport, with View full profile. Under it, Session fees, Collected, Balance and Discount summarise the year, and a line says how much of the total is collected this session.
3. Pick the months
Section titled “3. Pick the months”Tap the months to pay — fees are paid in order. A month shows ✓ paid, part (partly paid) or pending. Select all due ticks every due month and Clear unticks them. If a month is blocked, the page tells you to turn on Preferences → Finance → Collect fees if old fees is pending.
4. Choose charges
Section titled “4. Choose charges”Charges includes All months, Skip installment and Transport fees toggles to bring more fees into the receipt.
5. Review the receipt
Section titled “5. Review the receipt”The receipt table shows each Fee head with Actual and To pay and a subtotal per month, plus any Recorded discount. Edit To pay for a part payment. Messages stop impossible amounts: Total amount cannot be negative, Total amount cannot exceed …, Excess Amount entered….
6. Add one-time fees
Section titled “6. Add one-time fees”One-time fees (books, lab, apparatus and other one-off charges): enter Fee name, Month, Total and Collect, then Add fee (Additional fee added successfully). A fee that is part paid cannot be removed, only adjusted.
7. Collect the payment
Section titled “7. Collect the payment”In Collect payment the Receipt date is shown locked, and you can add an External invoice ID and a Remark. Select Collect ₹ N to take the payment. With nothing picked it says no months picked.
8. Open the receipt
Section titled “8. Open the receipt”After collecting, the receipt is created (Fee Receipt Fetched) and can be printed. View receipts shows all receipts.
Full details of this screen Collect a fee at the counter
What happens next
Section titled “What happens next”- A receipt with a receipt number is created; the ledger, defaulter lists and collection reports update immediately.
- Part payments leave the rest of the fee due.
- The parent sees the payment in the student app.
Good to know
Section titled “Good to know”- Fees are paid oldest month first unless the preference allows otherwise.
- A payment cannot exceed what is due.
- A part-paid fee cannot be removed.
- The student must be active.
Stuck? Try this
Section titled “Stuck? Try this”| You see | Why | What to do |
|---|---|---|
| A month cannot be selected | An older month is unpaid. | Pay older months first or ask an admin to allow old fees pending. |
Did this page help?क्या इस पेज से मदद मिली?
Thanks! Glad it helped.धन्यवाद! अच्छा लगा कि काम बन गया।
Sorry about that. Ask in your own words, or write to us.माफ़ कीजिए। अपने शब्दों में पूछें, या हमें लिखें।