
Help homeहेल्प होम
How-to · Web app
Set up fee heads and structure
Create the fees the school charges.
1 step1 स्टेप
यह पेज अंग्रेज़ी में है। कुछ समझ न आए तो ।
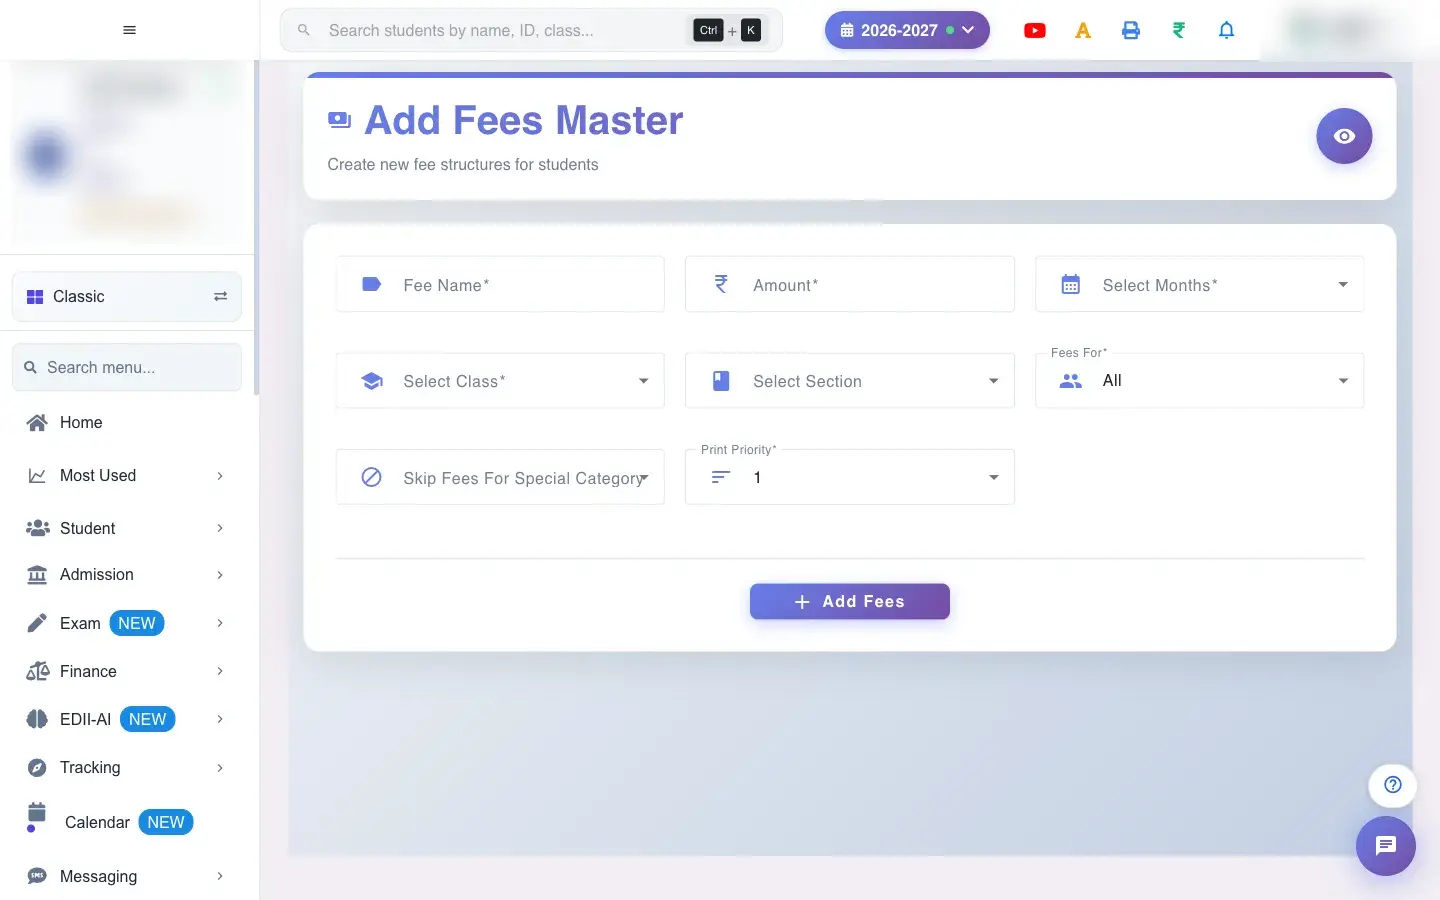
Add Fees Master (Finance › Add fee head) is where each fee your school charges is defined. One entry creates the fee for every month, class and section you choose, so setting up a year of tuition takes one pass instead of hundreds.
Before you start
Section titled “Before you start”- Classes, sections and months for the session must exist.
- Decide the amount per month and the months it is charged in.
- Check Fees Master first so you do not create the same fee twice; EDII warns if the fee already exists.
1. Open the screen
Section titled “1. Open the screen”Open the screen from the menu.
 Open a bigger pictureतस्वीर बड़ी करें
What happens next
Section titled “What happens next”- The fee is created for every month, class and section you chose and shows in Fees Master.
- Students in those classes are charged from the chosen months, and the fee appears in fee collection, receipts and reports.
- For a Selected fee only the students you added are charged.
Good to know
Section titled “Good to know”- Fee name, amount, at least one month, a class and Fees For are required.
- Print priority runs from 1 to 20 and decides the order on the printed receipt.
- A duplicate fee is flagged with a warning.
Stuck? Try this
Section titled “Stuck? Try this”| You see | Why | What to do |
|---|---|---|
| A fee was added to the wrong months | The wrong months were ticked. | Edit or delete the fee in Fees Master. |
| A student does not see the fee | The fee is Selected and the student was not added, or they are in a skipped category. | Check the fee’s students in Fees Master. |
Did this page help?क्या इस पेज से मदद मिली?
Thanks! Glad it helped.धन्यवाद! अच्छा लगा कि काम बन गया।
Sorry about that. Ask in your own words, or write to us.माफ़ कीजिए। अपने शब्दों में पूछें, या हमें लिखें।