
Screen guide · Web app
Bulk TC Generation
Generate Transfer Certificates for many students at once using shared TC details; available only to schools that do not require an approval OTP.
यह पेज अंग्रेज़ी में है। कुछ समझ न आए तो ।
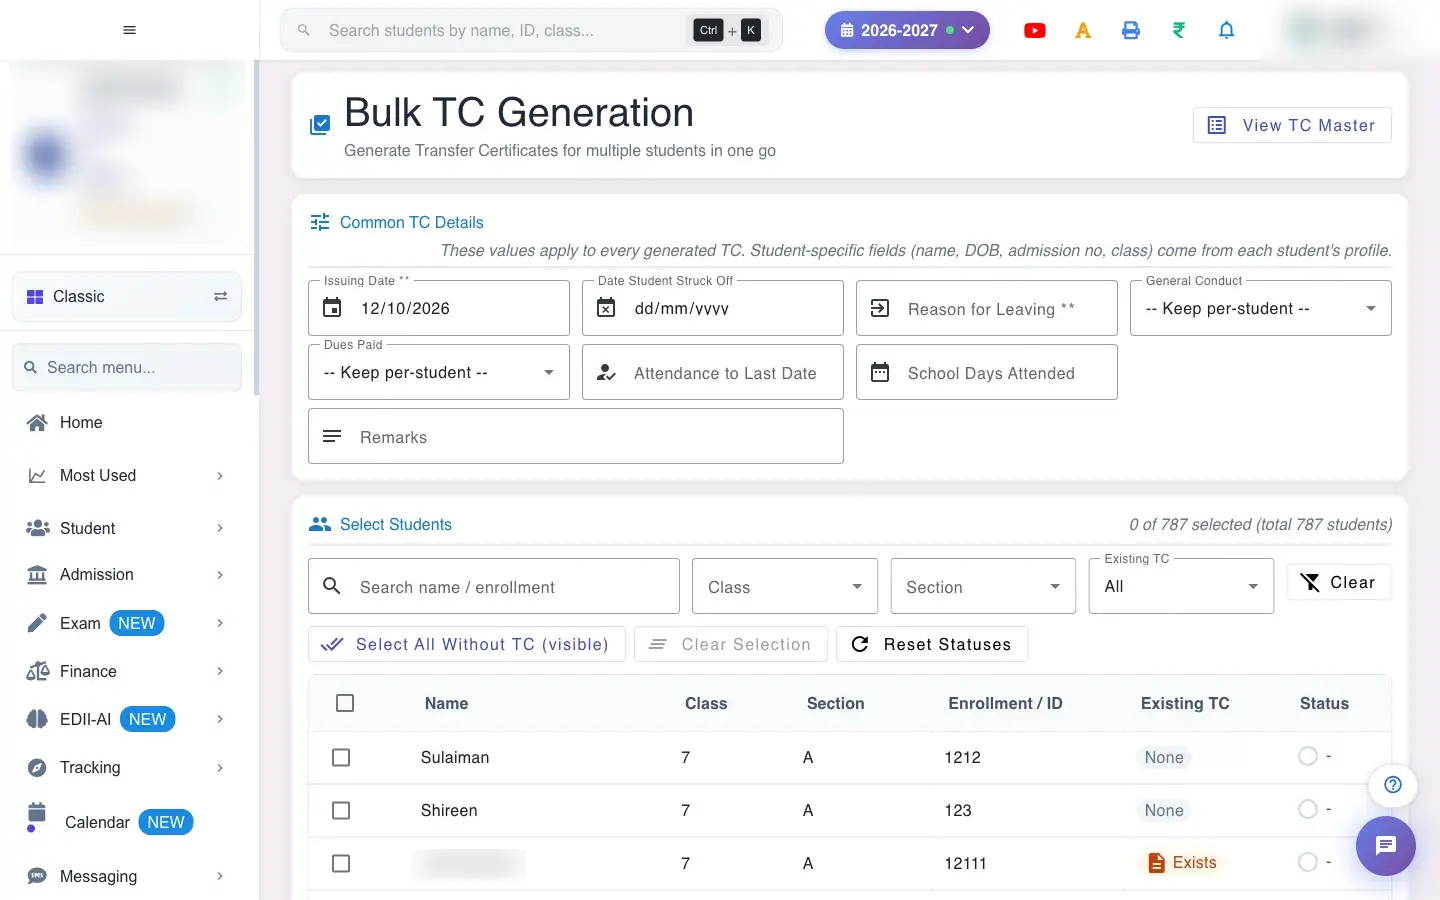
Bulk TC Generation issues TCs for a whole group of students in one go, for example at the end of a session. You set the Common TC Details once (they apply to every TC), choose the students, and select Generate N TCs.
Each student’s own details (name, date of birth, admission number, class) come from their profile.
If your school requires an approval OTP for each TC, bulk generation is switched off and you see This school requires an approval OTP for each Transfer Certificate. Bulk generation is disabled; please issue TCs one at a time from the single-student TC screen.
Who uses it and when
Section titled “Who uses it and when”The office uses it at year end for a leaving class, or when many students leave together.
Before you start
Section titled “Before you start”- Fees should be cleared. The school must not require an OTP. Decide the common values (issue date, reason for leaving, conduct, dues).
Where to find it
Section titled “Where to find it”- Menu: Student › TC-Bulk
- Address:
/add/add-tc-bulk - If it is missing from your menu, your role does not include it. Ask your school admin.
 Open a bigger pictureतस्वीर बड़ी करें
Step by step
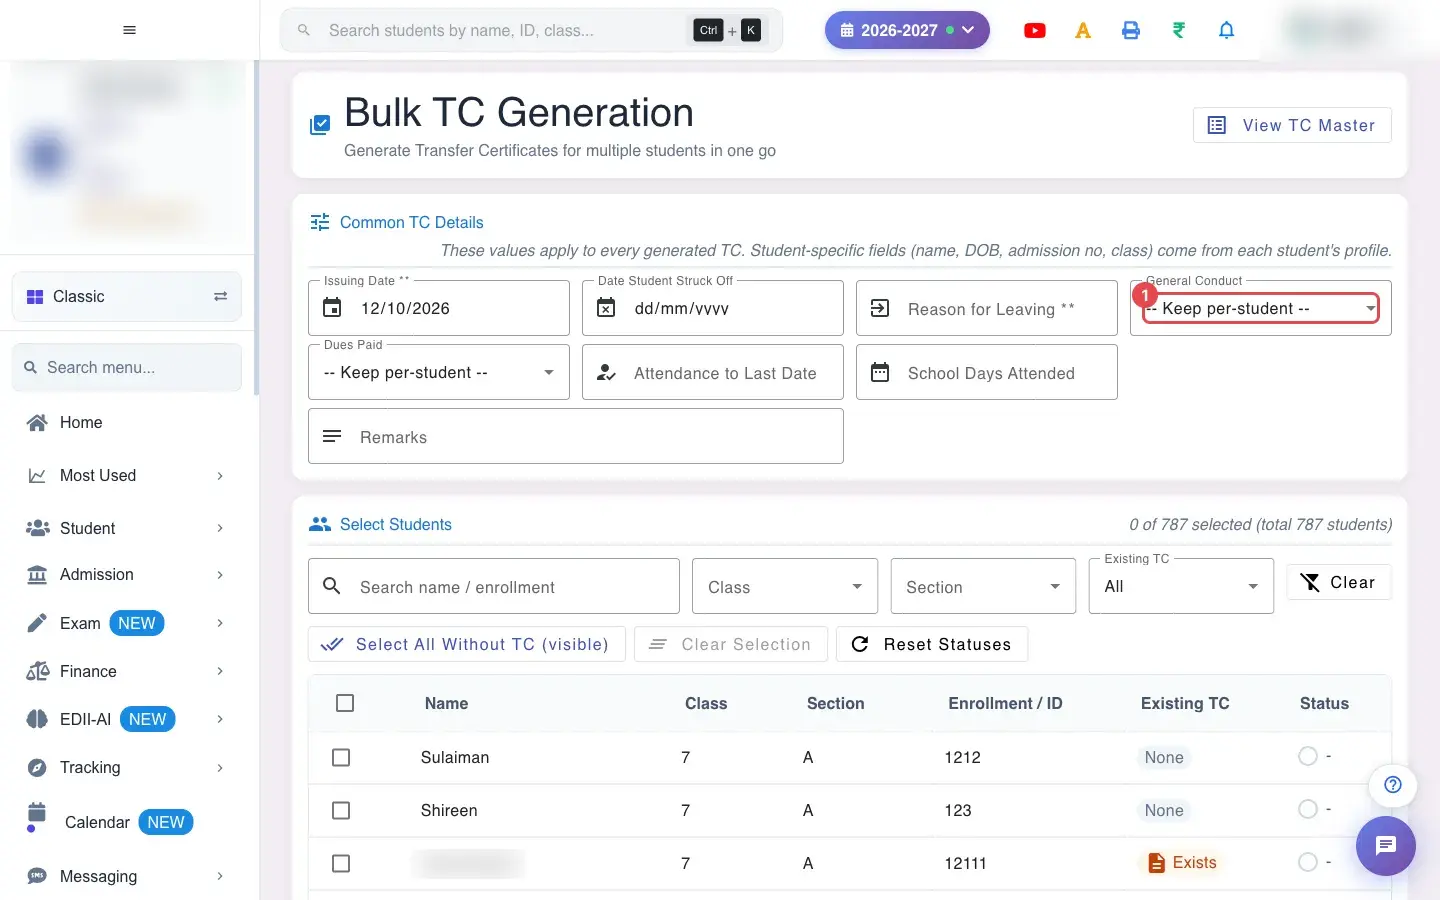
Section titled “Step by step”1. Choose General Conduct (for example – Keep per-student –)
Section titled “1. Choose General Conduct (for example – Keep per-student –)”General Conduct: choose a value for everyone, or leave Keep per-student to use each student’s own.
 Open a bigger pictureतस्वीर बड़ी करें
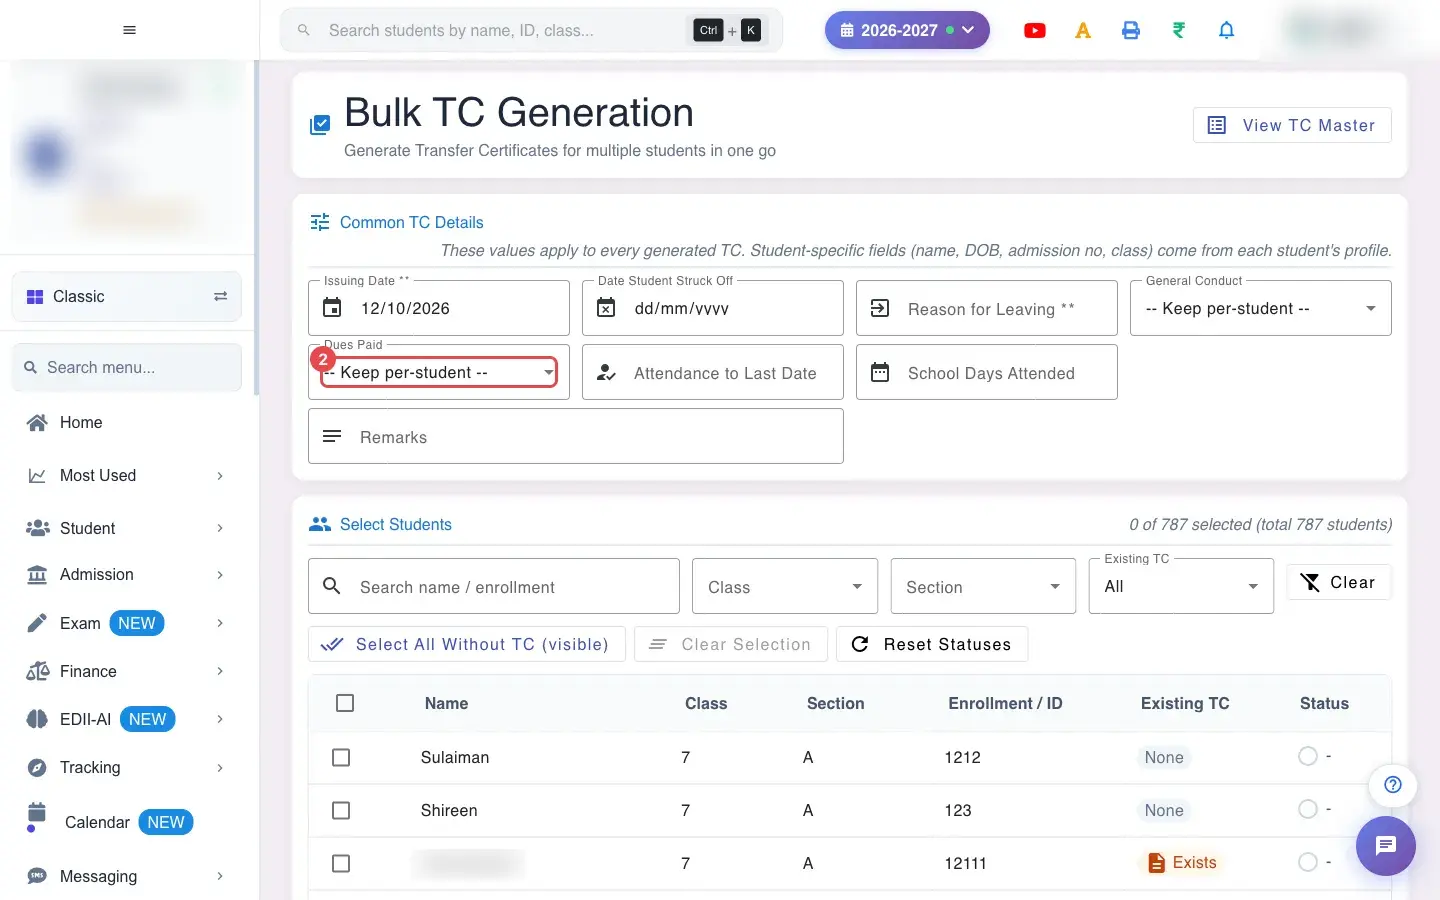
2. Choose Dues Paid (for example – Keep per-student –)
Section titled “2. Choose Dues Paid (for example – Keep per-student –)”Dues Paid: choose a value for all, or keep per-student.
 Open a bigger pictureतस्वीर बड़ी करें
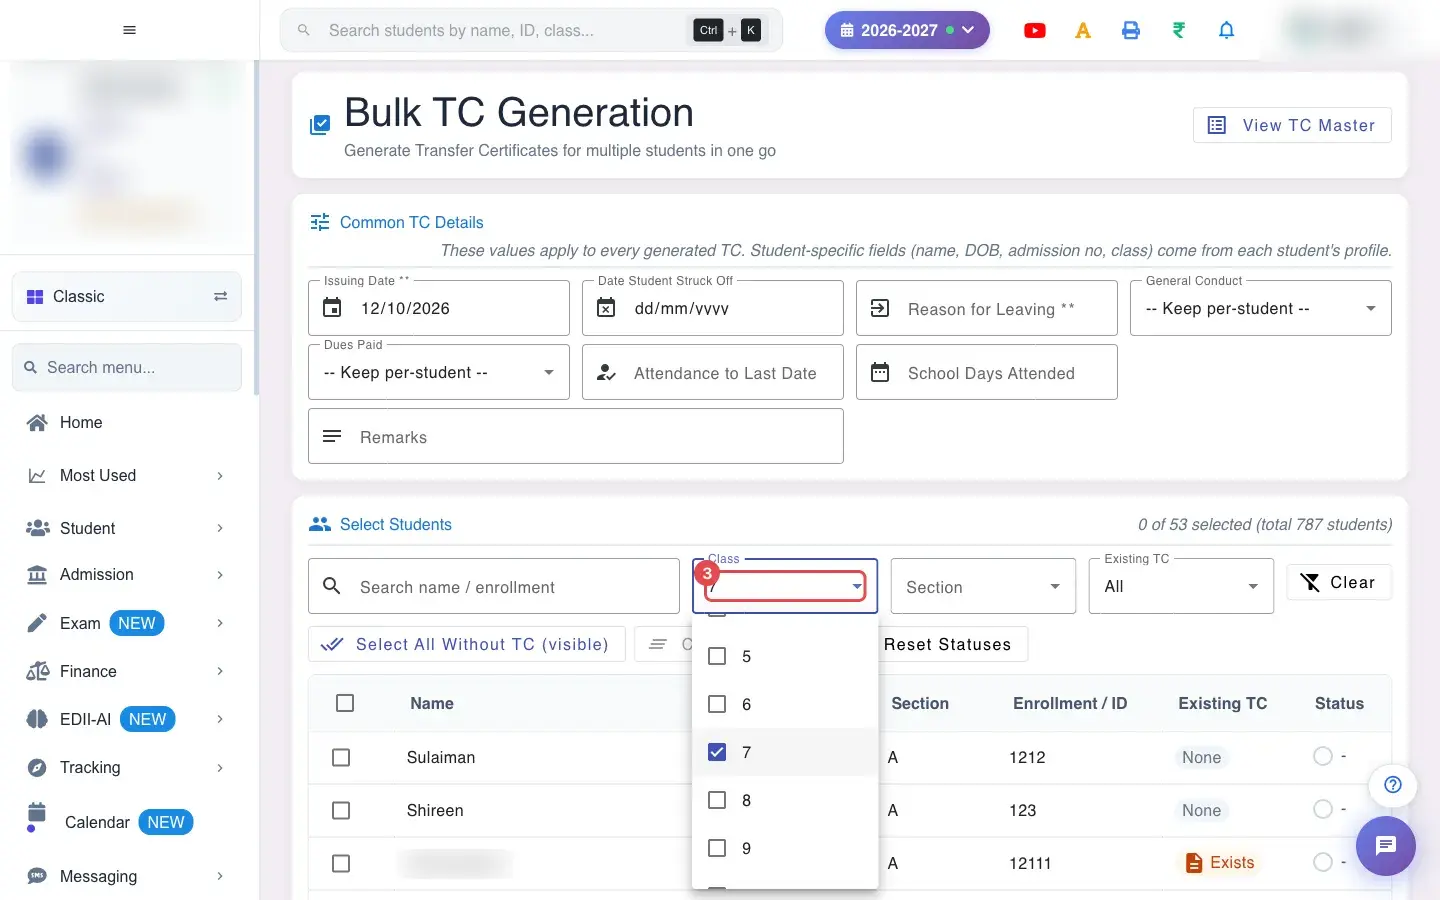
3. Choose Class (for example 7)
Section titled “3. Choose Class (for example 7)”Filter the student list by Class.
 Open a bigger pictureतस्वीर बड़ी करें
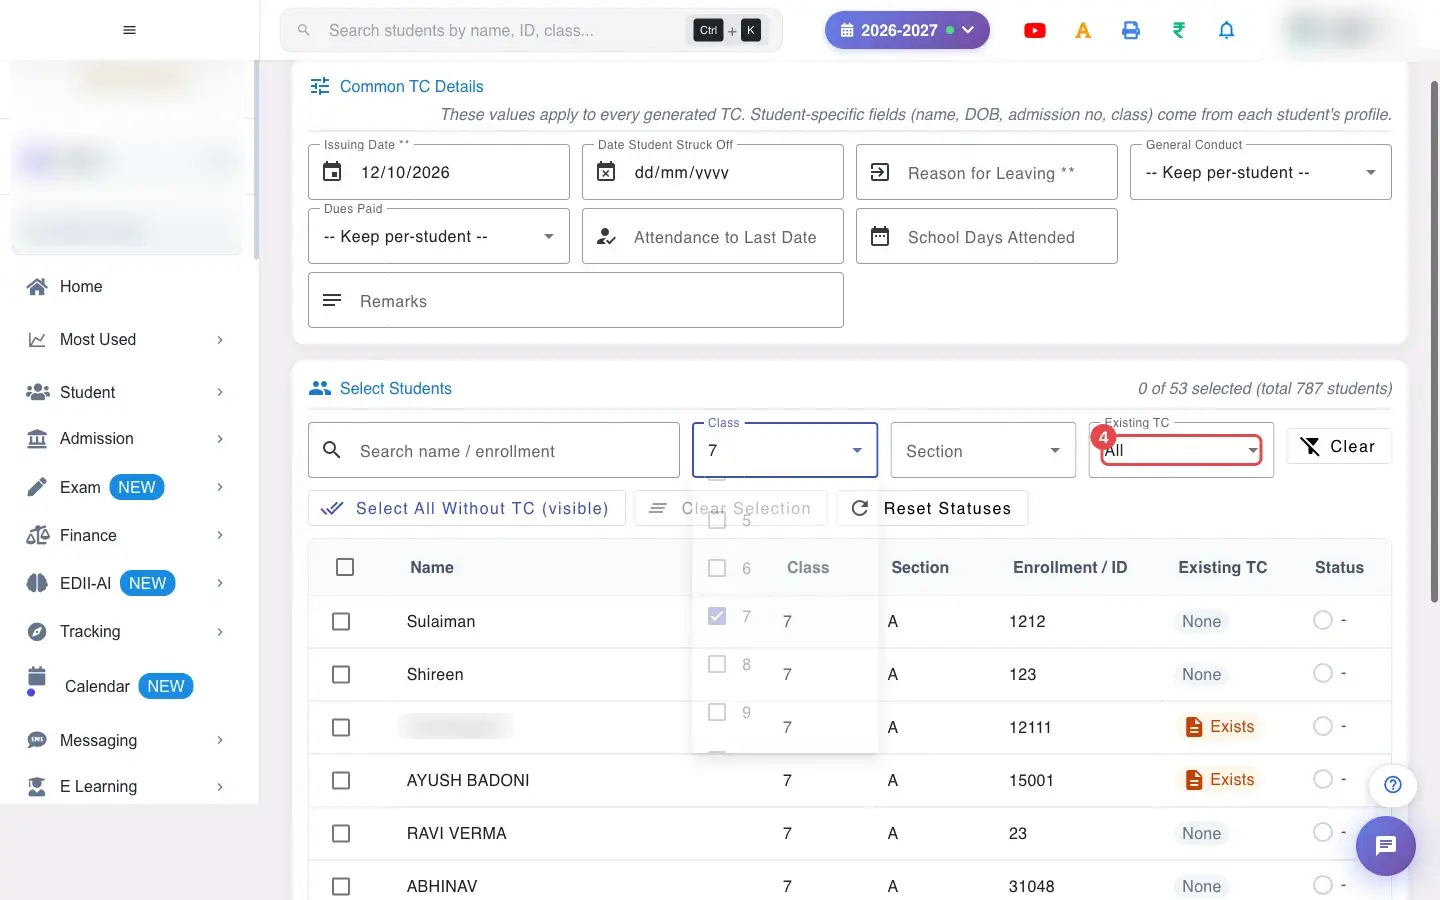
4. Choose Existing TC (for example All)
Section titled “4. Choose Existing TC (for example All)”Existing TC: All, Without TC or With TC already.
 Open a bigger pictureतस्वीर बड़ी करें
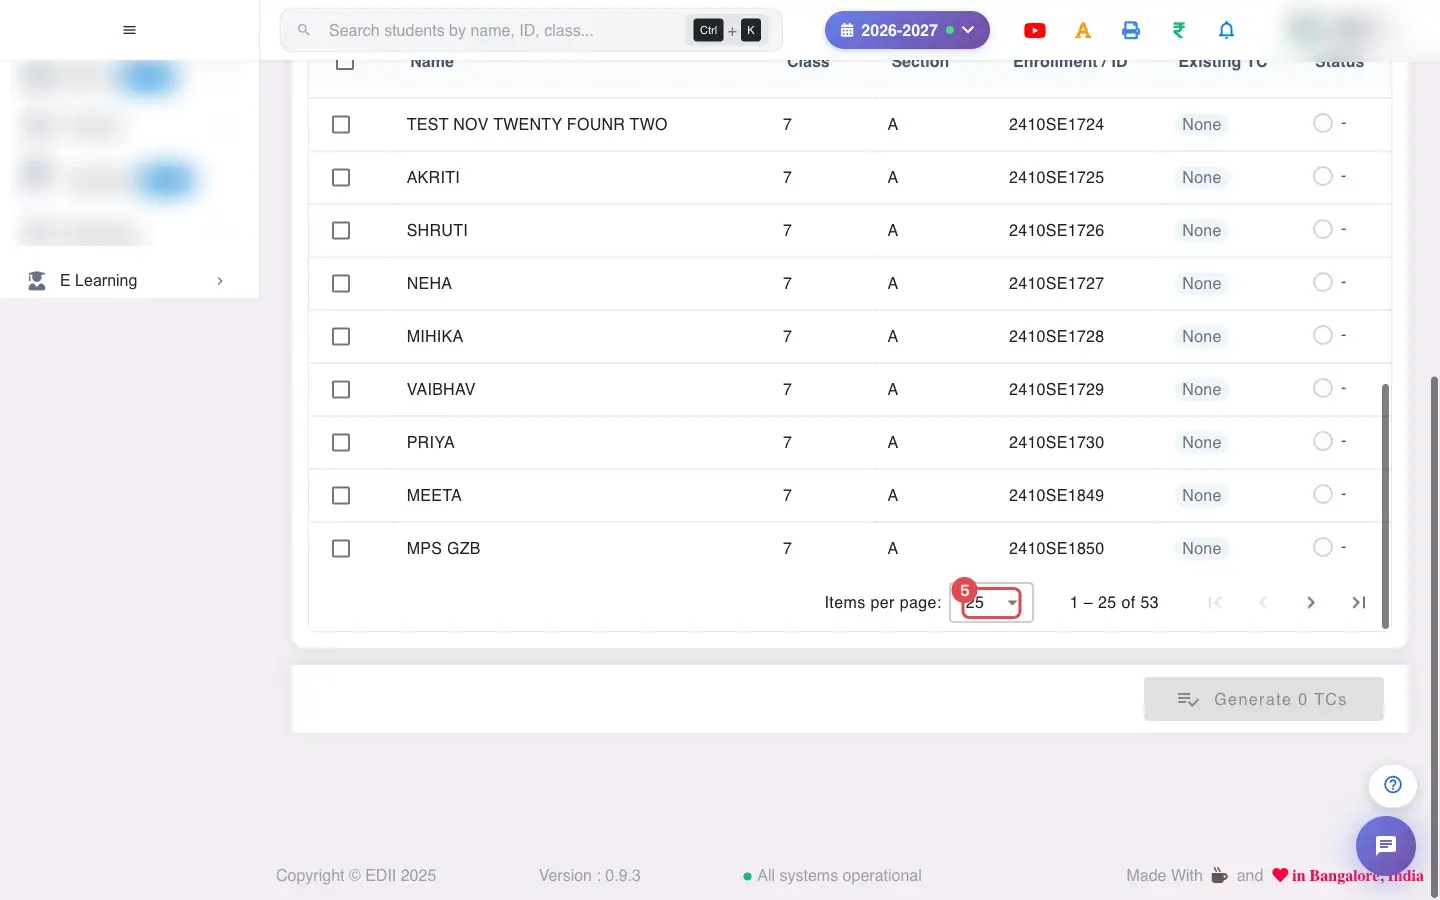
5. Choose 25 (for example 25)
Section titled “5. Choose 25 (for example 25)”Choose how many students to show per page.
 Open a bigger pictureतस्वीर बड़ी करें
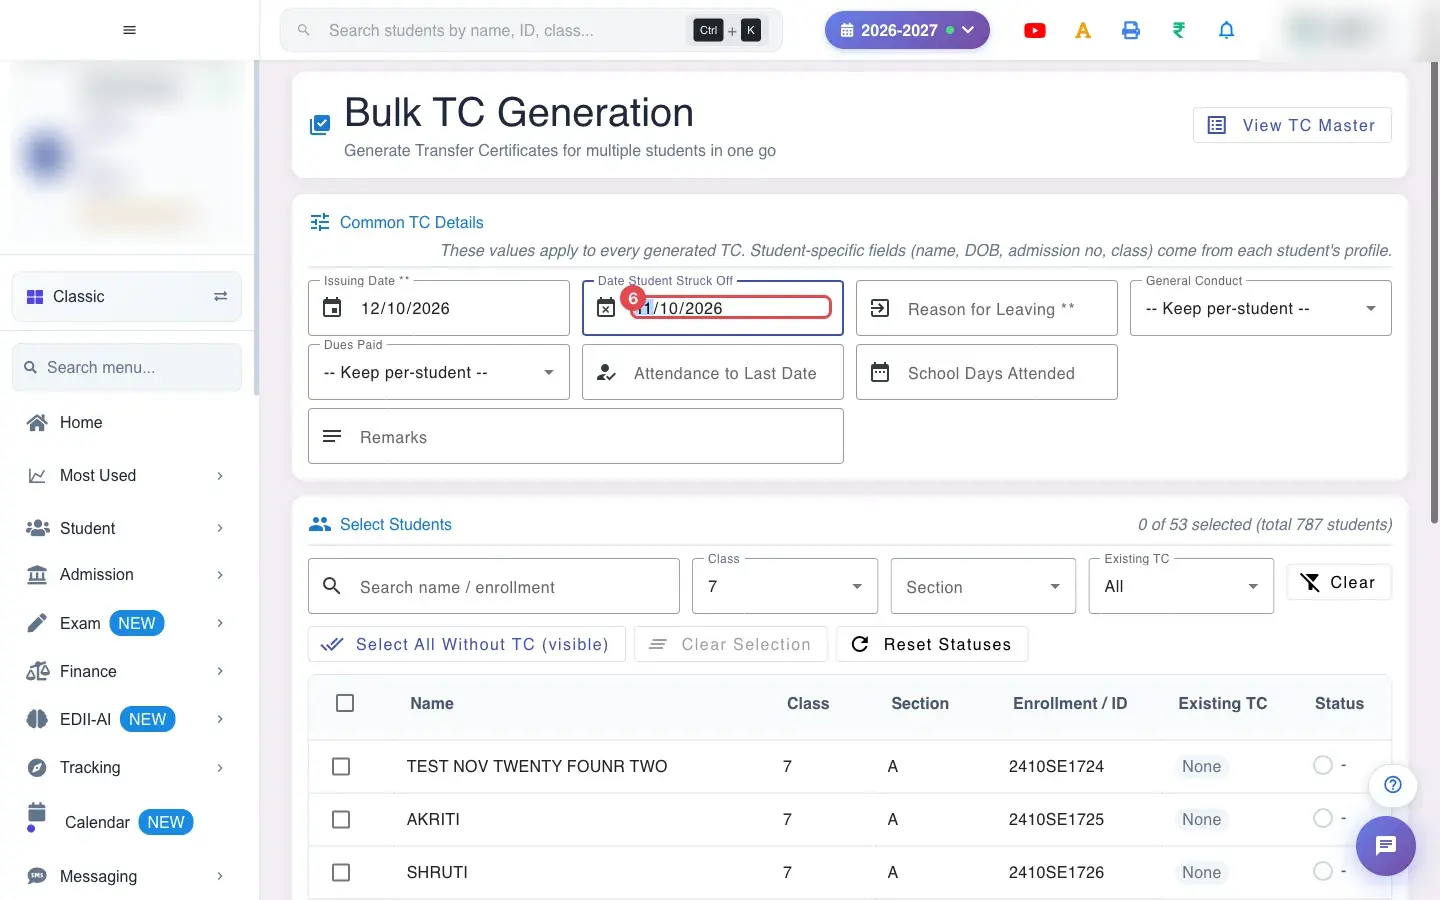
6. Pick a date in Date Student Struck Off
Section titled “6. Pick a date in Date Student Struck Off”Date Student Struck Off is the date the students left.
 Open a bigger pictureतस्वीर बड़ी करें
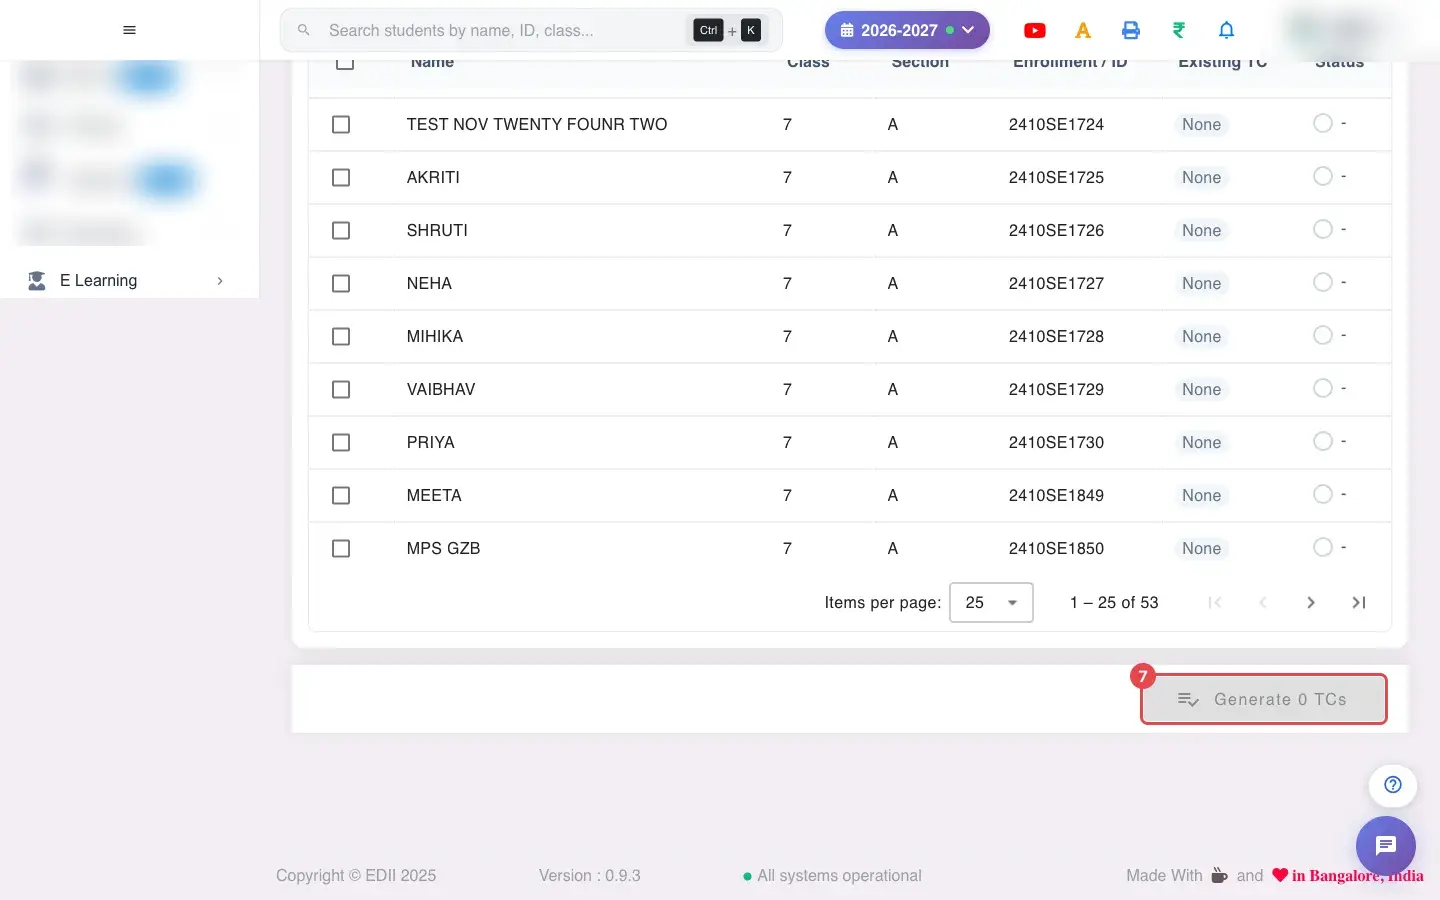
7. When you are done, select Generate 0 TCs
Section titled “7. When you are done, select Generate 0 TCs”Select Generate N TCs; N is how many students you ticked.
 Open a bigger pictureतस्वीर बड़ी करें
8. Fill the common details
Section titled “8. Fill the common details”Issuing Date and Reason for Leaving are required (Issuing Date is required, Reason for Leaving is required (backend rejects empty reason)). You may also set Attendance to Last Date, School Days Attended and Remarks.
9. Choose the students
Section titled “9. Choose the students”Filter by Class, Section and Existing TC, or search by name or enrollment. Select All Without TC (visible) ticks everyone who has no TC yet; Clear Selection and Clear reset. A counter shows N of M selected. If you generate with none ticked you see Select at least one student.
10. Watch the progress
Section titled “10. Watch the progress”Generation runs student by student. Each row shows its Status (tick or cross) and a running count. At the end the message reads Generated N TC(s), or Succeeded: N, Failed: M. First error: …. Reset Statuses clears the marks.
11. Check the register
Section titled “11. Check the register”Select View TC Master to see all issued TCs.
With data
Section titled “With data”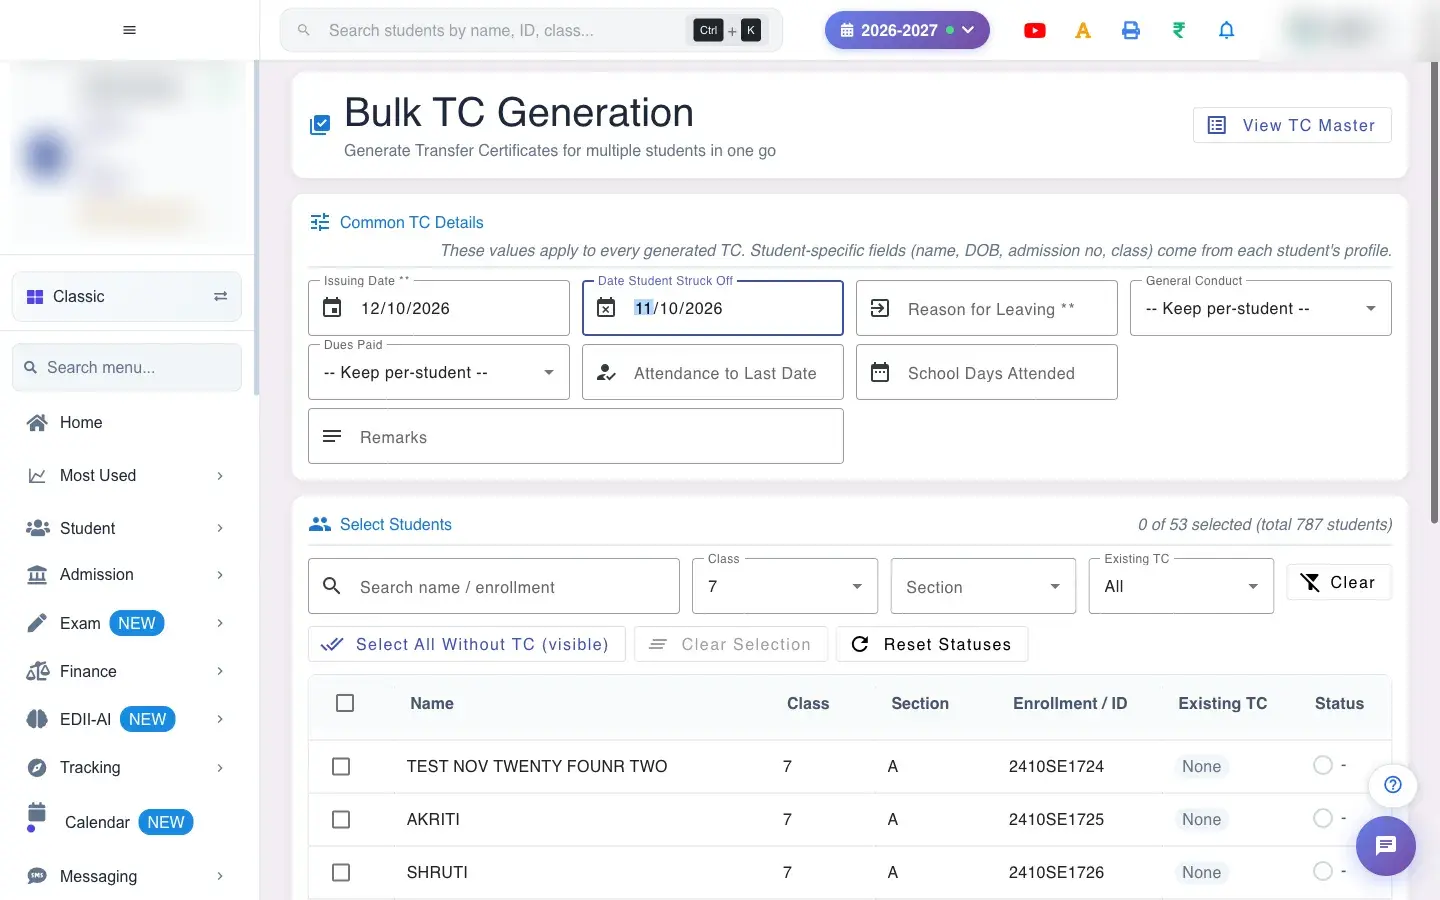 Open a bigger pictureतस्वीर बड़ी करें
Fields and filters
Section titled “Fields and filters”| Field | What it is | Notes |
|---|---|---|
| Issuing Date / Reason for Leaving | Common details. | Required. |
| Date Student Struck Off / Attendance to Last Date / School Days Attended / Remarks | Common details. | Optional. |
| General Conduct / Dues Paid | Values for all. | Keep per-student to use each student’s own. |
| Class / Section / Existing TC / Search | Student filters. | Without TC is the usual choice. |
Buttons
Section titled “Buttons”| Button | What it does | What happens next |
|---|---|---|
| Generate N TCs | Creates the TCs for the selected students. | Reports success and failures. |
| Select All Without TC (visible) | Ticks students without a TC. | Only the rows shown. |
| Clear Selection / Clear / Reset Statuses | Resets choices or marks. | No TC is removed. |
| View TC Master | Opens the TC register. | You leave this page. |
Columns
Section titled “Columns”| Column | Meaning |
|---|---|
| Name / Class / Section / Enrollment / ID | The student. |
| Existing TC | Whether a TC already exists. |
| Status | Result of generation. |
After you save
Section titled “After you save”- A TC is created for every selected student with the common details; failures are listed so you can fix and retry.
- Created TCs appear in TC Master.
Good to know
Section titled “Good to know”- Not available when the school requires an approval OTP.
- Issuing date and reason are required.
- At least one student must be selected.
Messages you may see
Section titled “Messages you may see”| Message | What it means | What to do |
|---|---|---|
| This school requires an approval OTP for each Transfer Certificate. Bulk generation is disabled; please issue TCs one at a time from the single-student TC screen. | Your school uses OTP approval. | Use Add Student TC for each student. |
| Select at least one student | No student ticked. | Tick students. |
| Could not load existing TCs — duplicates may not be flagged | The existing list failed to load. | Reload before generating. |
| Generated N TC(s) | All succeeded. | Check TC Master. |
| Succeeded: N, Failed: M. First error: … | Some failed. | Fix the cause and run again for those students. |
- Filter to Without TC so you never duplicate a TC.
- Generate a small class first to check the common details.
Stuck? Try this
Section titled “Stuck? Try this”| Problem | Likely cause | What to do |
|---|---|---|
| Generate is greyed out | Nobody is selected, or required common details are empty. | Tick students and fill the issuing date and reason. |
Did this page help?क्या इस पेज से मदद मिली?
Thanks! Glad it helped.धन्यवाद! अच्छा लगा कि काम बन गया।
Sorry about that. Ask in your own words, or write to us.माफ़ कीजिए। अपने शब्दों में पूछें, या हमें लिखें।