
Screen guide · Web app
Student Image Download
Browse student photos by class, section and gender, name the downloaded files by ID, enrollment number or student name, and download one, many or all photos, or export and print the list.
यह पेज अंग्रेज़ी में है। कुछ समझ न आए तो ।
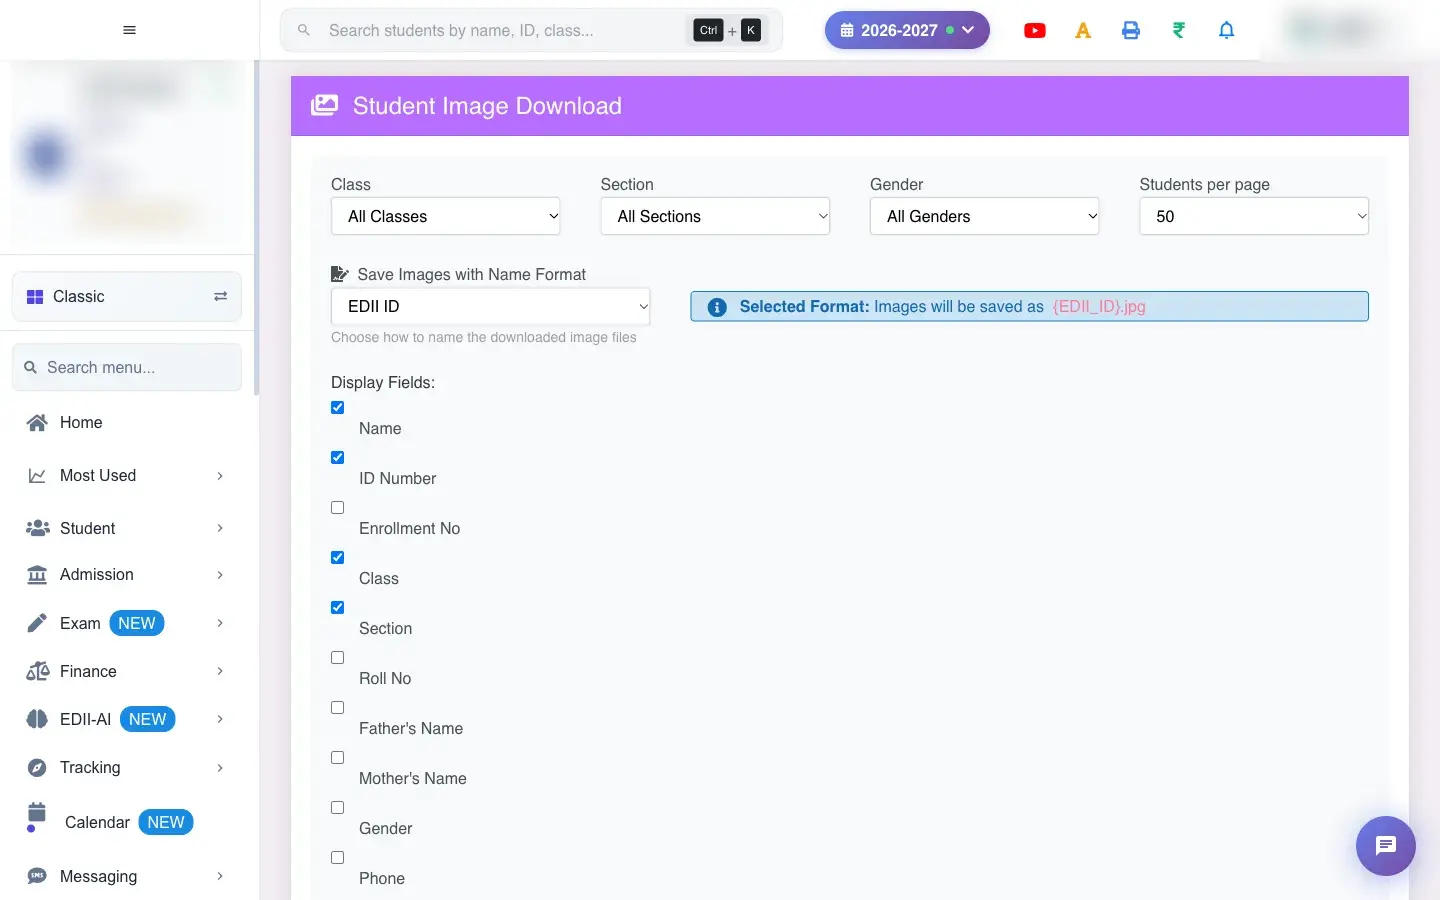
Student Image Download (Student › Student Images) is a photo gallery of your students. Filter by Class, Section and Gender, choose how many students to show per page, and each student appears as a card with their photo (or No Image) and chosen details.
You then download photos one by one with Download Image, or tick several and use Download Selected (N). Downloaded files are named in the format you pick with Save Images with Name Format.
Who uses it and when
Section titled “Who uses it and when”The office uses it to give photos to the ID card printer or to the photographer, and to find students whose photo is missing.
Before you start
Section titled “Before you start”- Choose a name format before you download so files are named the way your printer expects.
Where to find it
Section titled “Where to find it”- Menu: Student › Student Images
- Address:
/view/student-image-export - If it is missing from your menu, your role does not include it. Ask your school admin.
 Open a bigger pictureतस्वीर बड़ी करें
Step by step
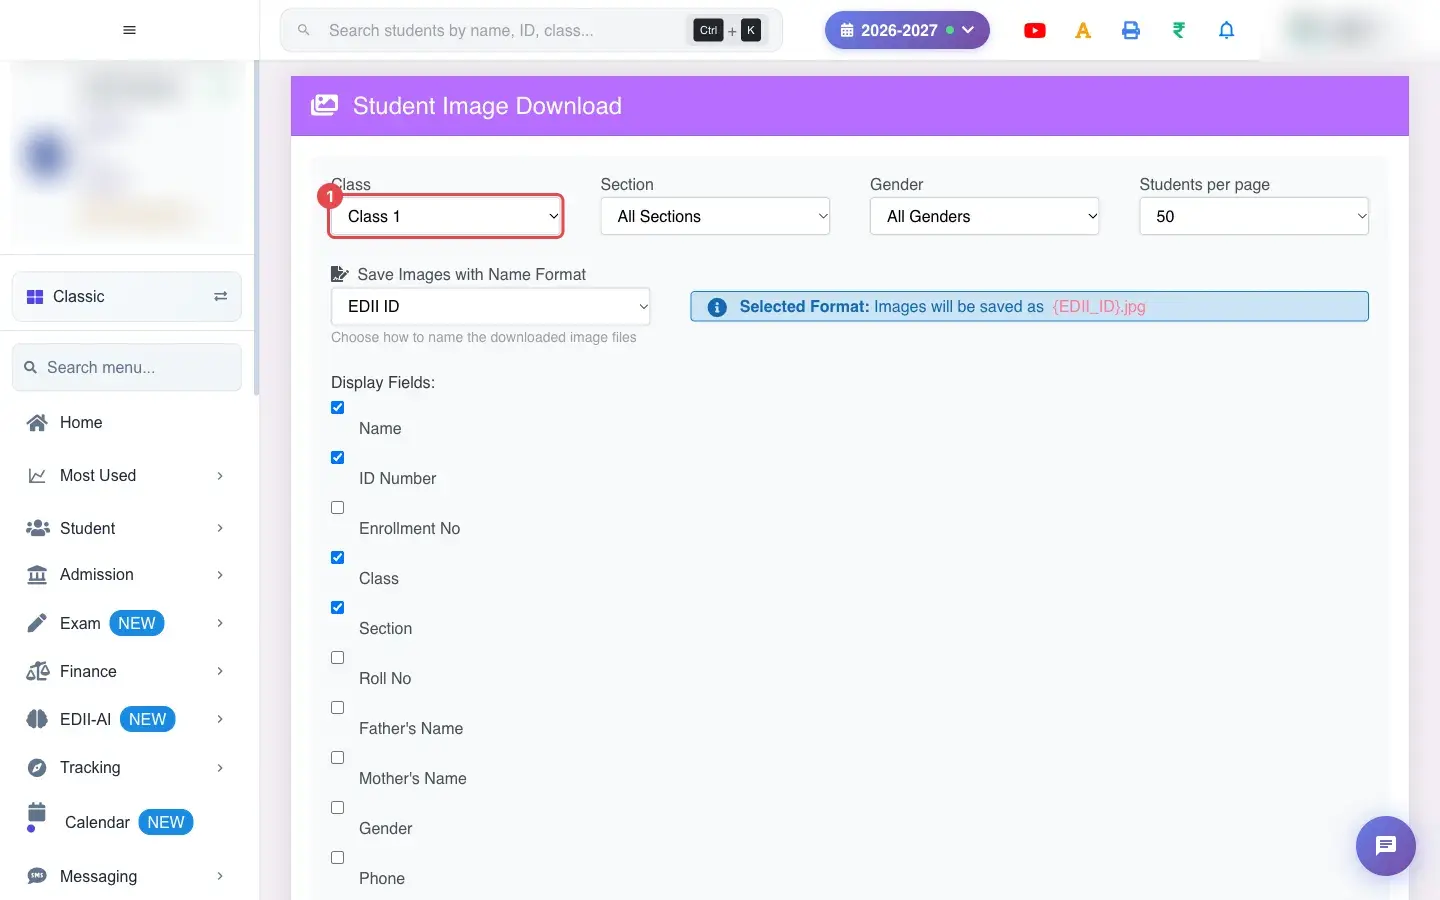
Section titled “Step by step”1. Choose Class (for example Class 1)
Section titled “1. Choose Class (for example Class 1)”Choose the Class (All Classes by default).
 Open a bigger pictureतस्वीर बड़ी करें
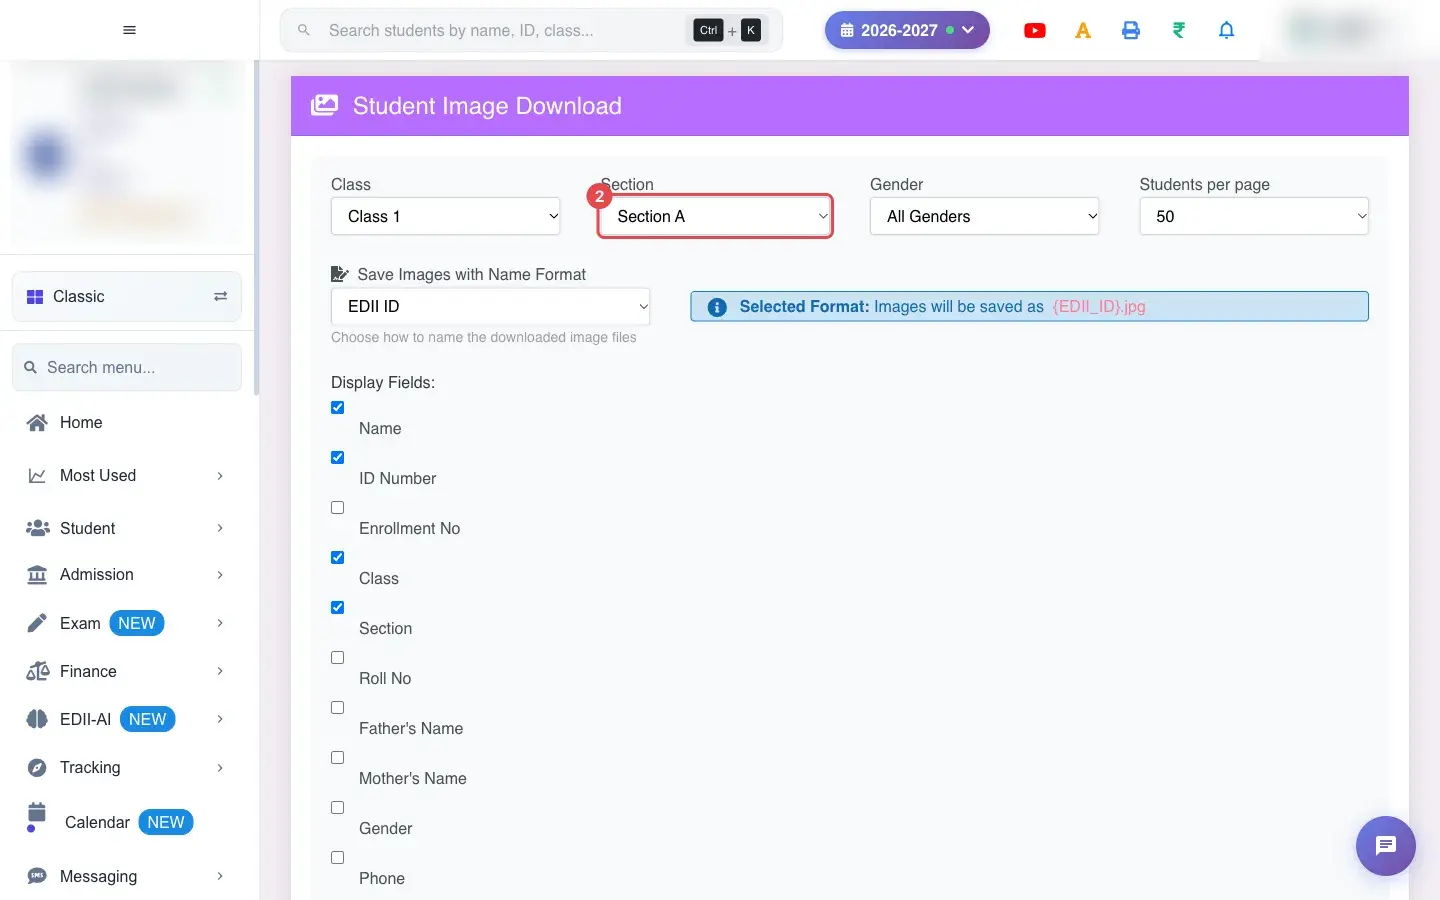
2. Choose Section (for example Section A)
Section titled “2. Choose Section (for example Section A)”Choose the Section.
 Open a bigger pictureतस्वीर बड़ी करें
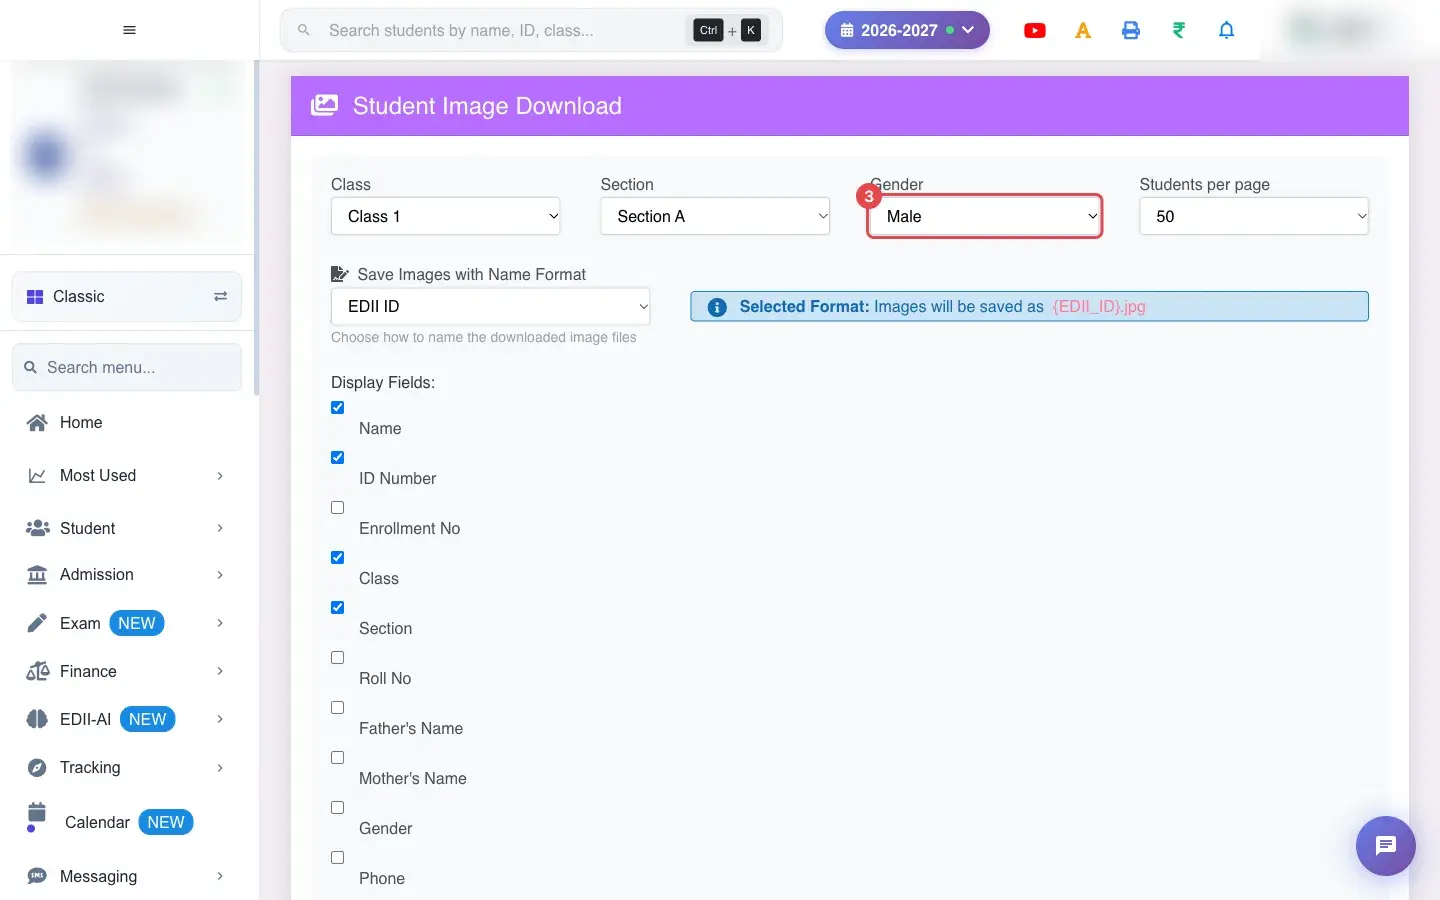
3. Choose Gender (for example Male)
Section titled “3. Choose Gender (for example Male)”Choose the Gender: All Genders, Male, Female or Other.
 Open a bigger pictureतस्वीर बड़ी करें
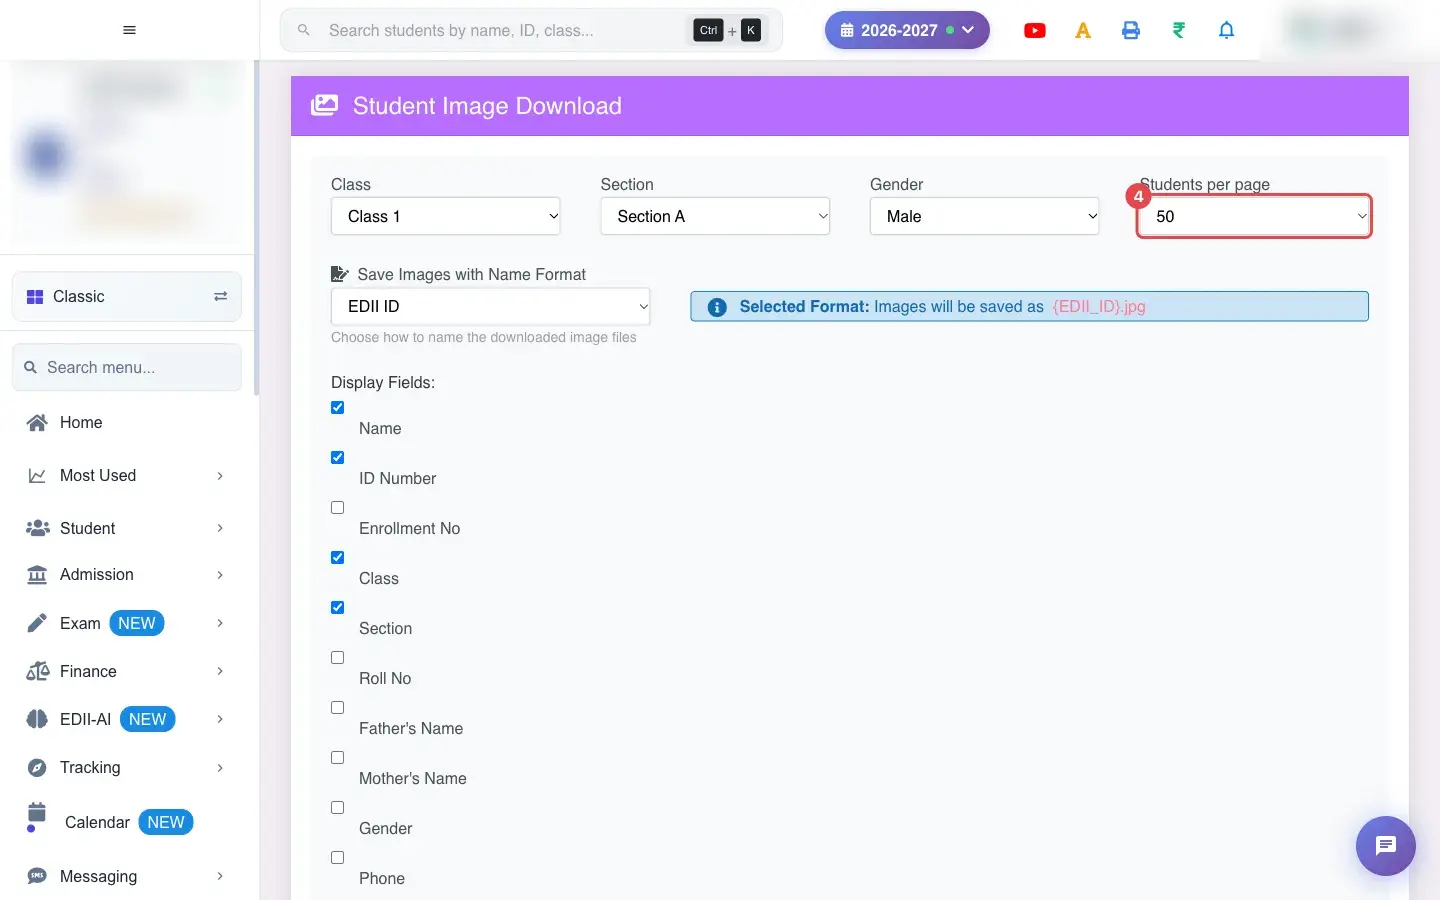
4. Choose Students per page (for example 50)
Section titled “4. Choose Students per page (for example 50)”Choose Students per page (50, 100 or 200).
 Open a bigger pictureतस्वीर बड़ी करें
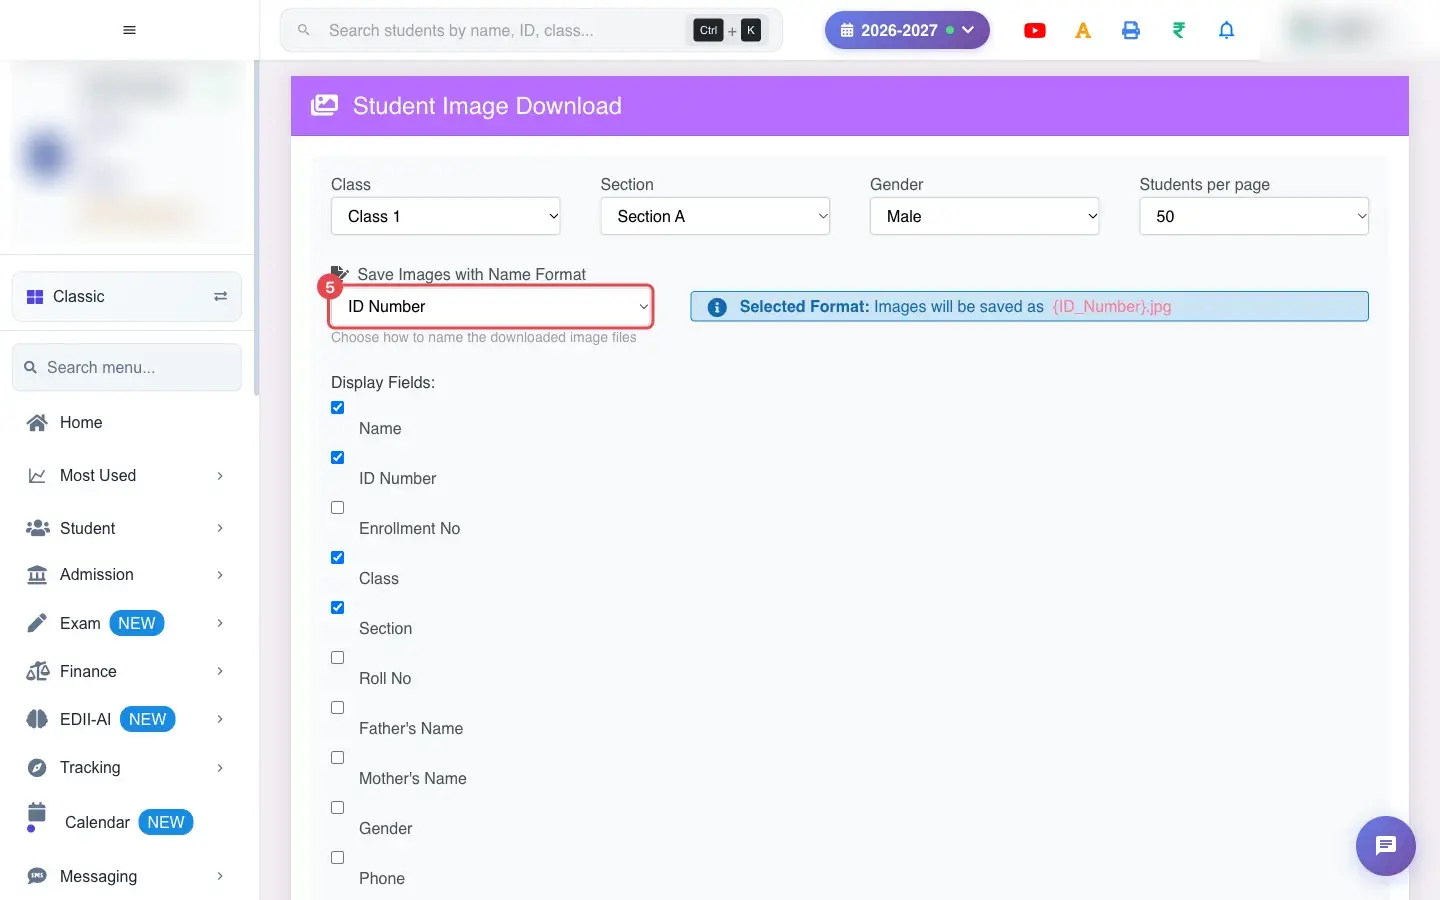
5. Choose Save Images with Name Format (for example ID Number)
Section titled “5. Choose Save Images with Name Format (for example ID Number)”Choose Save Images with Name Format: EDII ID, ID Number, Enrollment Number or Student Name. A preview shows the file name, for example the ID followed by .jpg.
 Open a bigger pictureतस्वीर बड़ी करें
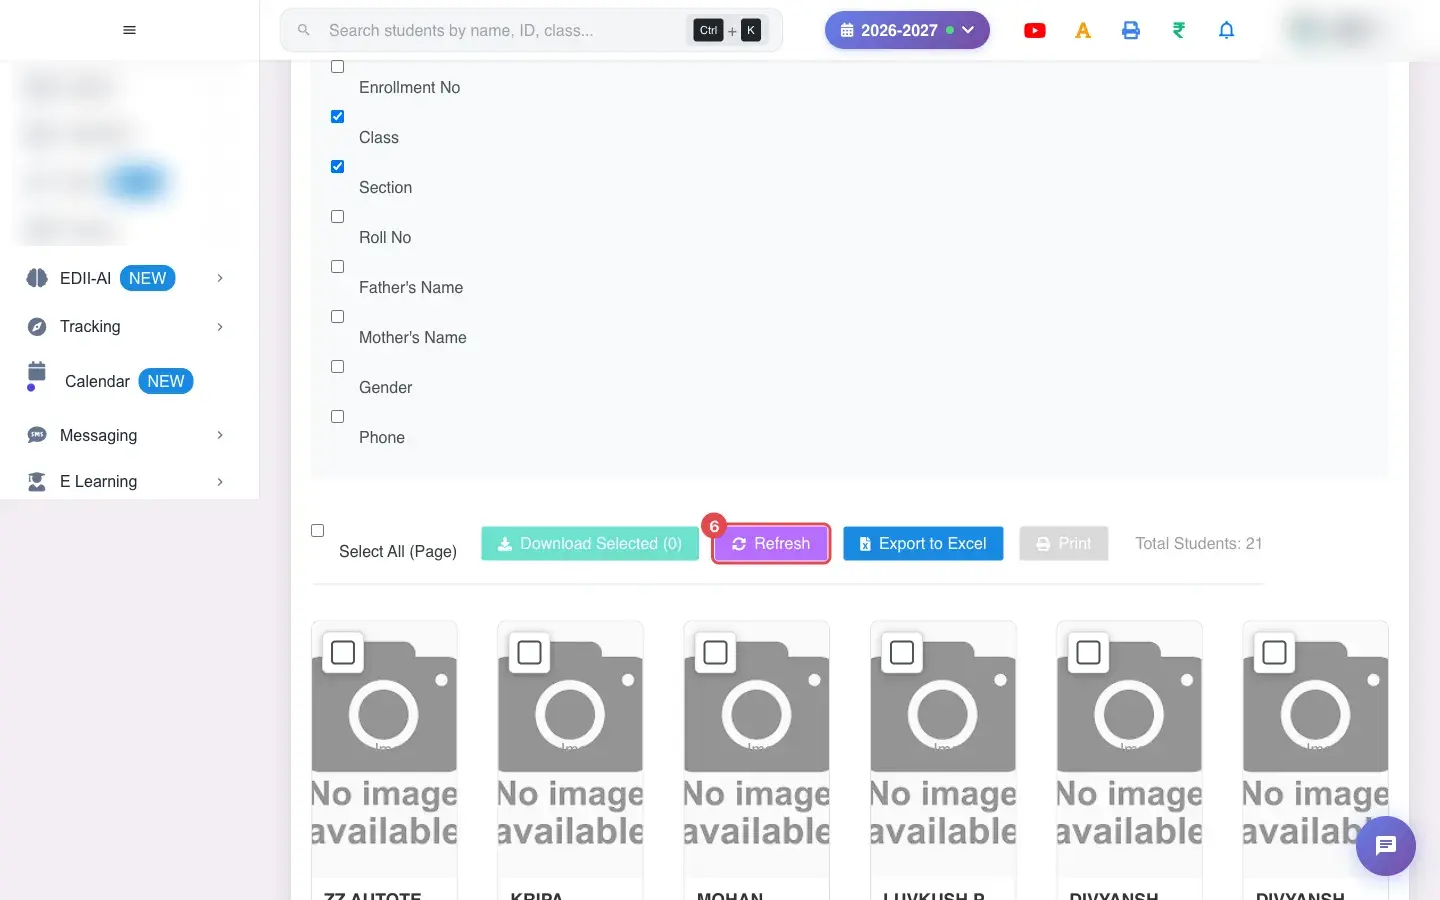
6. Select Refresh
Section titled “6. Select Refresh”Select Refresh (Load Data) to show the students.
 Open a bigger pictureतस्वीर बड़ी करें
7. Choose what each card shows
Section titled “7. Choose what each card shows”Tick the Display Fields you want: Name, ID Number, Enrollment No, Class, Section, Roll No, Father’s Name, Mother’s Name, Gender, Phone. Select All (Page) ticks every student on the page.
8. Download photos
Section titled “8. Download photos”Download Image on a card saves that photo (Image saved as …). If the student has no photo you see No image available for this student. Tick students and select Download Selected (N) for several; the result reads Downloaded N images successfully or Failed to download N images. With nobody ticked you see Please select at least one student.
9. Export and print
Section titled “9. Export and print”Export to Excel saves the list (Excel file downloaded successfully) and Print prints it; with no data you see No data to print. Use Prev and Next to move between pages.
With data
Section titled “With data”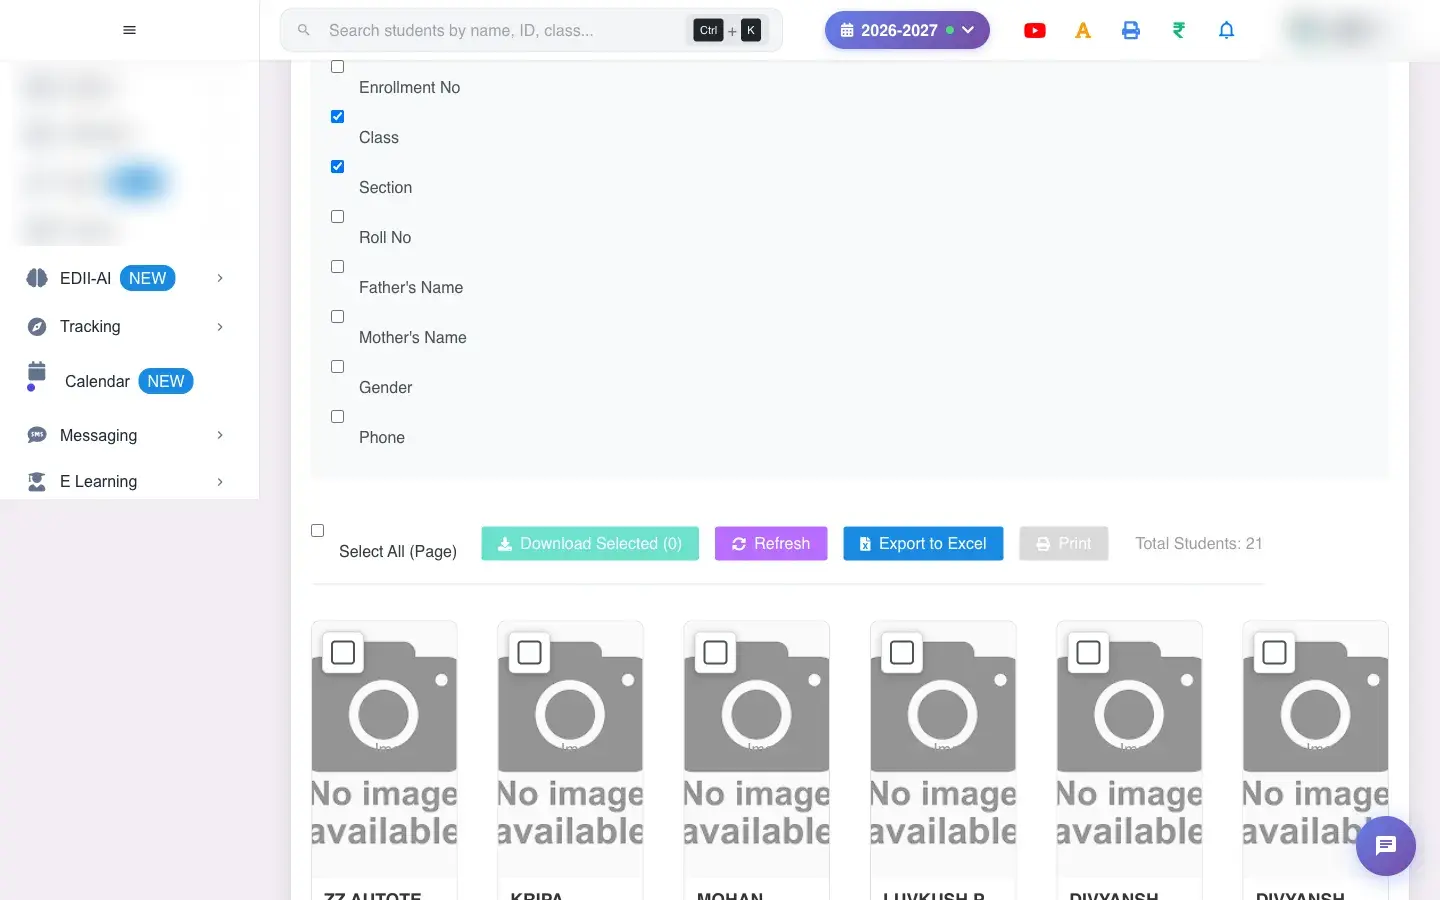 Open a bigger pictureतस्वीर बड़ी करें
Fields and filters
Section titled “Fields and filters”| Field | What it is | Notes |
|---|---|---|
| Class / Section / Gender | Filters. | Default All. |
| Students per page | Cards per page. | 50, 100 or 200. |
| Save Images with Name Format | How downloaded files are named. | EDII ID, ID Number, Enrollment Number, Student Name. |
| Display Fields | Details on each card. | Checkboxes. |
Buttons
Section titled “Buttons”| Button | What it does | What happens next |
|---|---|---|
| Refresh | Loads the students. | Shows the total students. |
| Download Image | Saves one photo. | Named in your chosen format. |
| Download Selected (N) | Saves all ticked photos. | Reports how many succeeded. |
| Export to Excel / Print | Exports or prints the list. | Opens a file or the print window. |
After you save
Section titled “After you save”- Nothing in EDII is changed; photos are only downloaded to your computer.
Good to know
Section titled “Good to know”- Students without a photo show No Image and cannot be downloaded.
- File names follow the chosen format, so choose a unique one such as ID Number.
Messages you may see
Section titled “Messages you may see”| Message | What it means | What to do |
|---|---|---|
| Failed to load student data | The list could not load. | Check the internet and press Refresh. |
| No image available for this student | No photo is stored. | Add a photo. |
| Please select at least one student | Nobody ticked. | Tick students. |
| Excel file downloaded successfully | The export finished. | Nothing to do. |
- Name files by ID Number so they match the ID card printer’s list.
- Filter by class to download a small batch at a time.
Stuck? Try this
Section titled “Stuck? Try this”| Problem | Likely cause | What to do |
|---|---|---|
| Downloaded files overwrite each other | Two students have the same name when naming by Student Name. | Use ID Number or Enrollment Number. |
Did this page help?क्या इस पेज से मदद मिली?
Thanks! Glad it helped.धन्यवाद! अच्छा लगा कि काम बन गया।
Sorry about that. Ask in your own words, or write to us.माफ़ कीजिए। अपने शब्दों में पूछें, या हमें लिखें।