
Screen guide · Web app
Add Admit Cards
Create an exam schedule and admit cards for a class, section and exam type: dates, timings, instructions and the subject-wise exam dates.
यह पेज अंग्रेज़ी में है। कुछ समझ न आए तो ।
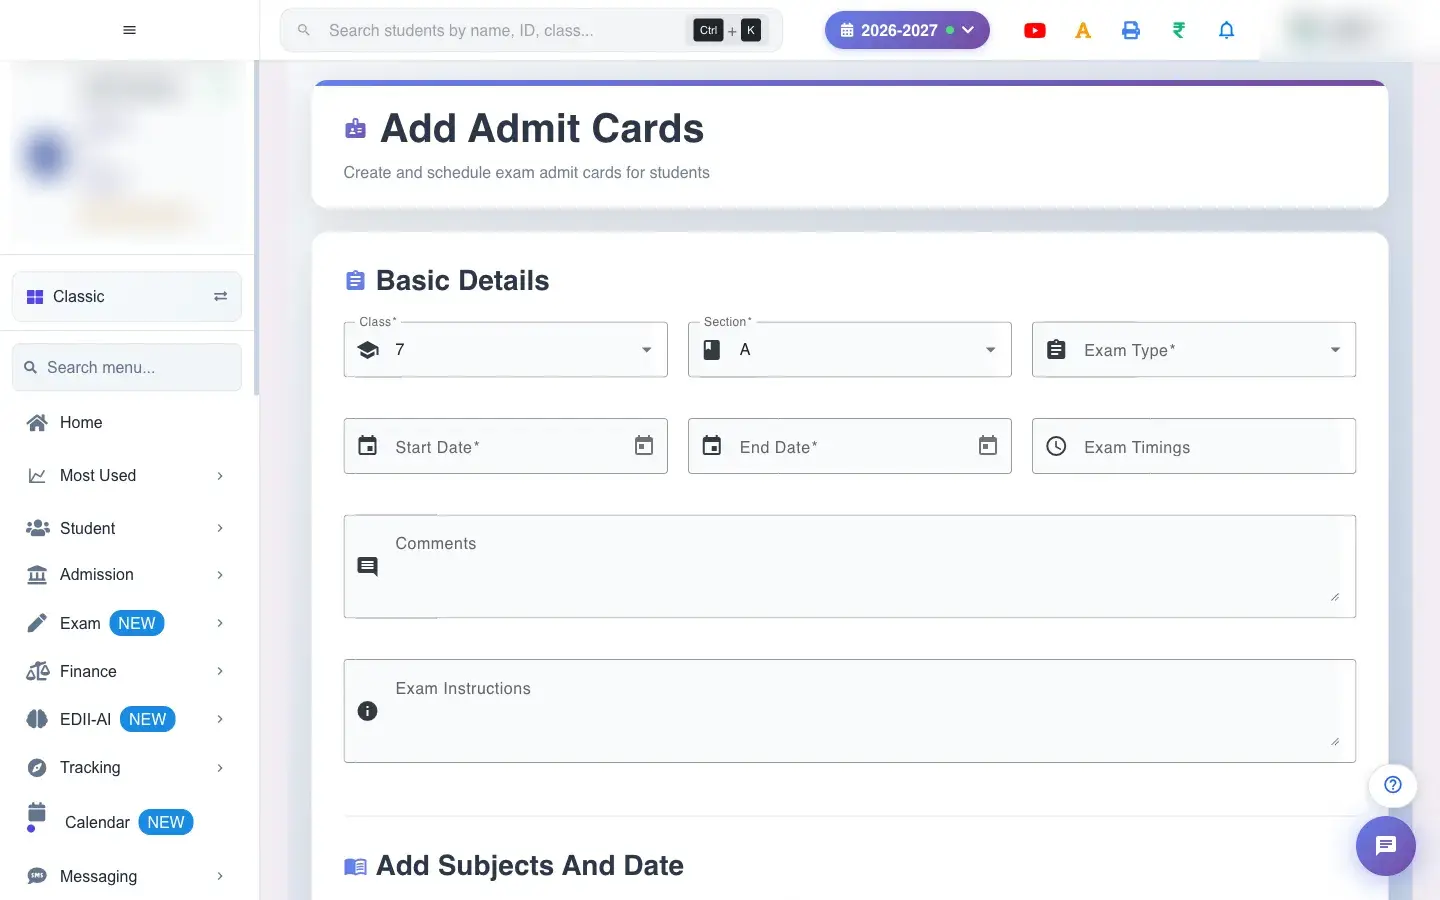
Add Admit Cards (Exam › Add) sets up the exam timetable that appears on students’ admit cards. In Basic Details you choose the Class, Section and Exam Type, the Start Date and End Date, the Exam Timings, Comments and Exam Instructions. In Add Subjects And Date you add each subject with its exam date.
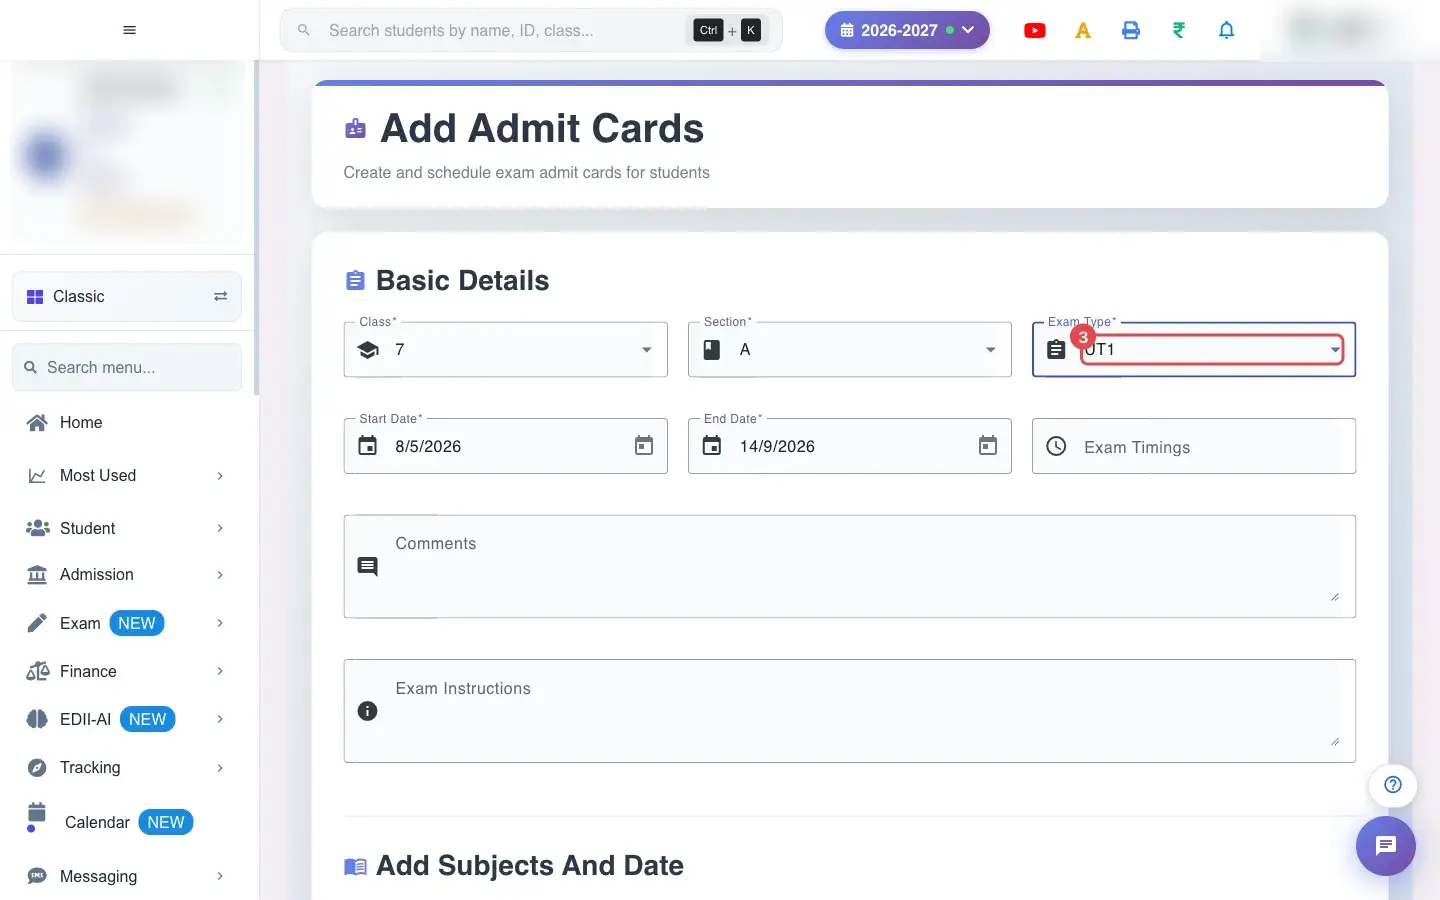
If tests already exist in the Test Master for that class and exam type, the subjects and dates are filled in for you (Subjects and dates have been auto-populated from existing exam data. You can modify them if needed.).
Who uses it and when
Section titled “Who uses it and when”The exam in-charge creates the schedule before each exam cycle.
Before you start
Section titled “Before you start”- Create the tests first (Exam › Create Test) so the subjects and dates fill in automatically.
Where to find it
Section titled “Where to find it”- Menu: Exam › Add
- Address:
/add/add-admit-card - If it is missing from your menu, your role does not include it. Ask your school admin.
 Open a bigger pictureतस्वीर बड़ी करें
Step by step
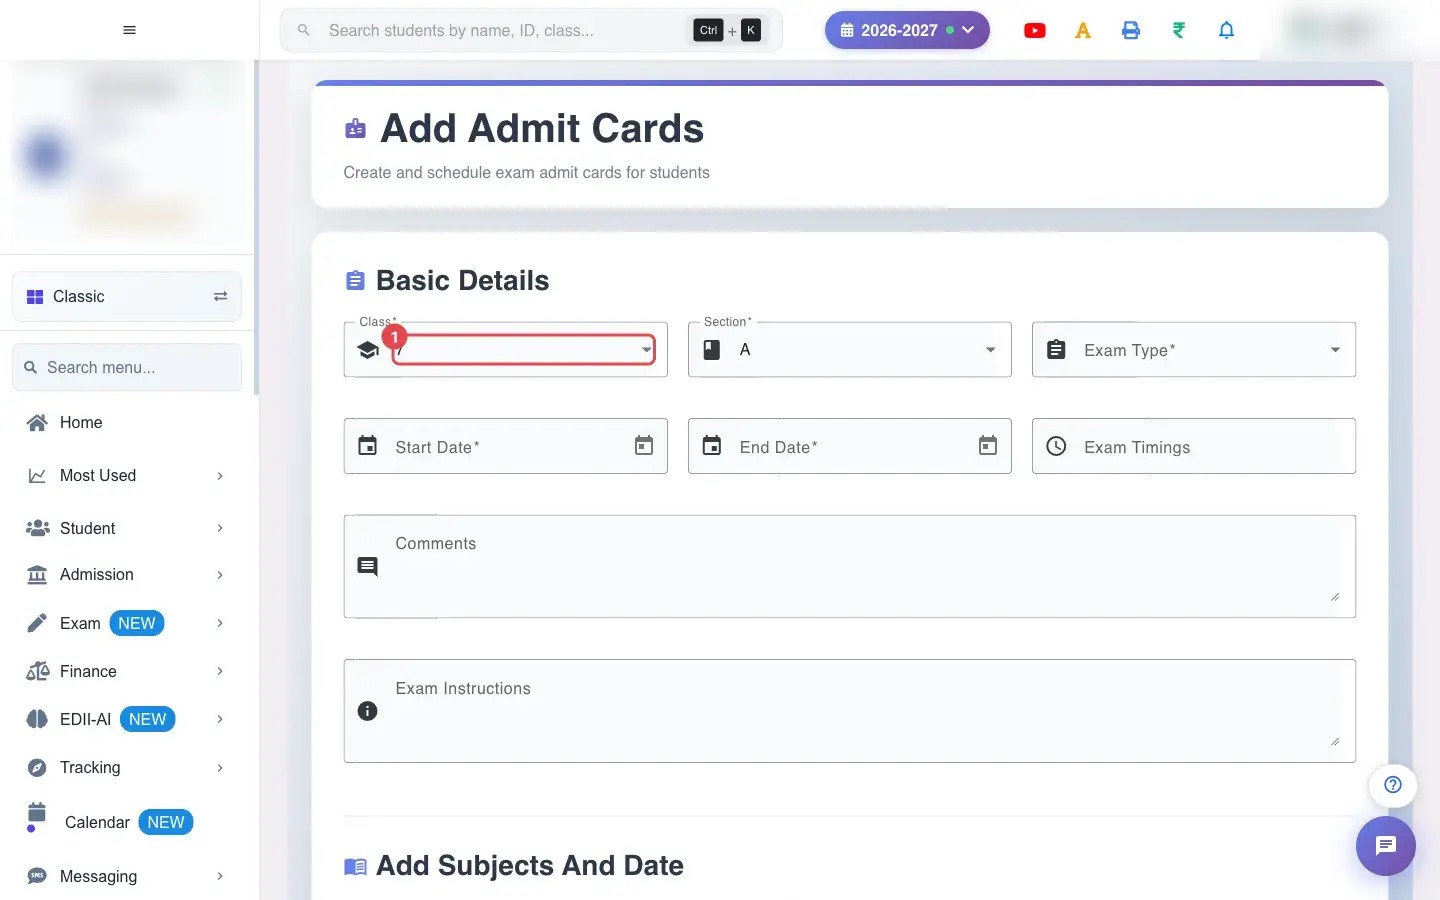
Section titled “Step by step”1. Choose Class (for example 7)
Section titled “1. Choose Class (for example 7)”Choose the Class.
 Open a bigger pictureतस्वीर बड़ी करें
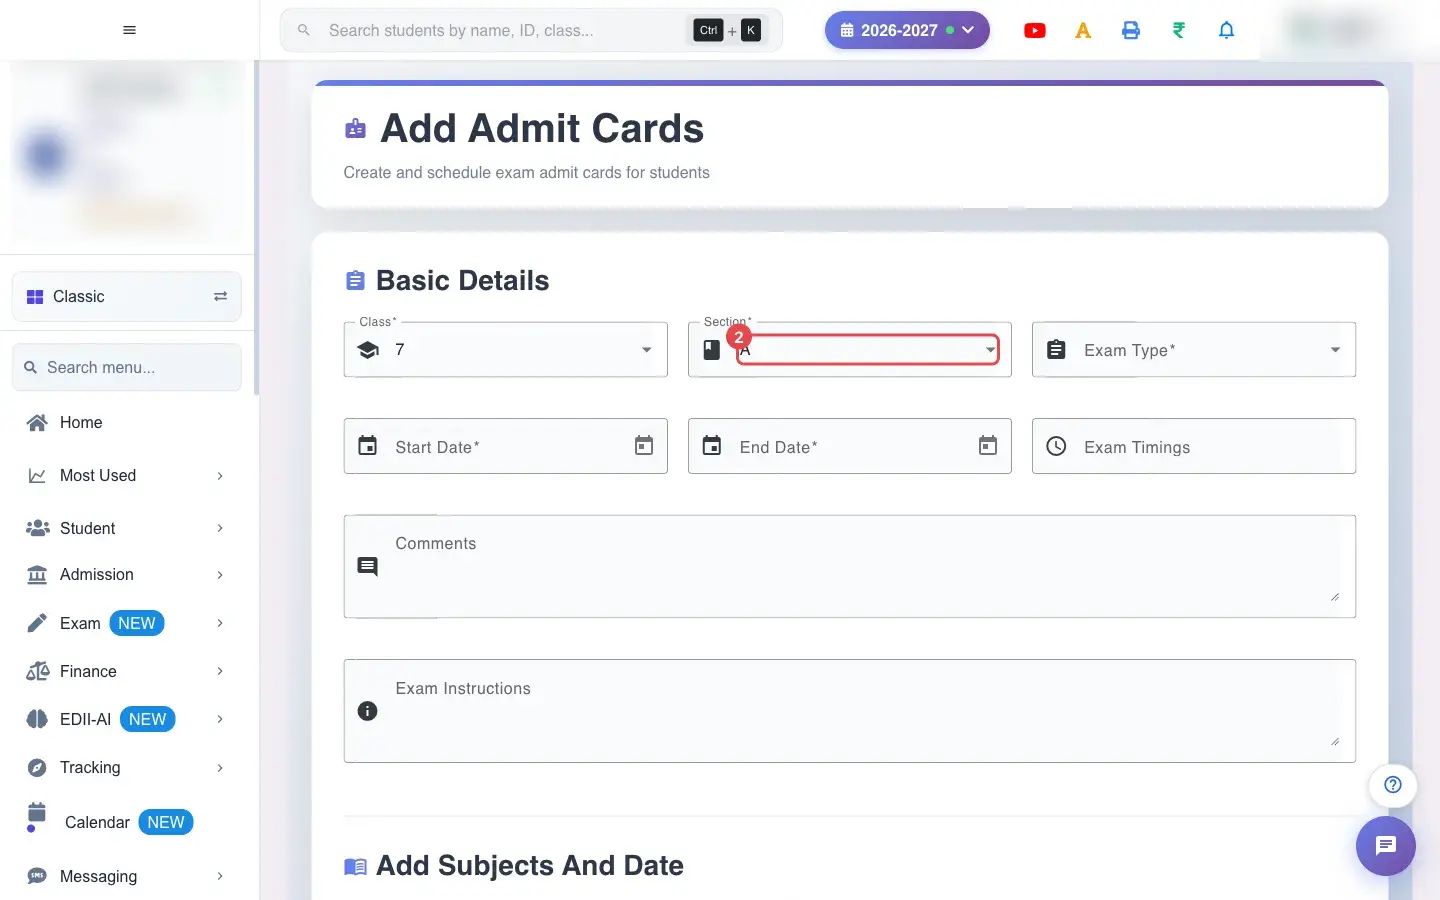
2. Choose Section (for example A)
Section titled “2. Choose Section (for example A)”Choose the Section.
 Open a bigger pictureतस्वीर बड़ी करें
3. Choose Exam Type (for example UT1)
Section titled “3. Choose Exam Type (for example UT1)”Choose the Exam Type.
 Open a bigger pictureतस्वीर बड़ी करें
4. Fill in Basic Details
Section titled “4. Fill in Basic Details”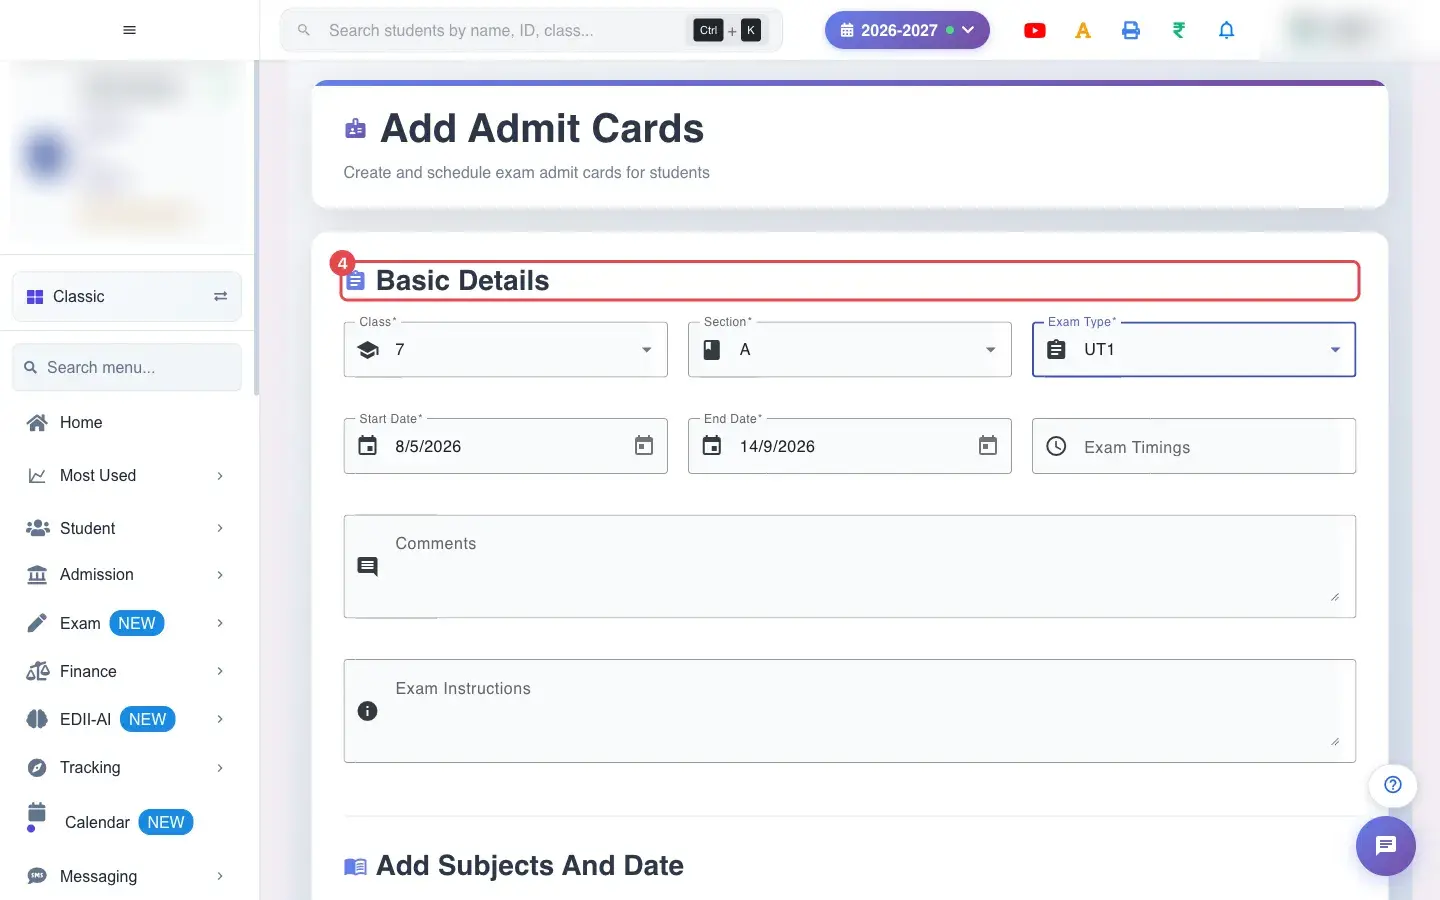 Open a bigger pictureतस्वीर बड़ी करें
5. Fill in Add Subjects And Date
Section titled “5. Fill in Add Subjects And Date”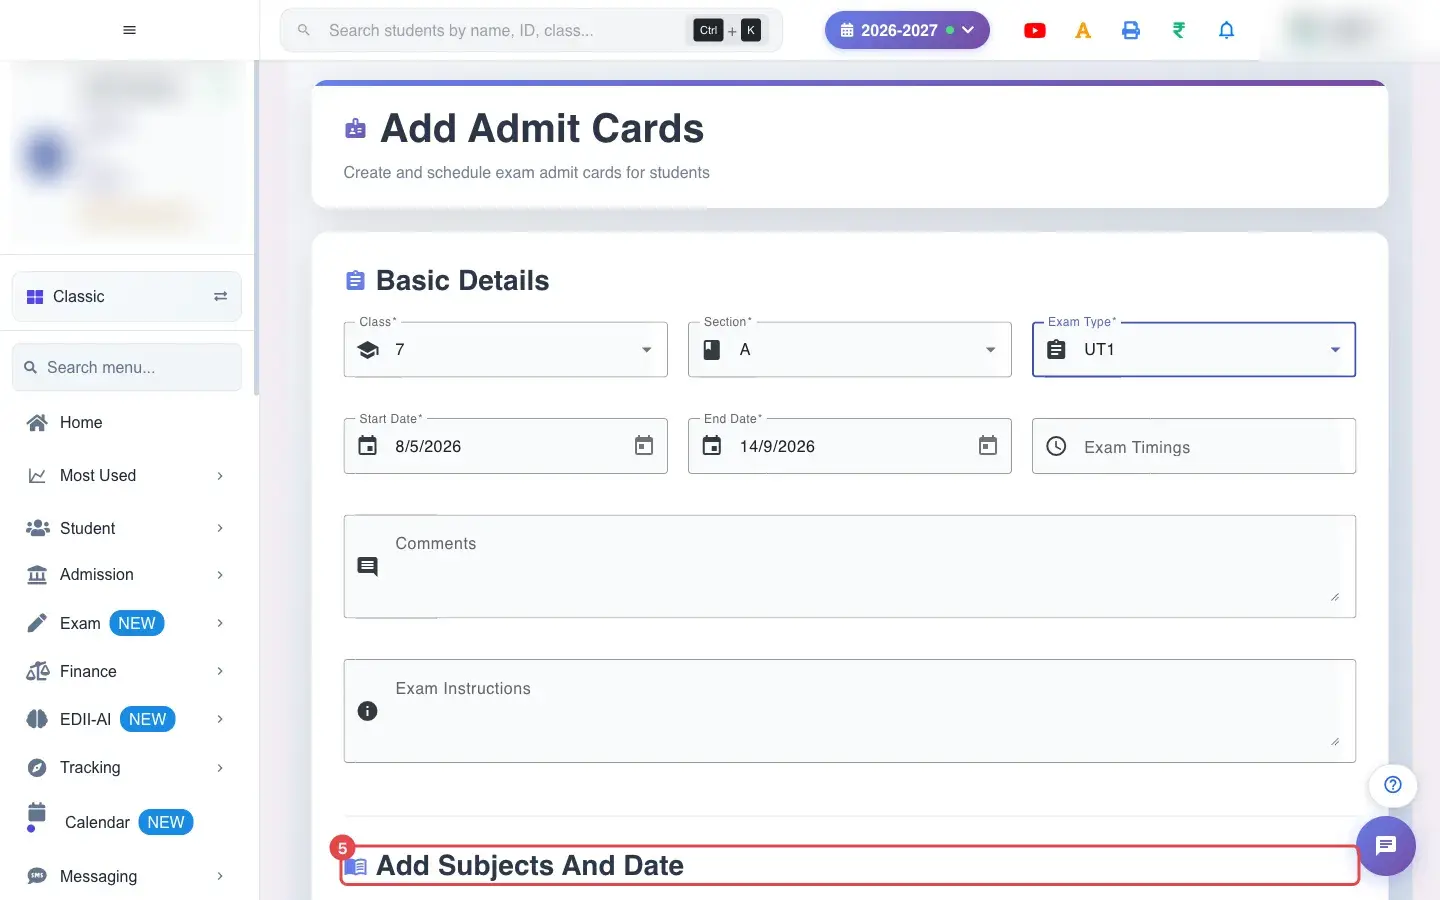 Open a bigger pictureतस्वीर बड़ी करें
6. When you are done, select Add Schedule
Section titled “6. When you are done, select Add Schedule”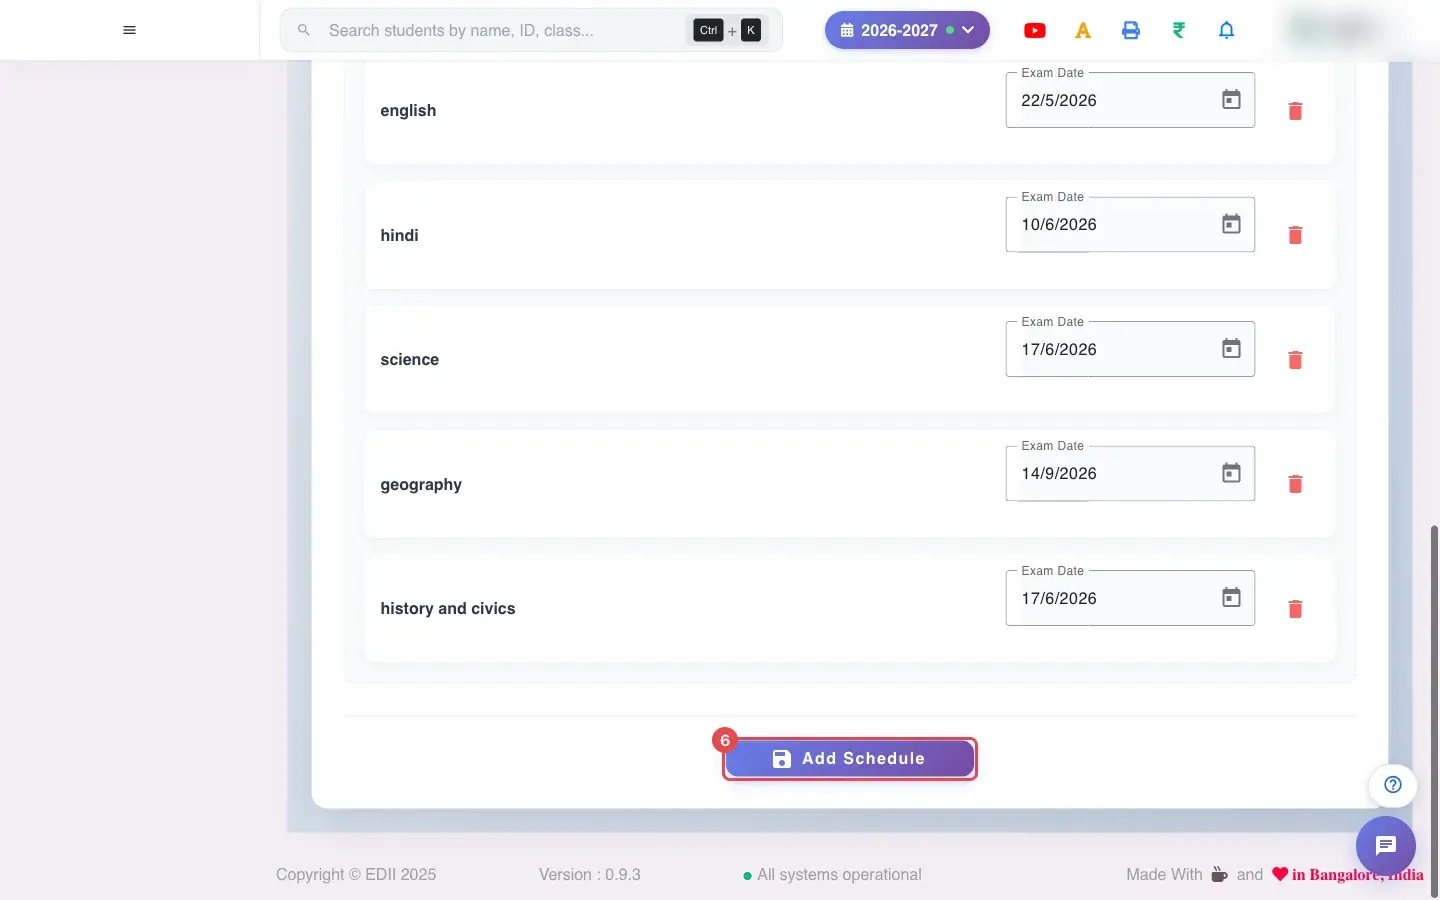 Open a bigger pictureतस्वीर बड़ी करें
7. Set the dates and timings
Section titled “7. Set the dates and timings”Pick the Start Date and End Date (both required) and type the Exam Timings, for example 9:00 AM to 12:00 PM.
8. Add comments and instructions
Section titled “8. Add comments and instructions”Comments and Exam Instructions print on the admit card, for example Carry your admit card and pen.
9. Add subjects and dates
Section titled “9. Add subjects and dates”Add each Subject with its Exam Date. A subject cannot be added twice (This field is already provided.). If you save without a subject you see Please add at least one subject before saving the schedule; a subject without a date shows Please set an exam date for: <subject>.
10. Save the schedule
Section titled “10. Save the schedule”Select Add Schedule. The schedule appears in Exam Details and the students’ admit cards can be printed.
With data
Section titled “With data”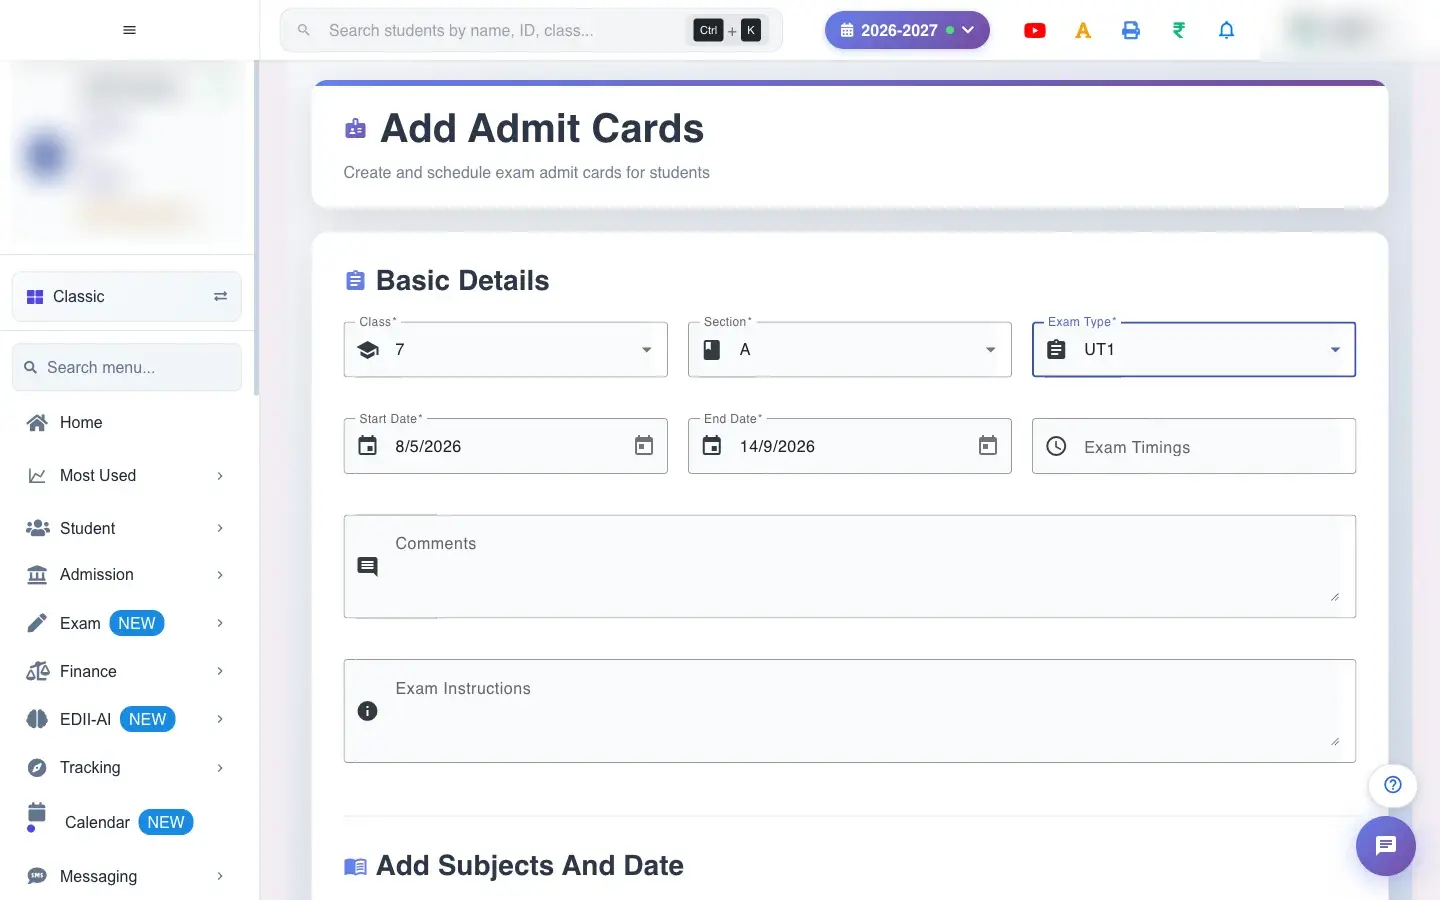 Open a bigger pictureतस्वीर बड़ी करें
Fields and filters
Section titled “Fields and filters”| Field | What it is | Notes |
|---|---|---|
| Class / Section / Exam Type | Who the schedule is for. | Required. |
| Start Date / End Date | The exam period. | Required. |
| Exam Timings / Comments / Exam Instructions | Text printed on the admit card. | Optional here. |
| Subject / Exam Date | Each paper and its date. | At least one subject, each with a date. |
Buttons
Section titled “Buttons”| Button | What it does | What happens next |
|---|---|---|
| Add Schedule | Saves the schedule. | Admit cards can be printed. |
After you save
Section titled “After you save”- The exam schedule is saved for the class, section and exam type and is used to produce admit cards.
Good to know
Section titled “Good to know”- Class, section, exam type, start and end date are required.
- At least one subject with a date is required.
Messages you may see
Section titled “Messages you may see”| Message | What it means | What to do |
|---|---|---|
| Please add at least one subject before saving the schedule | No subjects. | Add a subject. |
| Please set an exam date for: <subject> | A subject has no date. | Pick the date. |
| Bad/Slow Internet Connection, Please check your internet connection | A request failed. | Try again. |
- Create tests first to auto-fill the subjects and dates.
- Put the reporting time in the timings.
Stuck? Try this
Section titled “Stuck? Try this”| Problem | Likely cause | What to do |
|---|---|---|
| The subjects are empty | No tests exist for this class and exam type. | Create tests, or add subjects by hand. |
Did this page help?क्या इस पेज से मदद मिली?
Thanks! Glad it helped.धन्यवाद! अच्छा लगा कि काम बन गया।
Sorry about that. Ask in your own words, or write to us.माफ़ कीजिए। अपने शब्दों में पूछें, या हमें लिखें।