
How-to · Web app
Add students in bulk
Upload many students from a spreadsheet and check the result.
यह पेज अंग्रेज़ी में है। कुछ समझ न आए तो ।
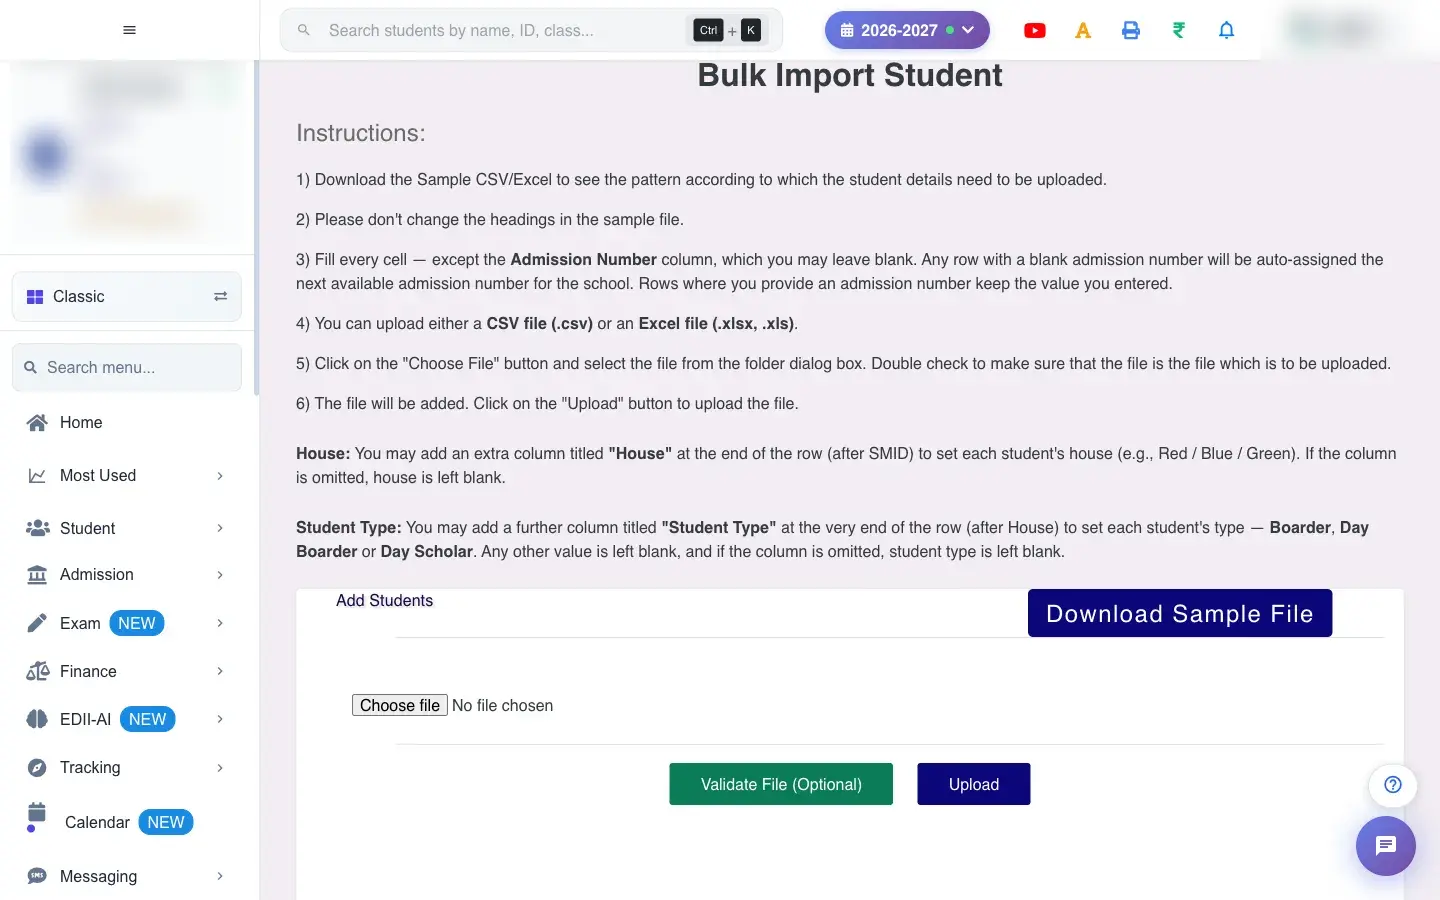
Bulk Import Student (Student › Add Multiple) admits a whole list of students from one file. You download the sample file, fill it in, optionally Validate File to catch problems, and then Upload.
Before you start
Section titled “Before you start”- Download the sample first and keep its headings exactly as they are.
- Classes and sections used in the file must exist.
- The file must be CSV (.csv) or Excel (.xlsx, .xls) and at most 5 MB.
1. Download the sample file
Section titled “1. Download the sample file”Select Download Sample File to get a template that shows the columns and the pattern the data must follow. Do not change the headings.
 Open a bigger pictureतस्वीर बड़ी करें
2. Fill in the file
Section titled “2. Fill in the file”Fill every cell except Admission Number, which you may leave blank. You may add a House column at the end (after SMID) to set each student’s house, for example Red, Blue or Green; if you leave it out, the house stays empty.
3. Choose the file
Section titled “3. Choose the file”Select Choose File and pick your CSV or Excel file. Other types give Only CSV or Excel files are allowed. Please upload a .csv, .xlsx, or .xls file.; files above 5 MB give Max File Size is 5 MB. An Excel file is converted for you (Excel file has been converted and uploaded…).
4. Validate the file (optional)
Section titled “4. Validate the file (optional)”Select Validate File (Optional) to check the file without adding anyone. It reports problems per row, or No blocking problems found. Without a file you see Please choose a CSV or Excel file first, then click Validate.
5. Upload
Section titled “5. Upload”After the file is added (File has been uploaded, Please click on the Upload Button to Continue adding the student), select Upload. You see Starting upload… and then the result for the students. If no file is loaded you see Please Add the Student List first by clicking on the “+” button!
Full details of this screen Add students in bulk
What happens next
Section titled “What happens next”- Each valid row becomes a student in its class and section for the current session, with an admission number (yours or the next free one).
- Rows with problems are reported so you can fix them and upload again.
- The new students appear in Student Search.
Good to know
Section titled “Good to know”- Only .csv, .xlsx and .xls files up to 5 MB.
- Headings must match the sample.
- Blank admission numbers are auto-assigned.
Stuck? Try this
Section titled “Stuck? Try this”| You see | Why | What to do |
|---|---|---|
| Some rows were rejected | A required cell is empty or a class or section does not exist. | Read the validation messages, fix those rows and upload again. |
Did this page help?क्या इस पेज से मदद मिली?
Thanks! Glad it helped.धन्यवाद! अच्छा लगा कि काम बन गया।
Sorry about that. Ask in your own words, or write to us.माफ़ कीजिए। अपने शब्दों में पूछें, या हमें लिखें।